 USA + International
 OWC Canda
 OWC Europe
What Is the 3-2-1 Backup Rule? How to Ensure Your Data is Fully Protected
The 3-2-1 rule takes the guesswork out of creating a backup strategy that ensures your data is protected no matter what.
Wayne Grayson • Jul 27, 2026
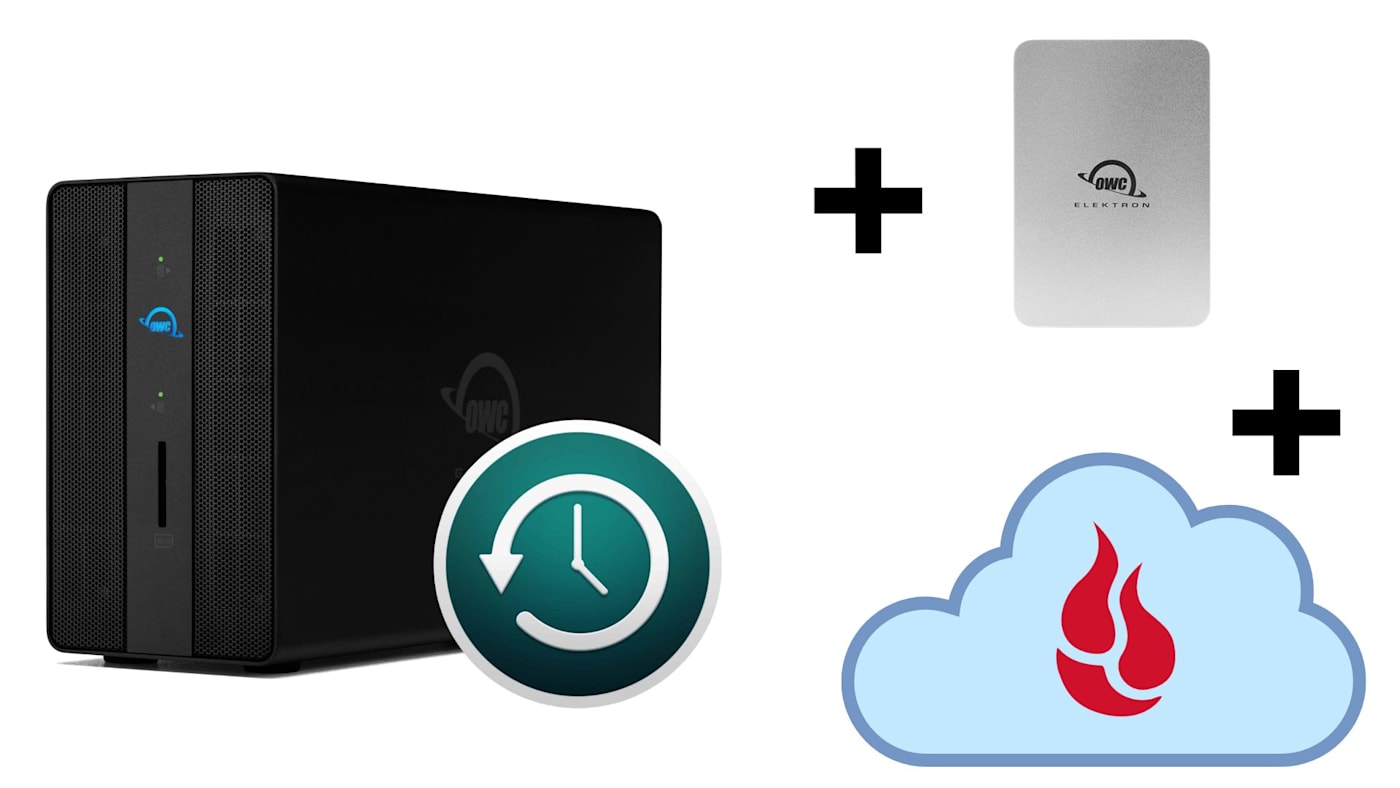
Let's cut to the chase: the 3-2-1 backup rule is an easy to remember framework that takes the guesswork out of building a robust backup strategy. The key word there is “robust.” If you’re backing up sensitive data like family photos, financial data, or video, images, or other assets you’ve created for a paying client, you don’t want to do that in a shoddy way.
But what does a solid backup strategy involve? Left to interpretation, you could go in a million different directions. And that’s where the 3-2-1 strategy comes in. It’s a simple strategy that IT departments, photographers, editors, and a host of other professionals have relied on for decades.
This guide walks through what the 3-2-1 rule is, how to build your own 3-2-1 plan step by step on both Mac and Windows, which drives are the right fit for each part of the plan, and where RAID does and doesn’t fit into the picture.
What is the 3-2-1 Backup Rule?
The 3-2-1 rule is a simple framework:
- 3 total backup copies of your data
- 2 of which are stored on different drives and/or types of media
- 1 stored offsite (typically in the cloud)
The logic behind this structure is straightforward: no single failure point such as a dead drive, a stolen laptop, a fire, or a flood can wipe out all three copies at once, because they don’t all live in the same place or on the same type of media.
So, let’s start building your own personal 3-2-1 strategy.
Copy 1: Your Primary Local Backup
Your first copy is the one serving as your first line of defense and the copy you update most often. This is the backup you reach for after knocking a project off the queue, or in the event of an accidental deletion, a botched edit, or a file you need to roll back to an earlier version. Both macOS and Windows include built-in tools for exactly this, and getting either one running takes about five minutes.
For Mac: Time Machine
Time Machine is built into macOS and remains one of the most complete backup tools included with any operating system. It automatically backs up your entire Mac — including documents, photos, apps, settings, and system files — to an external drive. It does this by making hourly backups for the past 24 hours, daily backups for the past month, and weekly backups beyond that, automatically cycling out the oldest snapshots as the drive fills.
How to set up Time Machine:
1. Connect an external drive to your Mac.
2. Open System Settings > General > Time Machine.
3. Click Add Backup Disk and select your drive.
4. Optionally enable Encrypt Backup — highly recommended, especially for laptops.
Time Machine begins its first backup immediately, and every backup after that runs automatically in the background.
For PC: File History, Windows Backup, and Why Many People Look to Third Party Options
Windows includes two built-in options for system backups, but it’s worth understanding what each one actually does before relying on either as your primary backup.
File History backs up your library folders (Documents, Pictures, Desktop, and similar locations) to an external drive or network location on an hourly basis, keeping version history you can roll back through. It’s straightforward and free, but it has limits: it only covers your standard library folders unless you manually add others, it doesn’t create a full system image, and it can’t get a crashed PC back up and running the way Time Machine can restore an entire Mac. Microsoft has also quietly demoted it to “legacy” status, and Windows 11 no longer surfaces its settings as prominently as earlier versions did.
Windows Backup, Microsoft’s newer tool, takes a different approach entirely. It backs up your files and settings to OneDrive rather than to a local external drive. However, that makes it a cloud tool and is therefore unsuitable for what we’re doing with our primary system backups drive.
Because of these gaps, many IT professionals recommend third-party backup software for PC users who want something closer to Time Machine’s combination of full-system protection and local storage. Macrium Reflect is the most widely recommended option for full disk imaging and cloning. This is often the tool IT professionals reach for specifically because full-system restores tend to work reliably even onto new hardware.
Once you choose one of these tools for backing up your PC be sure to do your due diligence before you commit to fully relying on them. Read some reviews, confirm the free tier or trial actually covers what you need if that’s a priority, and test a full restore at least once so you know it works.
How Big Should Your Local Backup Drive Be?
No matter if you’re a Mac or Windows user, the general rule of thumb has traditionally been that your primary backup drive should be at least twice the size of your computer’s internal storage, with a 2–3x ratio giving you a more comfortable buffer for historical snapshots to roll back through. Using the 2x rule, that would mean that if your machine has a 1TB internal drive, you want a 2TB backup drive at minimum.
The 2x rule is a simple way to safely invest in enough capacity to cover you even as your data continues to grow. However, because it's a general rule, it can also prove inaccurate. While the 2x rule uses your current computer's capacity as the determining factor, the real X factor in determining your actual backup capacity needs is how much your data is growing over time. A more accurate formula for determining backup capacity is the following:
Total storage needed = Amount of data currently on your drive + (Average monthly data growth × Number of months you want covered)
We have a whole post discussing both methods of determining how much storage you need for backups. Check it out here.
The Best Drives for Local Backup
For desktop setups on either platform, the OWC Mercury Elite Pro is a proven workhorse. It’s basically just an enclosure for traditional spinning HDDs. You can pack up to 24TB in, giving you plenty of room for deep backup history at a very reasonable cost per terabyte.
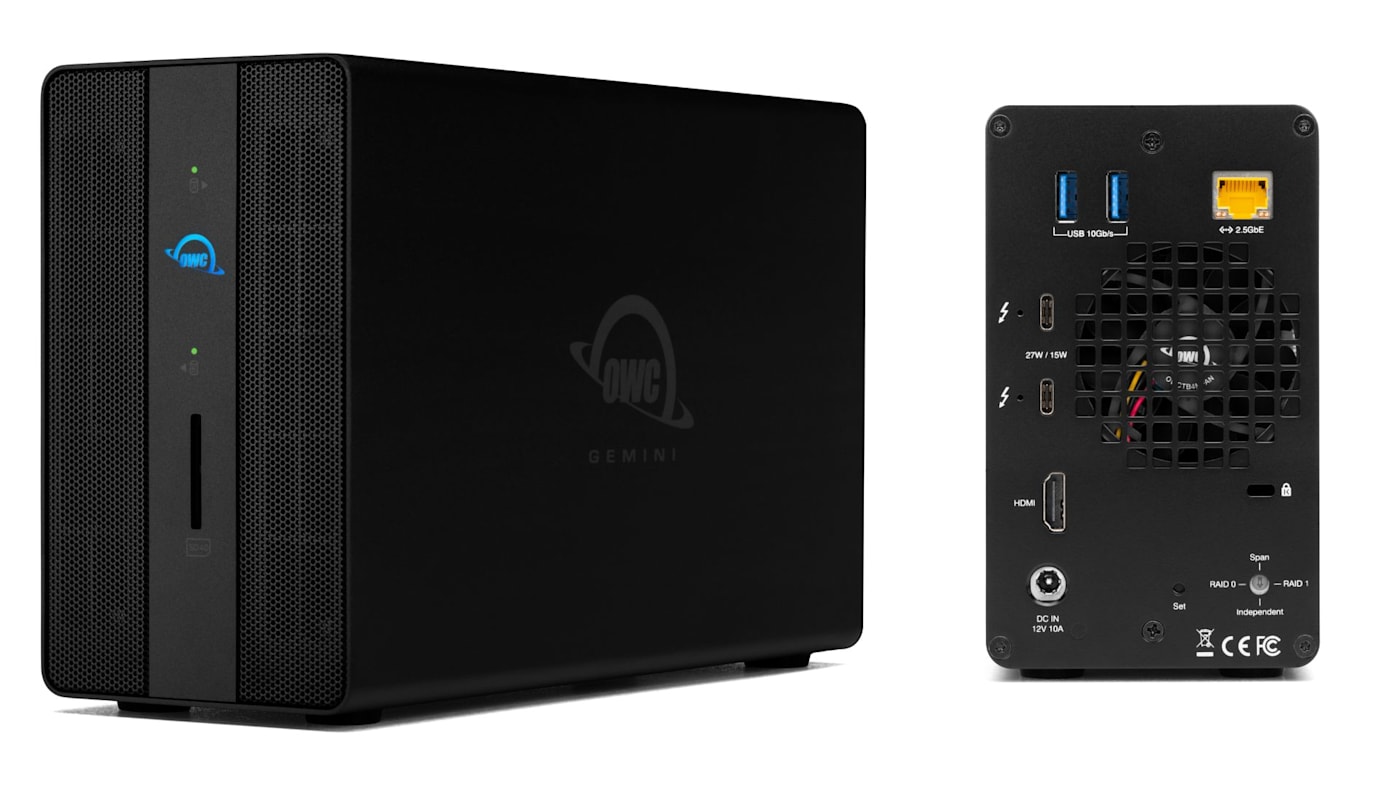
And if you’d like your storage to make the most use of the desk space you assign it to, check out the OWC Gemini. Gemini supports up to 48TB of storage between its two bays, offers RAID 0 and RAID 1 support, and it supports both HDDs and SSDs. Plus, because it’s built atop Thunderbolt, Gemini acts as a dock as well, supplying you with an extra downstream Thunderbolt port, 2.5Gb Ethernet, and SD card slot, HDMI port, and two USB-A ports.
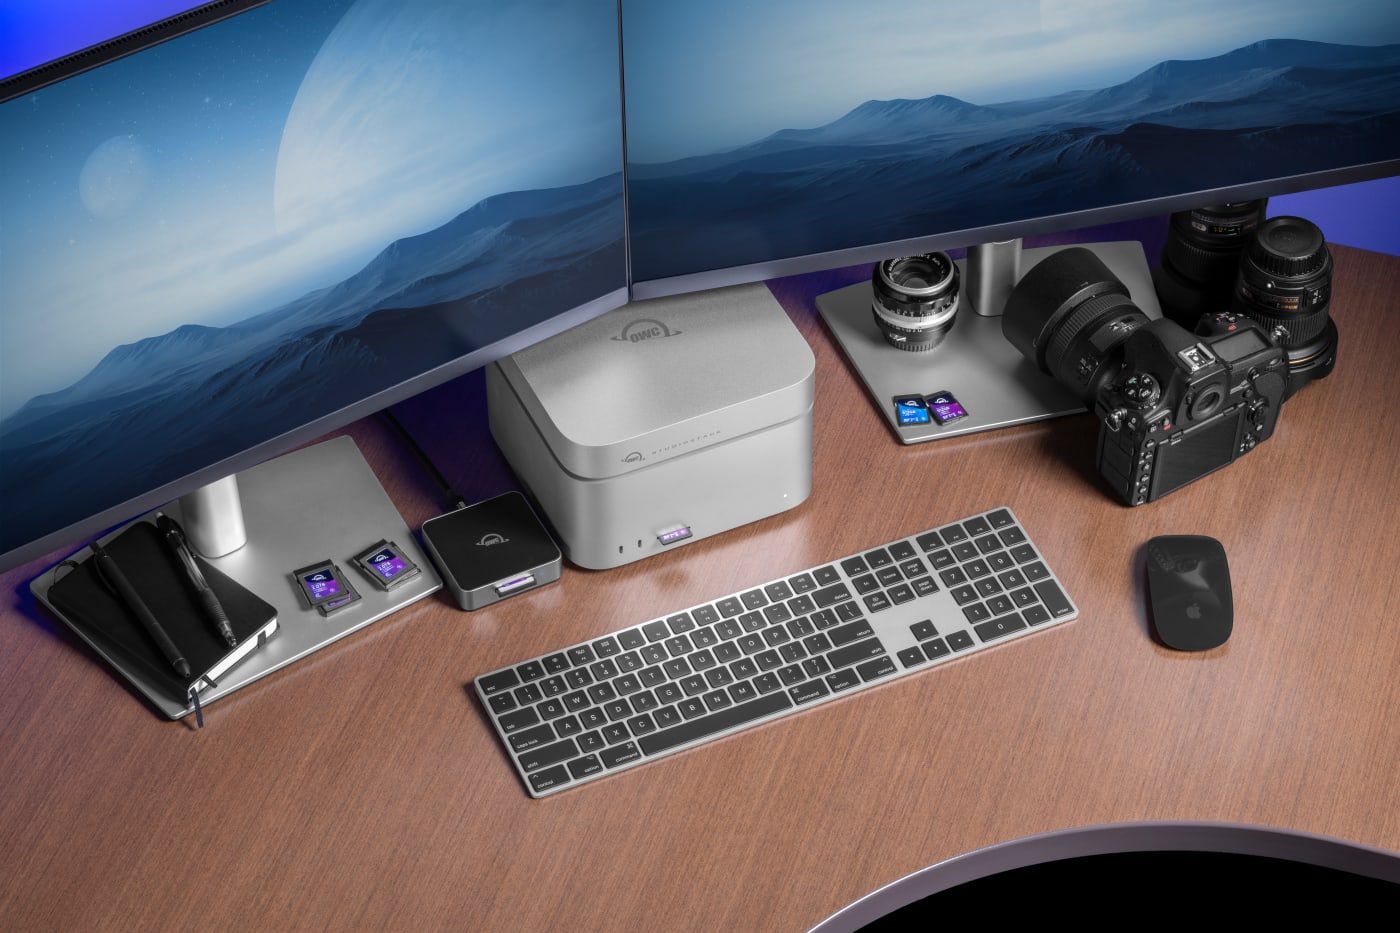
If you’re a Mac Studio or Mac mini user, the OWC StudioStack is worth serious consideration. It stacks neatly on top of or underneath your machine, adds up to 32TB of hybrid NVMe + HDD storage, and expands your connectivity with three Thunderbolt 5 and three USB-A ports. It comes pre-formatted APFS and is ready for Time Machine right out of the box.
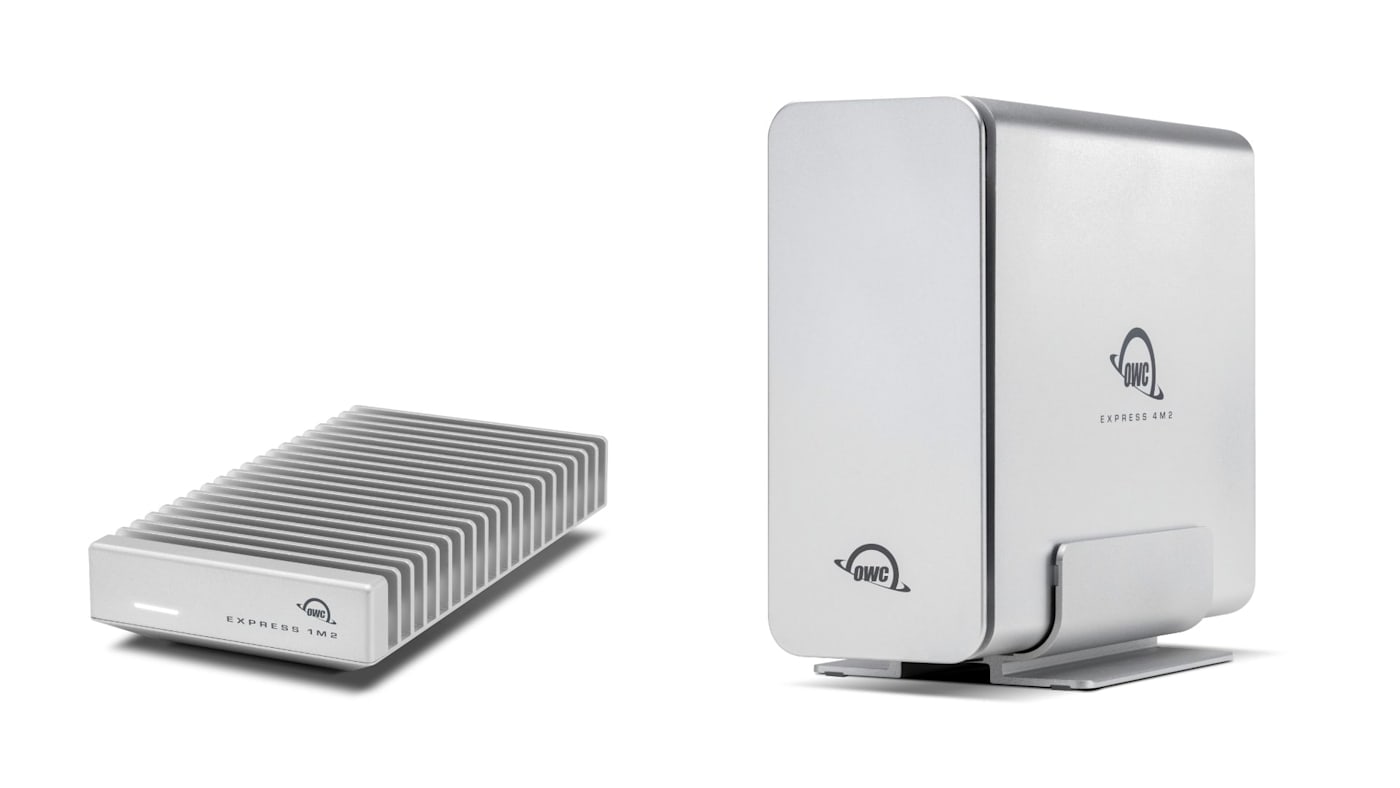
For portable or space-conscious setups, the OWC Express 1M2 and OWC Express 4M2 bring NVMe SSD performance in compact enclosures. The single-bay 1M2 is an excellent cost-effective portable option, while the quad-bay 4M2 is built for users who need serious capacity and speed in a relatively small desk footprint. Both are DIY-ready: they can be purchased as empty enclosures and used with M.2 blades you already own, and easily upgraded to higher capacities later.
Copy 2: A Redundant Physical Copy
If you only have one backup and that drive fails when you need it for data recovery, well…your backup plan wasn’t much of a backup was it? That’s why the second copy in your 3-2-1 plan needs to be a separate physical drive from your primary backup. It’s the backup for your main backup. Here are a couple of options for creating this redundant backup.
Option A: A Second Local Backup Drive
The simplest approach is to grab a second external drive and designate it as an additional backup destination. This will create a second copy of your backup. On a Mac, Time Machine supports multiple backup drives and rotates between them automatically. Just plug in a second drive and add it in Time Machine settings the same way you added the first. On a PC, File History can likewise be pointed to a second external drive to maintain a duplicate version history. Either way, you now have two independent copies of your data.
Option B: A Bootable Clone or Full Disk Image
The other option is a bootable clone. Rather than a copy of your backup, a bootable clone is a complete, exact copy of your computer’s internal drive: files, the full operating system, apps, and settings. In a worst-case scenario where your machine won’t start, a bootable clone means you can be up and running again in minutes. On Mac, tools like Carbon Copy Cloner and SuperDuper make this straightforward and can run on an automatic schedule. On PC, Macrium Reflect is the standard equivalent, creating full disk images that can restore your entire system to new hardware if needed.
Whichever route you choose, keep this second drive physically separate from your first, ideally in a completely different physical location, to protect against environmental threats like fire, flooding, or theft.
OWC Drives for Your Redundant Copy
For a portable second copy, the OWC Envoy Pro Elektron is a standout choice. This little tank is crushproof, dustproof, and waterproof, with USB 3.2 Gen 2 speeds up to 1,011MB/s in a tiny, bus-powered form factor. It’s the kind of drive you can toss in a bag or a desk drawer without a second thought. Plus, it comes in capacities up to 4TB. For something even more compact, the OWC Envoy Pro mini offers reliable portable SSD performance in an impressively small package, making it easy to keep a second copy tucked away or rotated offsite periodically.
A Note on RAID: Sorry—It Doesn't Count.
If you own a RAID-capable drive like the OWC Gemini or Express 4M2, you might be wondering where a drive with built-in redundancy fits into this strategy. The short answer: RAID is not a backup. A RAID provides you with increased protection against a single copy of your data being wiped out by a hardware drive failure.It does nothing to protect against accidental deletion, ransomware, theft, or a disaster that takes out the whole unit at once. Every drive in a RAID array is exposed to those threats simultaneously. That means a RAID array, however it’s configured, still counts as one copy in your 3-2-1 plan, not two.
For a full breakdown of how RAID actually works and which configuration might fit your setup, see our complete guide to RAID here.
Copy 3: Offsite With Backblaze
Copies one and two of your backup data are both likely sitting in the same home or office. That means a single bad event such as a fire, a flood, or a burglary could take them both out simultaneously. That’s why Copy 3 of your backup needs to live somewhere else entirely, and cloud storage is the most practical way to make that happen for most people, regardless of platform.
Backblaze is the gold standard for individual Mac and PC users alike. For a low flat monthly fee, it backs up your entire computer continuously in the background and keeps your data accessible from anywhere. It requires almost no configuration, runs quietly alongside your local backup tool, and maintains 30 days of version history on every file. Even if ransomware corrupts your files, or you delete something and don’t notice for a few weeks, you can still recover it.
Plus, if you're unable to download your backup for whatever reason, Backblaze will ship your data to you. Backblaze does charge a deposit for the drive, but it is fully refunded once the drive returns back to them.
Two Ways to Use Backblaze in Your 3-2-1 Plan
The simpler method for Backblaze backups, and the one most readers should use, is to let Backblaze back up your computer directly, independent of Time Machine or File History. Backblaze continuously monitors your files and syncs any changes to the cloud automatically, with no extra manual steps. In the event you need your data, you can simply download it or have Backblaze ship you a recovery drive.
The more thorough approach, for those who want a cloud copy of their complete local backup history, is to pair Backblaze B2 cloud storage with a third-party tool that can target your Time Machine or File History volume directly and sync it to the cloud. Arq Backup supports this on both Mac and Windows. This is more complex to configure but gives you a full offsite mirror of your entire backup catalog, not just your live files. You can checkout the Backblaze support article here for a guide on how to do this.
The Moment of Truth
With this plan in place, here’s how things play out if your computer crashes, won’t boot, or is lost or stolen entirely:
- Use your Time Machine or File History backup to restore a repaired or new machine to the state it was in before the failure.
- Boot from your clone or disk image on another machine and keep working while you sort out a repair or replacement.
- Lost a single file? Open Time Machine or File History and restore an earlier version in a few clicks.
- Computer stolen or destroyed in a disaster along with your physical backups? Log into Backblaze, download your files, and restore to a new machine from anywhere.
With the full 3-2-1 plan in place, no single disaster takes you down. Ever.
Looking for the right external drive to build your 3-2-1 backup plan? Browse OWC’s full lineup of Mac- and PC-compatible external drives and SSDs, built for reliability and ready for whichever backup tool you rely on.
Other topics you might like
How to Maximize Your New M5 Max and M5 Ultra Mac Studio: Storage, Docking, and Connectivity
Updated on Sep 16, 2026

Get the Most Out of the New M6 and M5 Pro Mac mini with These Docks and Drives
Updated on Sep 3, 2026
How to Choose the Right Desktop Storage: Capacity, Speed, and Interface Explained
Updated on Sep 2, 2026