 USA + International
 OWC Canda
 OWC Europe
How to create a travel YouTube Channel: Part 1—Shooting and Editing
Want to know how to shoot a travel vlog? We talk you through everything from planning ahead of your trip to shooting and editing your travel films.
Josh Edwards • Aug 23, 2021
If you’re at the beginning of your journey on how to shoot a travel vlog and be a travel vlogger, it can all seem a little daunting. Where do you begin? How do you shoot a travel vlog? How do you create a YouTube channel? How do you get your video seen by an audience? If you want to be successful, there are a lot of different factors to acknowledge and address.
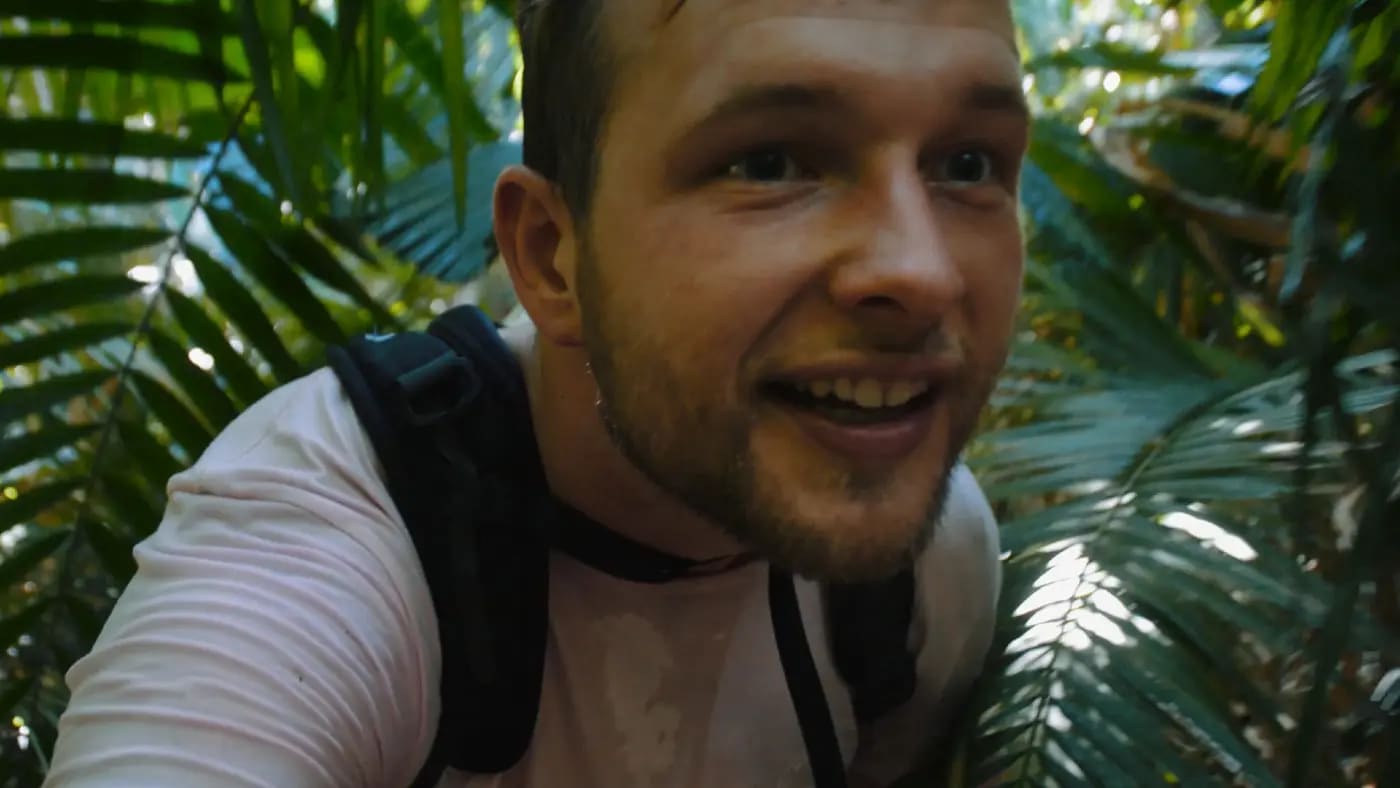
For the past nine months, I’ve been living and traveling in Indonesia, recounting my experiences in my YouTube series “The Lombok Life.” I’ve learned a lot about shooting while on the go, editing quickly, using drones, creating and promoting a channel, etc. I plan to share everything I’ve learned with you.
In this series, I’ll be breaking it all down from start to finish, giving you everything you need to know to get you started. In this part one, we’ll be taking a look at the process of actually creating a travel video. Because if you don’t have any travel videos to share, the chances are your new YouTube channel might not perform so well! Below, I cover everything from how to write a travel vlog, how to prepare for shooting, the process of actually filming and then finally, how to edit a travel vlog.
Let’s get into it.
Pre-production

As with any other film production (no matter the scale), it’s great to be well prepared. As the old adage goes: “Failure to prepare is preparing to fail”. Particularly when shooting while traveling, the scale of the failure and possibilities of things going wrong are vast. So, even though this may just be a YouTube vlog, I’d say pre-production is essential.
Research
If you know where you’ll be headed before you get there, take the time to do your research on the place. Find out everything you can about your destination. Some key things to address may be:
- What’s the weather and climate like?
- How safe is this destination? (Are there any ongoing wars, what are crime rates like, how do they react to people filming with cameras)
- What is the history and context of this destination?
- Where’s best to eat and stay?
Location scout
Obviously, you can’t physically do a location scout on a place before you visit; but we do have some great tools at our disposal. Utilise Google Earth and other tools that show you what a place looks like with street view. There are apps such as Sun Seeker and The Photographer’s Ephemeris that allow you to find out where the sun is going to be in any given location at any time and how it’s going to fall across the environment.
Furthermore, read up on message boards and forums and find out what others are saying about your destination on YouTube. This will help give you a “fee”l for a place, find out what’s interesting about the destination, and by reading through comments sections, see what audiences enjoy and want to know more about. Think about how you can cover this destination from a unique and interesting perspective.
How to write a travel vlog
The very essence of a travel vlog is that it’s somewhat spontaneous and happens in the moment as you travel. Like any adventure, you can’t always predict and know everything that’s going to happen at all times (that’d be a very boring travel experience). However, I think it’s still worth writing up some sort of pre-production script or document that gives you a reference point and understanding of what it is you want to achieve.
You may want to write a general summary of the story you’re trying to capture. For example, “I want to tell the story of navigating New York’s subway system for the first time” (good luck!) This becomes your north star.
You may be able to write out some voiceovers, if that’s part of your style, as well as plan specific shots and sequences you have in mind. For example, you know for certain that you need an intro to the video, as well as an outro. This will all help form the next part of your pre-production.
Shot lists and production calendar
When you start to build up an idea of the locations where you want to film, and when (for example, Grand Central station with the early morning light filtering through), you can create a shot list and production calendar.
A production calendar tells you where you need to be and when. From my own experience, it’s best to build flexibility into the timeline. If your schedule is too rigid, one misstep could unravel the whole thing and cause a lot of stress and pain. Be flexible and prepare to adapt. I’d recommend padding things with 24- to 48-hour windows.
Meanwhile, having a shot list will streamline your shoot. Rather than just showing up at a destination and not really knowing where to begin, you’ll have a plan that can guide you and ensure you get everything you need. There’s nothing worse than getting to the edit and realising you missed out on three vital shots, knowing you can’t just fly back and get them.
How to shoot a travel vlog
Alright, now that you’ve prepared your shoot and you’re fresh off the plane, it’s time to shoot!
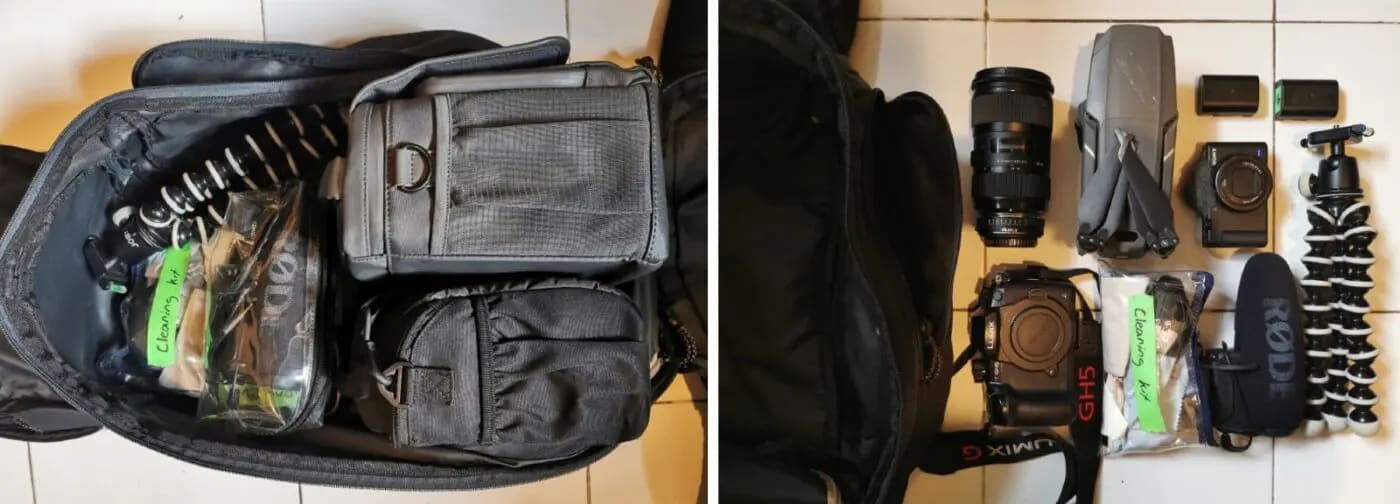
Gear
There was never going to be an article looking at how to shoot a travel vlog without covering gear. Sorry! In fact, you could write a whole article about this one subject. I’ll try to keep it brief for you.
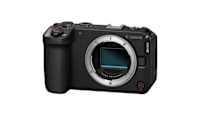
The basics of what you need in a great travel vlogging camera are this:
- Something that’s small and compact. You’re going to be on the move all day and the last thing you want is a big, heavy camera that’s difficult to travel with. A) your body won’t appreciate it and B) you also draw way more attention to yourself. Keep your vlogging camera as small and lightweight as possible.
- Ensure you have good autofocus. As this is a travel vlog, you’ll presumably be turning the camera on yourself and others quite often. Having a solid, reliable autofocus means you don’t have to keep worrying and checking about whether or not your face is in focus. Just press the red button and start shooting.
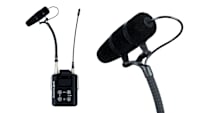
- Get a good microphone. Good audio is everything to a YouTube video. You need to ensure there are no hiccups with this.
- Make sure you have spare batteries. When travel vlogging, you’ll be on the go all day, every day. The chances to charge up only really come at the beginning and end of a day at your accommodation, so make sure you have enough juice to see you through.
- Don’t bring too many lenses. If you’re shooting on a camera that has interchangeable glass, don’t be that guy. I’ve made this mistake myself and it’s just not worth it. Pick one lens (two at the most) and stick with it. Something that’s a little versatile and gets the shots you need. Anything more is just filling up your bag space and weighing you down.
Alongside this, there are some other additional cameras you may want to pack:
- Drones. Drones can really help to flesh out a scene with beautiful aerial imagery and stunning shots that draw an audience in. I’d say they’re pretty essential for travel vlogs. Just do yourself a favour and first check if the country you’re visiting is drone-friendly.
- GoPros. If you’re getting wet or active, GoPros are always a Go-To. They’re tiny as well, which is great for travel.
Story is king
I’m not here to tell you how to shoot everything. Ultimately, if you’re going to be successful on YouTube, you’ll need to forge your own style and way of filming.
What I will say is this: the gear doesn’t matter and the beautiful shots mean nothing if you don’t have a story. The story is what will keep your audience watching – they want to see you go on this journey and feel like they’re there with you.
My advice is to focus on yourself and the other characters within the vlog. Share with the camera what you’re all experiencing through all of your senses:
- How do you feel?
- What can you smell?
- What do you see?
- What can you taste?
Don’t be afraid to show the raw side of things too. If an experience is bad, be honest about it. An audience always appreciates honesty and can tell if you’re being sincere or not. Sometimes, travel disasters can make for the best stories anyway!
The most important thing
You should consider hiring a fixer. Seriously, these people are the crucial cog in so many of my travel film productions. A fixer is a local, somebody who knows the lay of the land. They know people and can pull strings, they understand the local customs and culture, they can translate accurately and perhaps they can even drive or carry gear. They’ve proved invaluable to me several times.
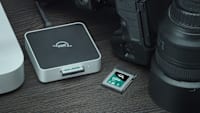
Backing up footage
Ok so I know I just said that a fixer is the most important thing when it comes to shooting, but this is probably more pressing. Back. Up. Your. Footage. And do it regularly.
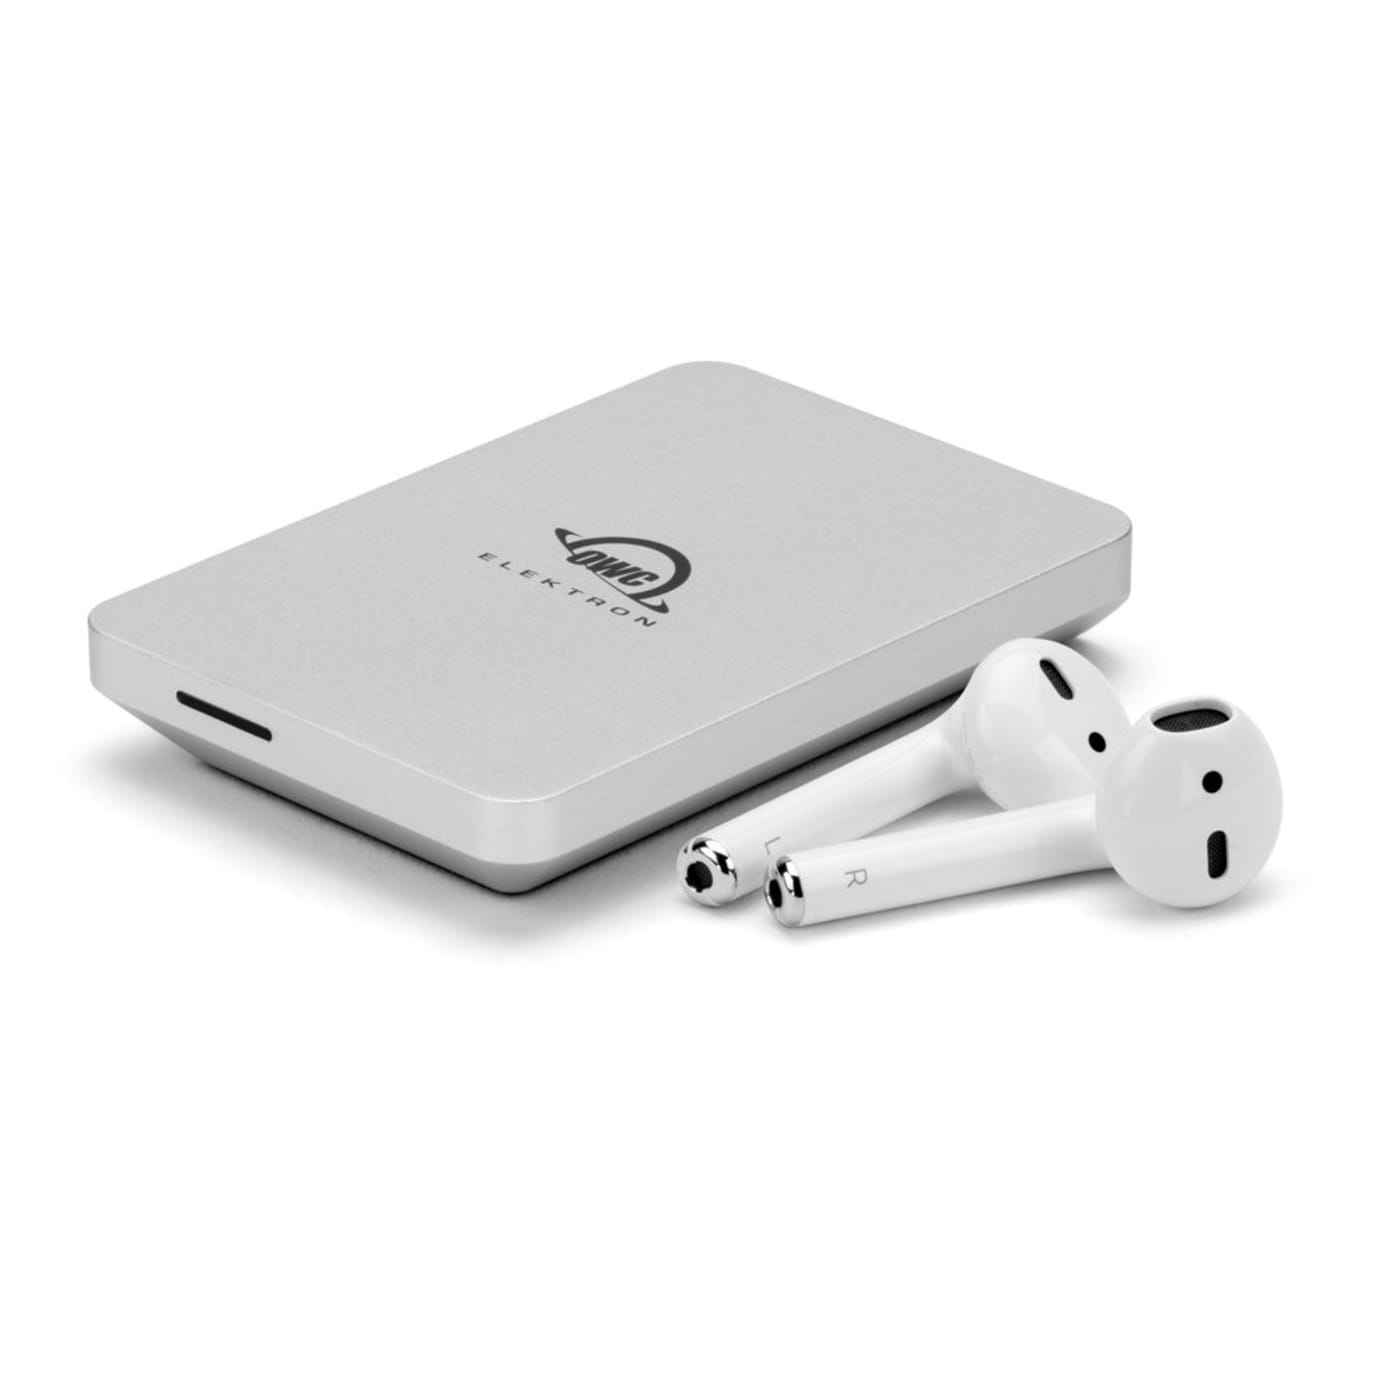
A perfect drive for travel vlogging is something like OWC’s Pro Elektron series. It’s small, rugged, and with drive space ranging from 240 GB to 2TB, you’ll have more than enough space for daily shooting and off-load.
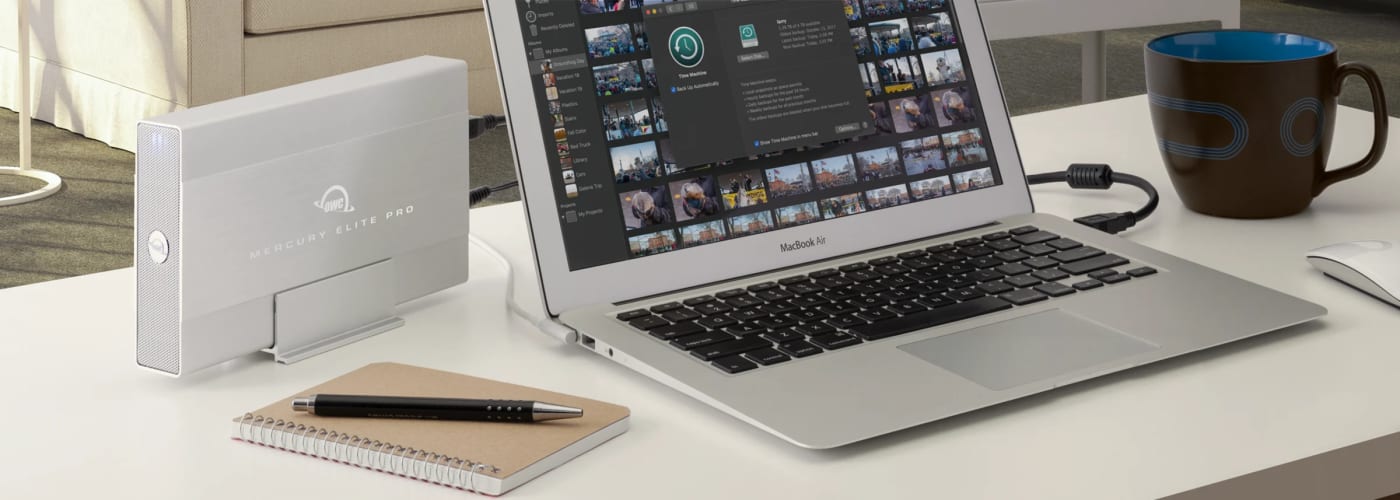
At the end of each day, the footage from my cameras is offloaded onto one of my drives and then mirrored over to the other. (The Mercury Elite Pro would be ideal for something like this.)
Whenever I travel, one drive comes with me in personal carry-on luggage and the other travels in check-in luggage. This minimises the risk of losing your footage or having the drives somehow damaged. Even if you lose one bag or one drive, you’ll still have the other. Don’t cut corners on this!
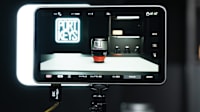
How to edit a travel vlog

You’re home, the trip has (hopefully) been a great success, and now it’s time to start editing. Here are my tips on how to edit a travel vlog.
Offloading and backup procedure
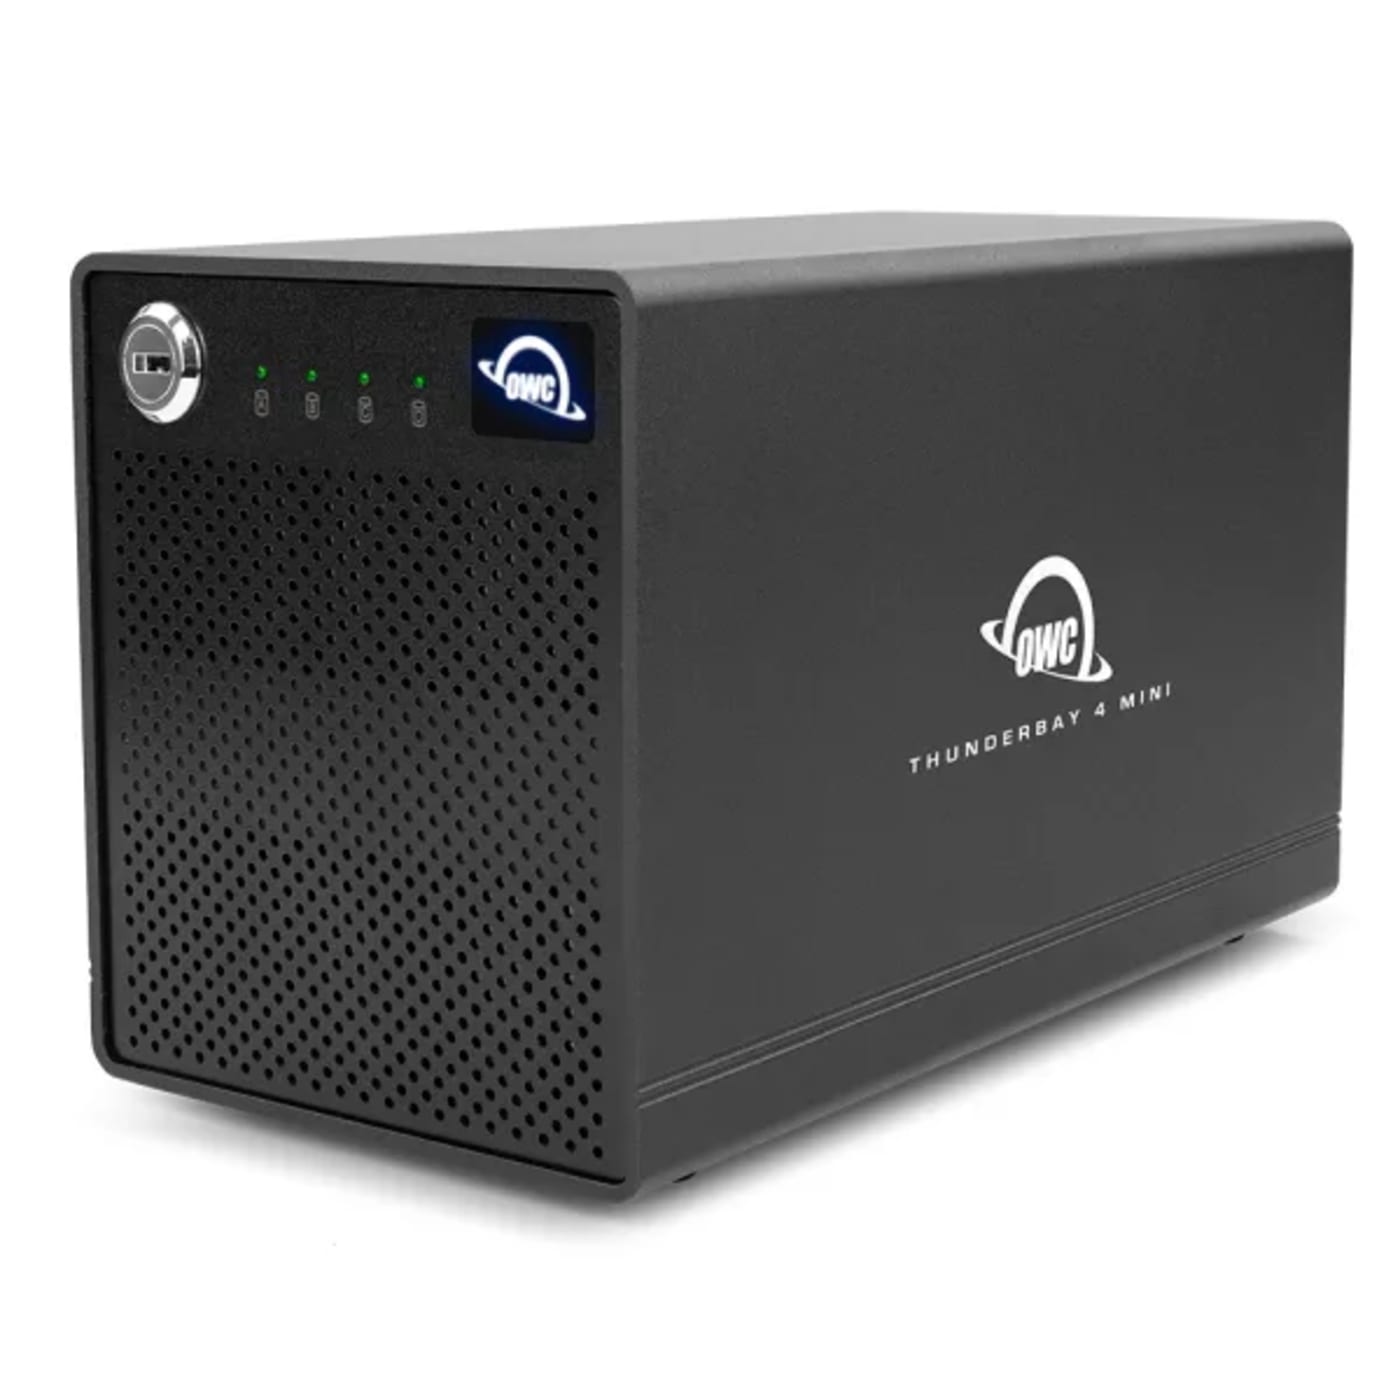
Before I touch any editing software, I need to ensure my footage is safe. I copy over all of the footage from my portable hard drives onto a much larger, static 8TB drive. I then mirror this on a second 8TB drive. Safe and sound. If you have the budget, you can’t beat using a RAIDed system like the ThunderBay 4 Mini, or better. And as any good 3-2-1 backup solution has, uploading to some kind of offsite or cloud-based solution like Backblaze would be wise.
How to organize footage
When you’re shooting a travel vlog, the chances are that you’ll come away with a lot of footage. For your own sanity in the edit, it’s important to keep all of it as organized as possible. Here’s my method for doing so:
- Firstly, wherever I’m looking to store this project, I create a folder for media. Within this, if the travel vlog has been shot over multiple days (almost always the case), I’ll create multiple folders for day one, day two, day three and so on.
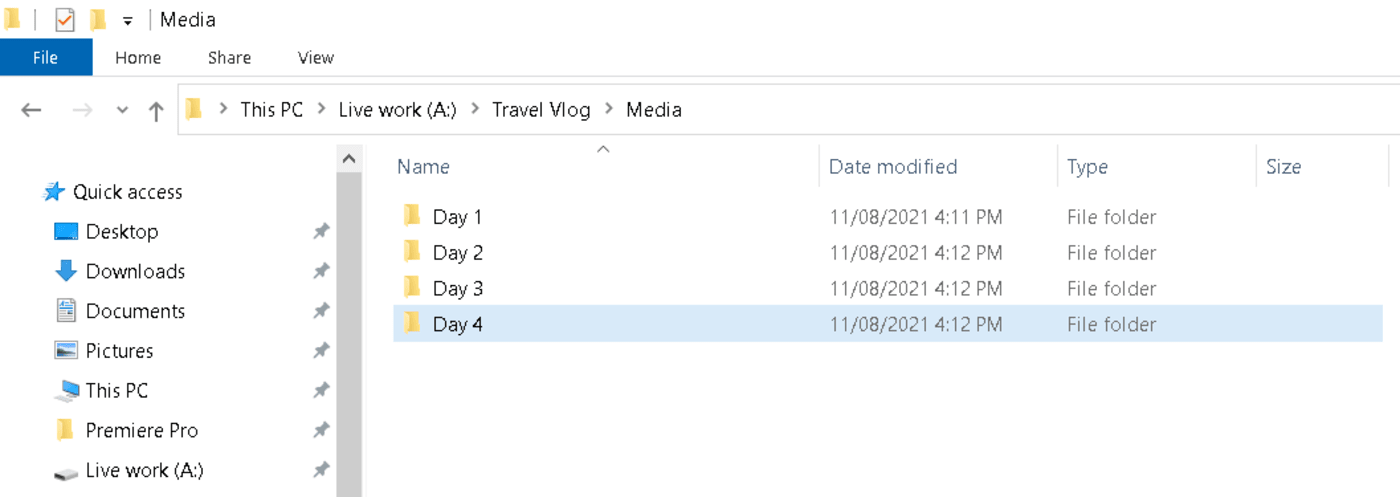
- Then, within these folders, I create individual folders for each of my cameras. See the example below:
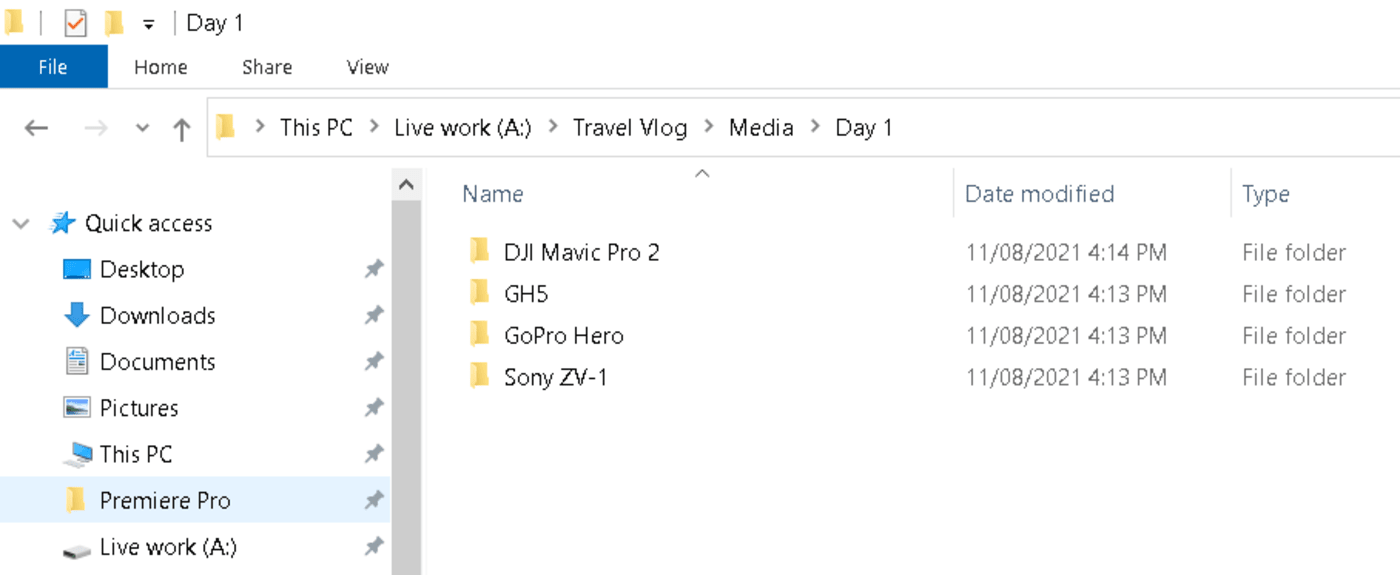
There are different ways to organise so do what works best for you. At the end of the day, it all comes down to streamlining the edit process and making it as smooth as possible.
Tips for editing
How to edit a travel vlog could easily be its own article so, while I can’t cover everything here, I do have some important tips to remember:
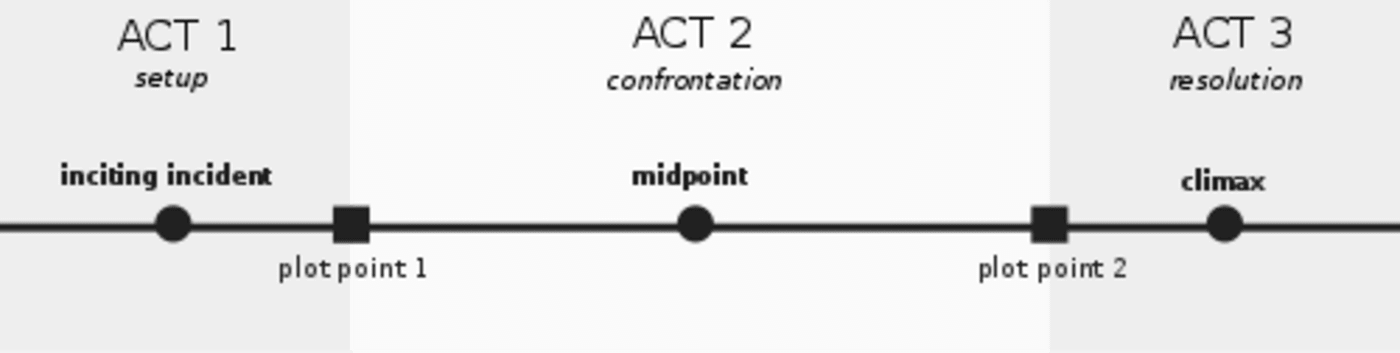
- Figure out your story. As I mentioned in shooting, keep the story at the heart of everything. When you’re working with your footage, ask yourself how it’s going to craft and tell a great story. How does each clip contribute to this? Using the 3-act structure is a great way to do this
- Show the human moments. It can be very easy to just focus on the beautiful shots and mesmerising images you captured; but remember to balance this with the human moments. If you want to grow on YouTube and have your channel succeed, you need to show your personality and offer your insights. This is what is going to keep people coming back.
- Edit for YouTube. Editing for YouTube is important. As a rule of thumb on the platform, you’re aiming for your video to run anywhere between 10 to 25 minutes. Remember that when someone clicks onto your video, the first few seconds are vitally important. Ensure that your intro really draws people in and encourages them to watch more. In the first 10 seconds, someone will decide whether they’re going to keep watching or not.
Wrapping up
So, those are my top tips on how to shoot a travel vlog. Discovering how to be a travel vlogger is not easy but, by being prepared ahead of time, having procedures in place, and knowing what you want to achieve, you can ensure that everything goes as smoothly as possible. At the end of the day, you’re doing this because you love it, so remember to have fun and enjoy the adventure too.
Next week, in part two of this series, I’ll be taking a look at how to set up your YouTube travel channel. Stay tuned.
Other topics you might like
The New Portkeys LH7C is a Rugged, Bright, Yet Affordable On-Camera Monitor
Updated on Jun 16, 2026
Grab Great Audio From Anywhere with This New DPA 4097 CORE+ Micro Shotgun Microphone
Updated on May 29, 2026
Canon’s New EOS R6V Adapts the R6 III Into a Video-First Body Aimed at Creators
Updated on May 13, 2026