 USA + International
 OWC Canda
 OWC Europe
Pro Tools Tips and Tricks for Beginners
Some audio tips for beginners that will help you work faster and keep your sessions better organized.
Josh Sularski • Sep 27, 2021
Want to make your Avid Pro Tools experience even more efficient? In this article, we’ll cover some tips for beginners that will help you work faster and keep your sessions better organized.
Quickly create and record-enable tracks
Let’s start with some shortcut combinations to create and record enable tracks.
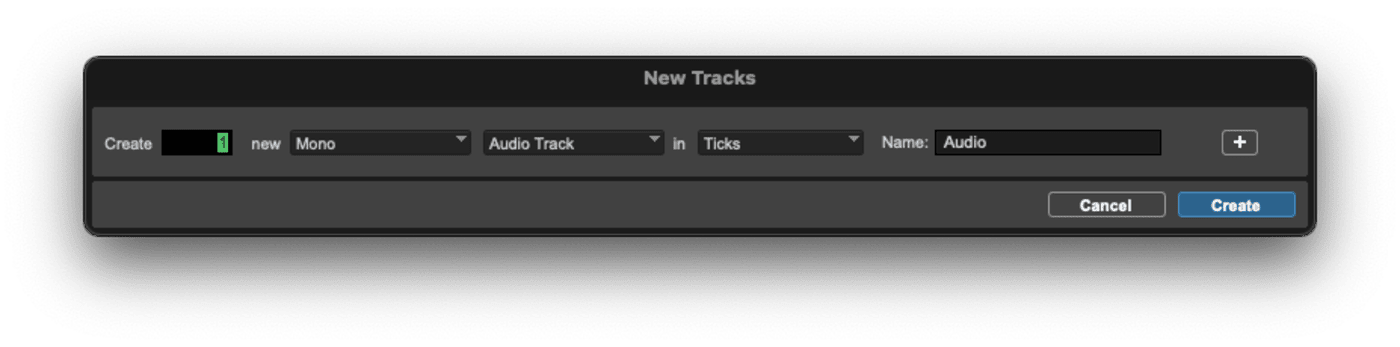
Create a new track
Mac: Command + N
Windows: Control + N
Record enable a track or tracks
Record enable one track: As you probably already know, simply click the dark red Record Enable button in either the Mix or Edit window. The Record Enable button will blink red when it is enabled.
Record enable all tracks simultaneously
Mac: Option + click Record Enable Button on literally any track
Windows: Alt + click Record Enable Button on literally any track
Record enable a group of tracks
- Shift + click to select the desired tracks
- Shift + Option + click Record Enable on one of the tracks in that group on Mac (or Shift + Alt + click on Windows).
- You should now have blinking Record Enable buttons on the selected tracks.
[Record Safe Mode] There’s a handy feature in Pro Tools called Record Safe mode. Enabling any track in Record Safe mode will prevent that track from being set to Record Enable by mistake. This is especially useful during tracking sessions that have a lot of moving pieces; the last thing you want to do is accidentally record over the perfect take and not realize it until much later.
While Pro Tools does not do destructive recording by default, it can be a logistical nightmare to sift through multiple files to find the take that you want to work from after you’ve accidentally recorded over it.
Enabling Record Safe mode is easy
Enable Record Safe mode for one track:
Mac: Command + click Record Enable
Windows: Control + click Record Enable
Enable Record Safe mode on all tracks:
Mac: Command + Option + click Record Enable on any track
Windows: Control + Alt + click Record Enable on any track
[Power User Tip: Toggle Record Modes]
Pro Tools offers several record modes, including non-destructive, destructive, quickpunch, and loop. They pretty much function just like they sound.
While most people will use non-destructive the majority of the time, you are likely to find the other modes useful as you work your way through a session, particularly loop and quickpunch.
To quickly switch the record mode, simply use the combination:
Mac: Control + click on the Transport record button
Windows: Right-click the Transport record button
Edit Mode Shortcuts

Beginners and experts alike should know how to quickly shift between the four edit modes in Pro Tools — Shuffle, Slip, Spot, and Grid.
In Shuffle Mode (shortcut key: F1), your audio region will always snap to either the beginning of your session or to the beginning or end of another region. For example, if you move a region in front of an existing region, the pre-existing region will be moved to make room for the new region you are placing. This can be useful for building loops so you can quickly move elements of your beat around.
Slip Mode (shortcut key: F2) is often the default mode for most Pro Tools editors. With Slip Mode, all regions can be edited and moved around independent of one another. Want to drop a region on top of another region? No problem. Then you can use tools like the Trim tool to adjust the boundaries of your new and pre-existing clip. It’s the easiest mode to use for editing vocals and most instruments.
Grid Mode (shortcut key: F4), which is similar to Slip Mode, is ideal if you are working with programmed arrangements and/or strict metronome-based timing. Grid Mode operates a lot like it sounds — you are free to make edits with the various edit tools, but each edit will snap to a grid that’s based on the beat division you’ve set up.
Spot Mode (shortcut key: F3), the least popular mode, is useful when you want to place clips or regions at specific locations. While not often used in standalone music production, Spot Mode is particularly useful when you need to sync audio with video and exact timestamps.
Customize Your I/O Setup

Whether your audio interface is entry-level or more advanced, it’s a good idea to take a few minutes and name all of your inputs and outputs in the Pro Tools I/O Setup window. This is an often overlooked organizational step, but you will be very glad you took the time to do so. This is especially true if you have a multi-channel interface with a bunch of analog and digital I/O. For example, digital inputs and outputs are usually cryptically labeled as regular numbered inputs in most DAWs. They often come after the analog inputs, but if your interface supports multiple digital protocols (SPDIF, AES, ADAT, etc), it can be difficult to know which input to select without trial and error. Take a few minutes, label your I/O in Pro Tools, and you’ll be set for years.
Use Track Comments
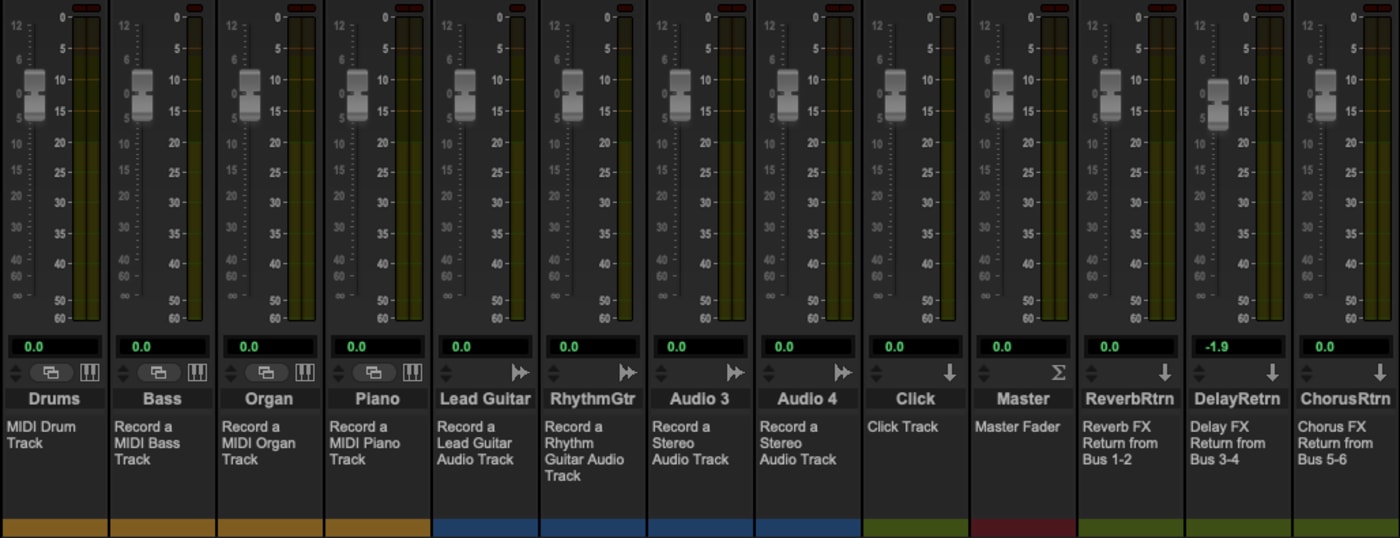
Another underutilized feature in Pro Tools is Track Comments. If you’re not already familiar, think of them as a mini digital scribble strip for each track. Use them to make notes about mic placement, preferred takes, or whatever you might find relevant. Over the years I have found them to be very valuable when collaborating with producers, artists, and engineers. A simple track comment can help avoid confusion when passing session files back and forth. You can quickly show or hide Track Comments in both the Edit and Mix window views by using the “View” dropdown menu.
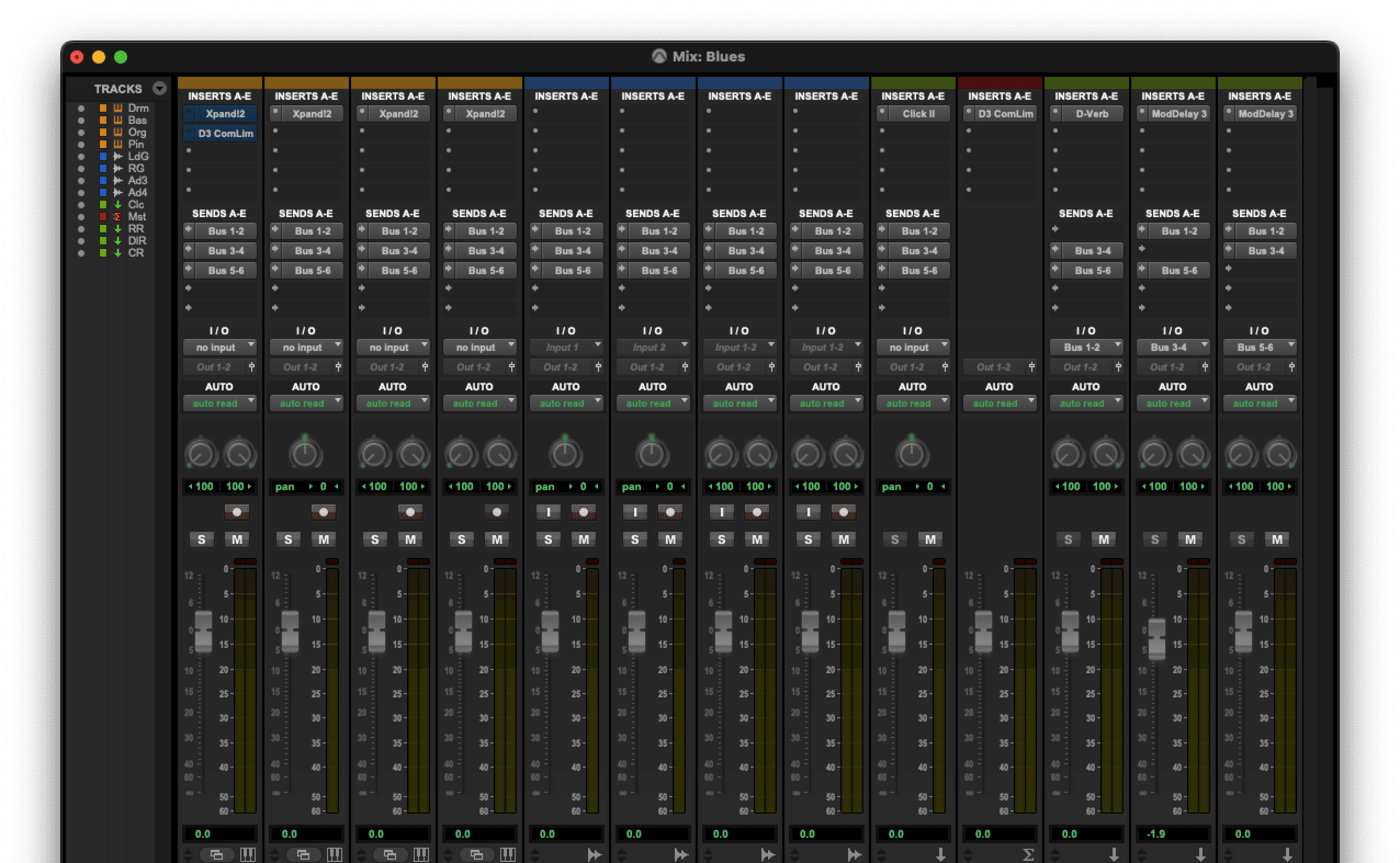
Bypass All Plugins Per Track
You’re deep into mixing a track when something about the guitar just isn’t feeling right. In fact, maybe you’ve spent hours on a mix and have already forgotten what the original guitar track sounds like. With a couple of keystrokes and a mouse click, you can quickly bypass all the plugins on any track and hear it completely unprocessed.
Mac: Control + click any insert and that plugin and all plugins below it will be bypassed
Windows: Control + click any insert and that plugin and all plugins below it will be bypassed
Alternatively, you can also bypass an entire row of plugins and/or sends in the mix window view:
Mac: Command + Option + click any insert or send to bypass the entire row in the mix window view
Windows: Control + Alt + click any insert or send to bypass the entire row in the mix windows view
By the way, this also works if you want to bypass all of the sends on any single channel as well.
Simply repeat to re-enable all the plugins on that track. You also have the option to take any single plugin in and out of bypass.
Mac: Command + click
Windows: Control + click
Stay tuned for the next installment of Essential Pro Tools Tips and Tricks, as we’ll cover some additional ways to help you familiarize yourself with this powerful DAW.

Other topics you might like

Mountain Lodge Meets Music Magic: Inside Dark Horse Recording with Dave Hagen
Updated on Jun 4, 2026
Grab Great Audio From Anywhere with This New DPA 4097 CORE+ Micro Shotgun Microphone
Updated on May 29, 2026
Upgrade Your Live Performance Sound with the Shure SLXD24D+/N8C Dual-Channel Wireless Mic System
Updated on May 28, 2026

More Than Two Decades of Trust: How Prime Recording Relies on OWC to Protect Every Note
Updated on May 7, 2026