 USA + International
 OWC Canda
 OWC Europe
NVMe Storage Issue with the new Mac Studio and Mac Pro with M2 Chips
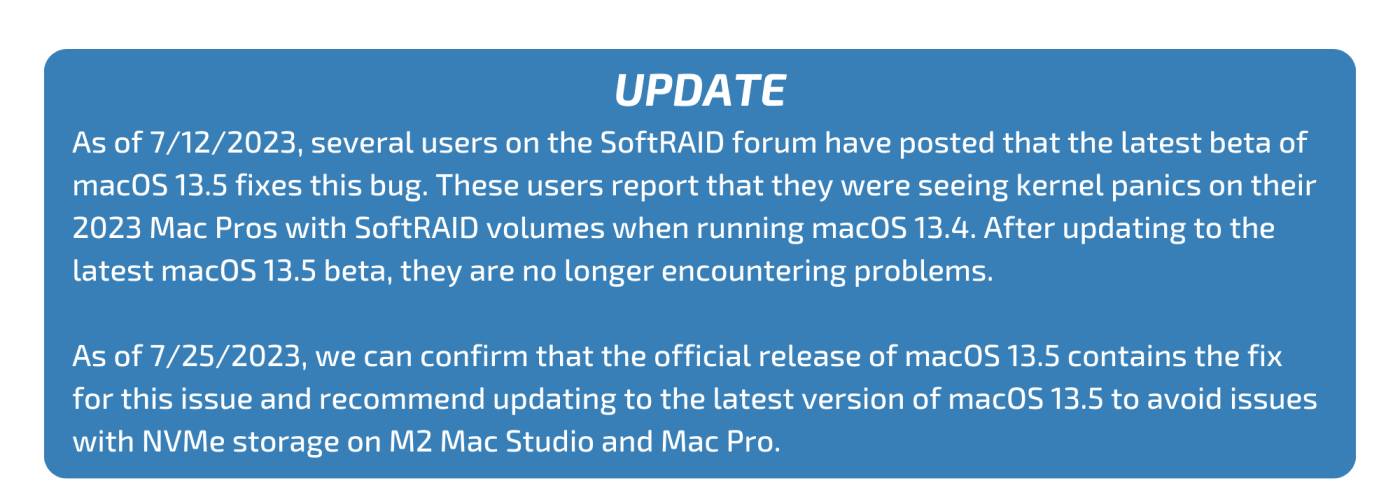
UPDATE: Bug is fixed in macOS 13.5
Tim Standing • Jun 28, 2023
In this note:
- A bug has been discovered in version of macOS 13.4 unique to the 2023 Mac Studio and Mac Pro and causes the computers to restart whenever four or more SoftRAID NVMe blades are attached.
- Affected OWC products include Accelsior 8M2 or 4M2, Thunderblade, and Express 4M2 or U2 Shuttle.
- Apple must issue a fix in macOS to address the issue, but OWC has a workaround available until then.
At OWC, we are really excited by the new Mac Studio and Mac Pro with Apple’s latest M2 Ultra processor. These Macs promise to be absolute beasts; so much faster than the Intel Macs they replace, both in terms of CPU power and the speed with which they read and write large files.
We are especially excited because Apple’s product page for the new Mac Pro reports 26 GB/s from a RAID volume, a speed achieved using our Accelsior 8M2 PCIe card. The Accelsior 8M2 comes with 8 SSD blades configured as a SoftRAID RAID 0 volume. SoftRAID is OWC’s powerful software RAID application for macOS and Windows. SoftRAID enables you to easily create RAID storage with incredible speed and robust data protection.
The problem with NVMe blades on the new M2 Mac Studio and M2 Mac Pro
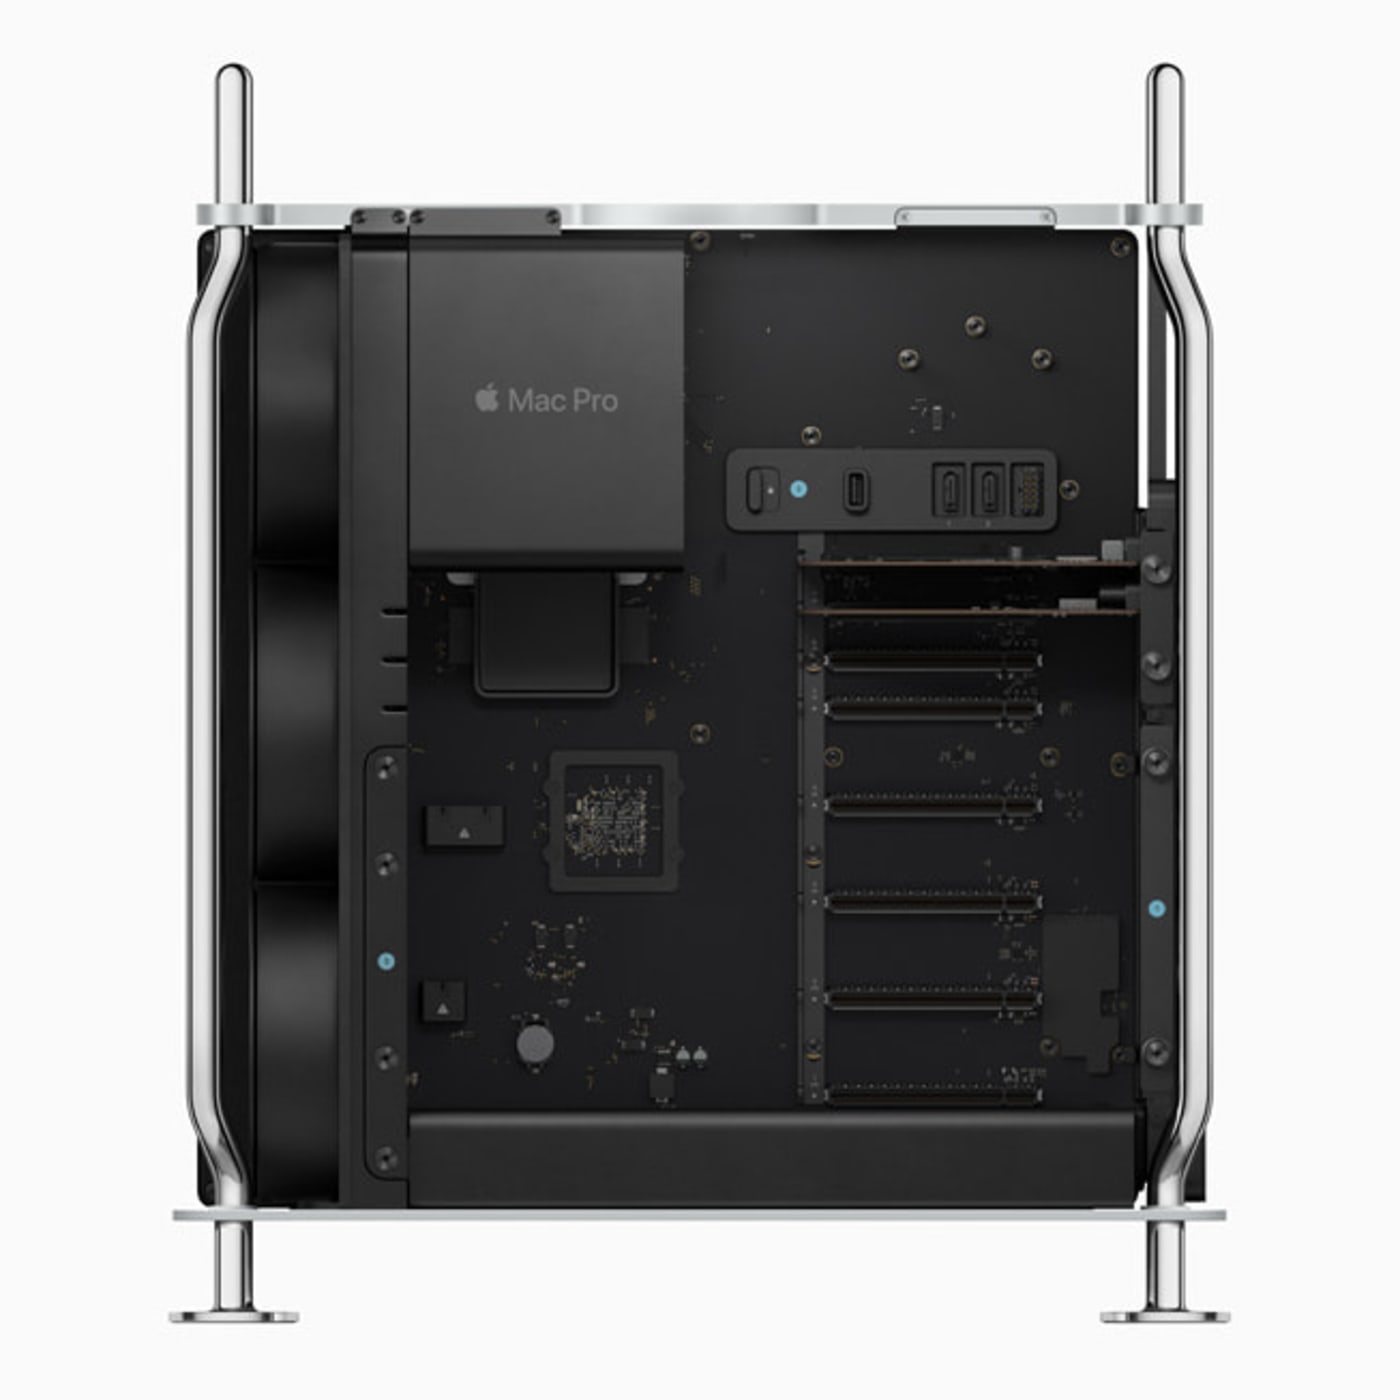
We were eager to get a 2023 Mac Pro of our own to test what the power of the Accelsior 8M2 makes possible on this new workstation. However, once we received our first 2023 Mac Pro and installed our Accelsior 8M2 card in it, we discovered that the Mac would not start up.
Upon further investigation, we discovered this problem affected most of our multi-drive storage solutions which use NVMe blades, both internal and external. Furthermore, we found that the issue affects these storage solutions only when connected to the new Mac Studio with M2 Max or M2 Ultra, or the new Mac Pro with M2 Ultra. OWC affected products include Accelsior 8M2 or 4M2, Thunderblade, and Express 4M2 or U2 Shuttle.
What is causing the problem?
After investigating further, we learned that the problem is caused by the way SoftRAID formats the blades in our products for use with macOS. This SoftRAID format was first introduced in 2002 and hasn't changed since 2010. It has decades of use behind it by hundreds of thousands of users and has been rock solid with every version of macOS since Mac OS X 10.2.
Apple is shipping a special version of macOS 13.4 with the M2 Mac Studio models and the new M2 Ultra Mac Pro. Unfortunately, this unique version of macOS 13.4 introduces a bug which causes the Mac to immediately restart as soon as 4 or more SoftRAID NVMe blades are attached. Again, this version is different than the version of macOS 13.4 which runs on all other Macs, isolating the problem to just these M2 variants of the Mac Studio and Pro.
Over the past week, we have investigated this problem and even have a workaround which allows macOS to avoid this bug. Unfortunately, we cannot ship this workaround at this time and must wait for it to be fixed in macOS. We are confident that Apple engineers will have a new version of macOS which fixes this problem in the very near future.
The workaround until Apple releases a fix
In the meantime, if you purchase one of our Accelsior 8M2 cards for use in the M2 Mac Studio or M2 Mac Pro, you can use AppleRAID, built into the Disk Utility application, to create a volume which will work on your NVMe based storage.
You may get significantly slower performance from the card using AppleRAID than you would using SoftRAID as AppleRAID does not support the TRIM commands which are required to achieve the highest throughput on modern blades. Once Apple ships a version of macOS which fixes this problem, you will be able to convert to using SoftRAID and gain all the speed and monitoring features which are not in AppleRAID.
To create a volume with your OWC storage solution using AppleRAID, you will have to use a Mac other than your new M2 Mac Studio or M2 Mac Pro. There are directions below. If you do not have another Mac available, please contact Customer Support so you can ship the card back to OWC and we will reconfigure the card for you with AppleRAID.
Directions:
To perform this task, you need a Mac Pro 2019, or separate computer with Thunderbolt 3, and a PCI-based enclosure, such as a Node Titan, or Flex 8.
The older computer can be running any version of Mac OS and SoftRAID.
In our example, we are using:
- MacBook Pro 2016
- Node Titan
- MacOS Catalina
- SoftRAID 7.5
Note: These steps will wipe all data from the drives. Please backup beforehand to avoid losing data.
1. Install SoftRAID
If SoftRAID is not already installed on this computer, install SoftRAID. Since you are not going to create a volume, you do not need to reduce Security, or enter a license number.
2. Connect/install your target device
i.e, If this is a Mac Pro 2019, install the Accelsior 8M2. If this is a Thunderblade, Express 4M2, or Node Titan with the Accelsior installed, connect your device with a Thunderbolt cable.
3. Launch SoftRAID application.
You will see the drives in the disks column and the volume in the volumes column.
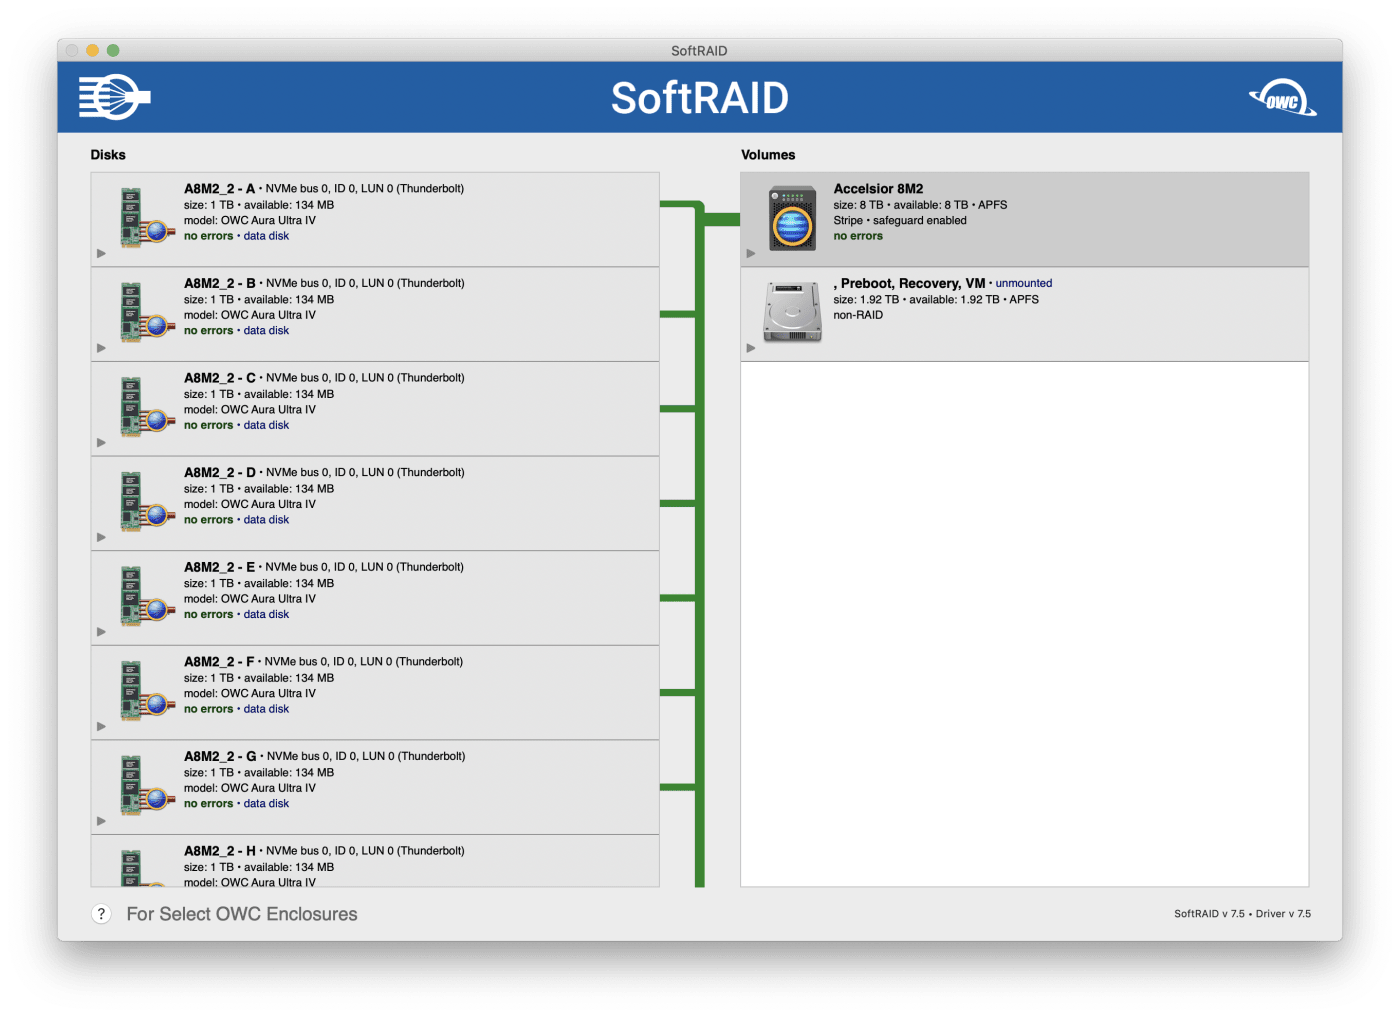
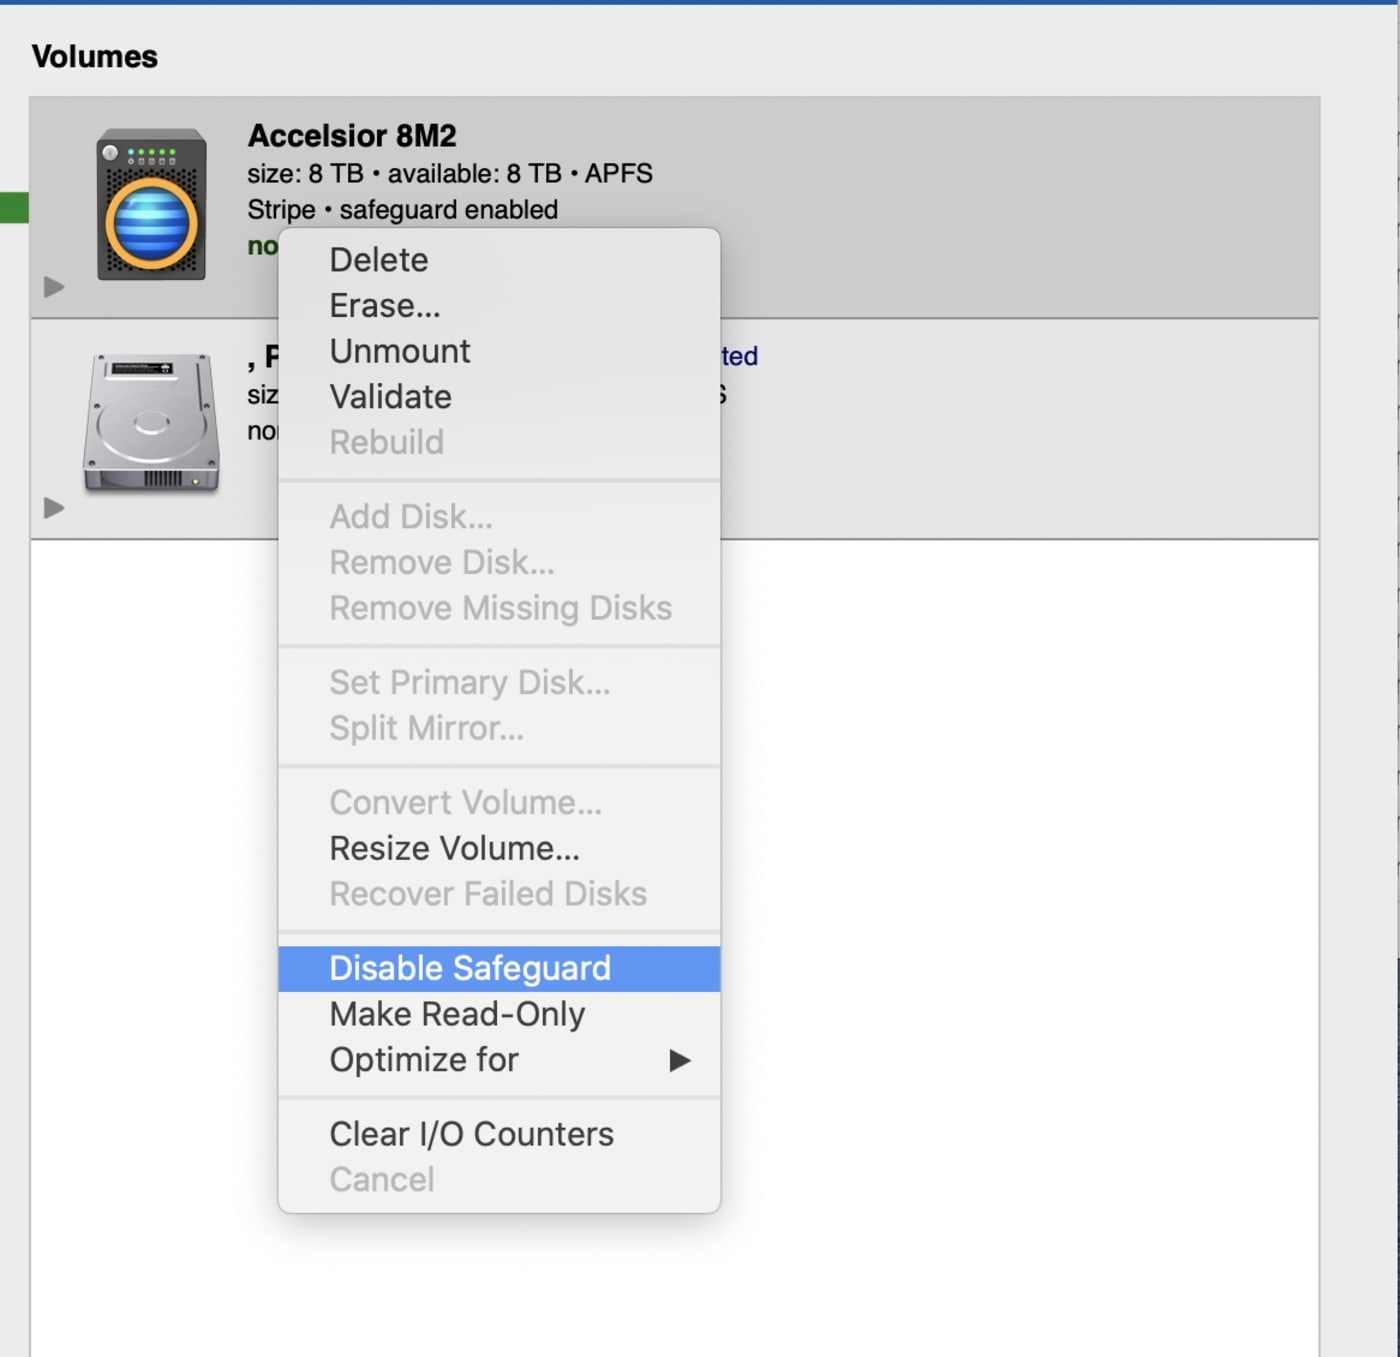
4. Disable Safeguard
Select the volume tile and select "disable Safeguard" from the volumes menu
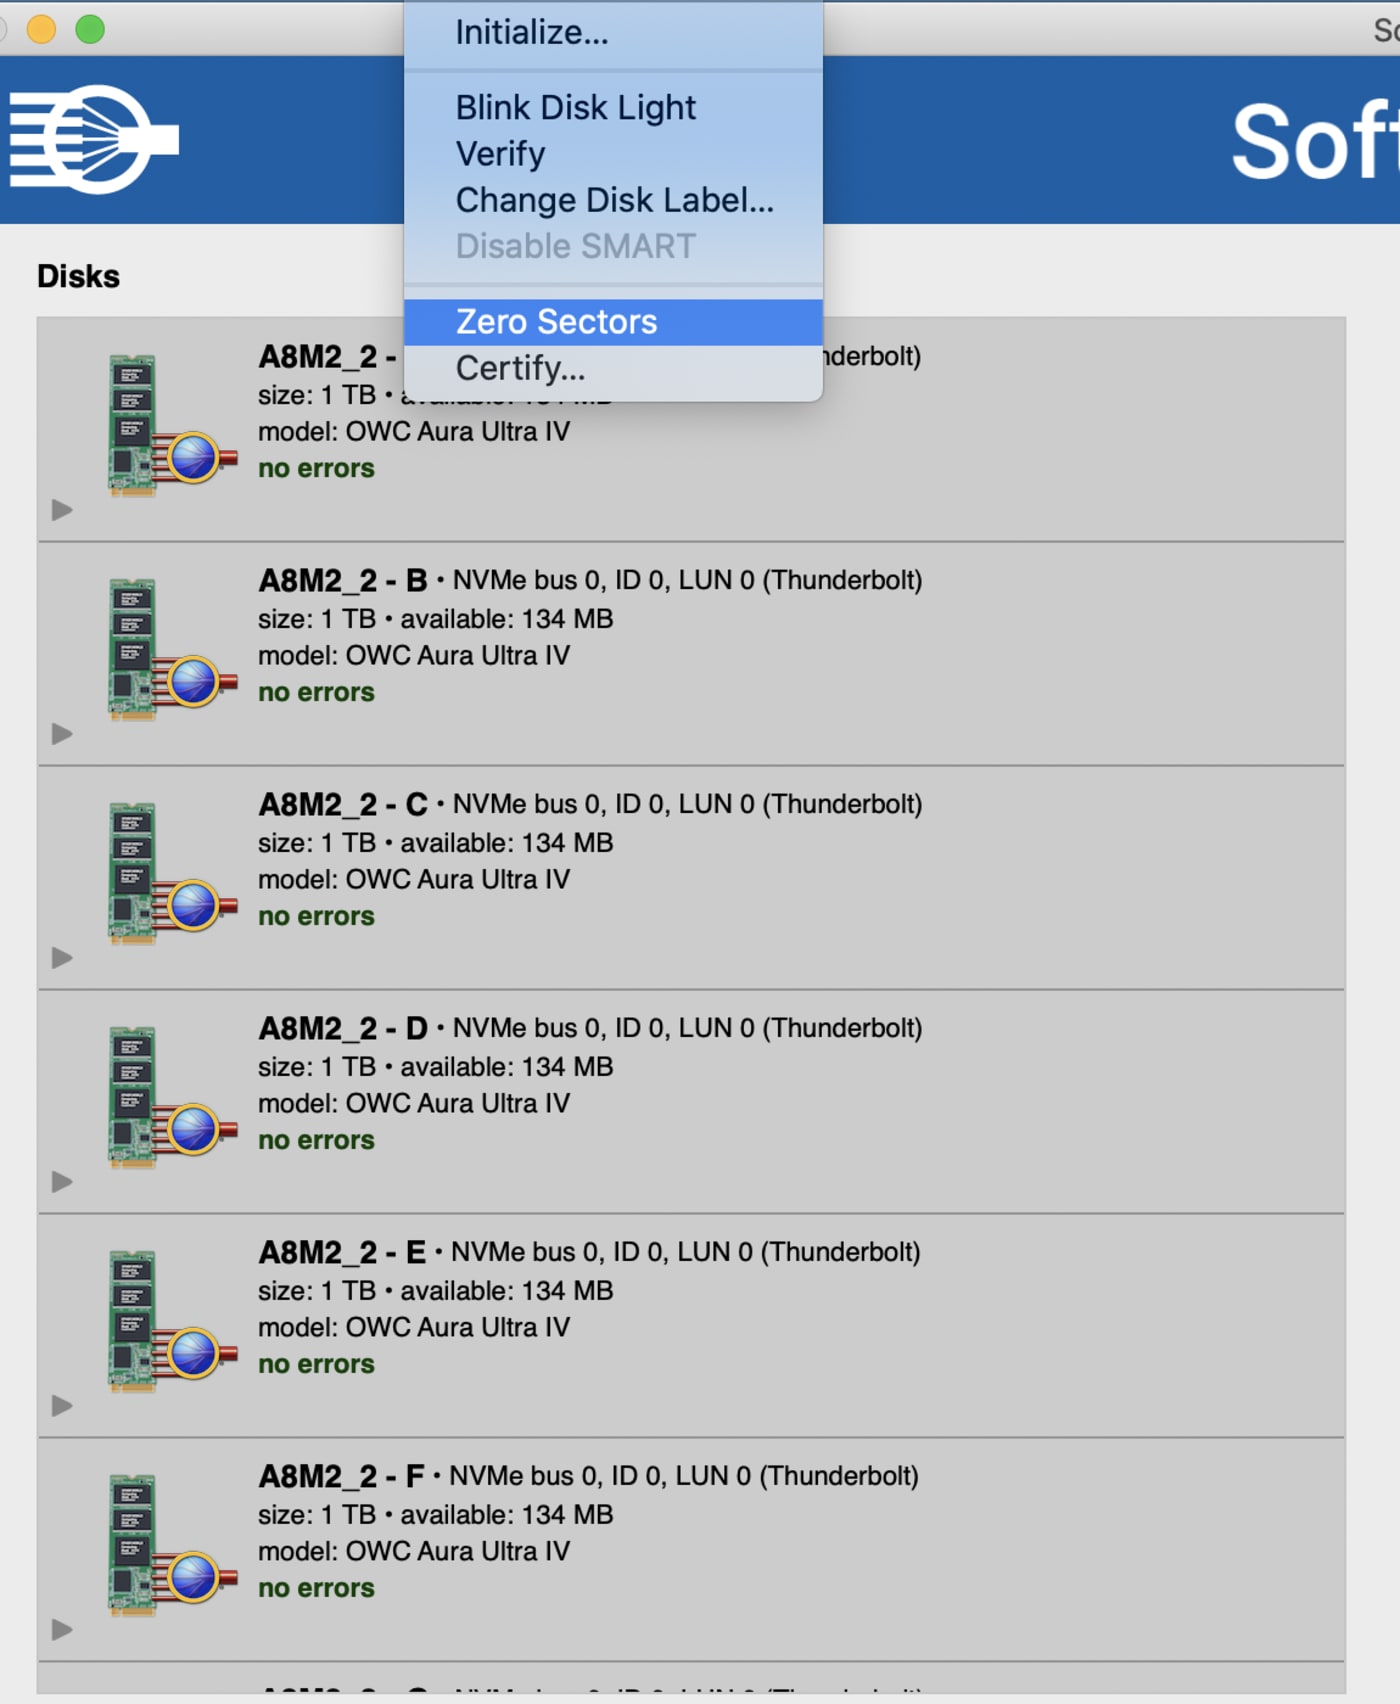
5. Zero disks
- Select all the SoftRAID disk tiles (shift click to select)
- Select "Zero Sectors" from the disks menu
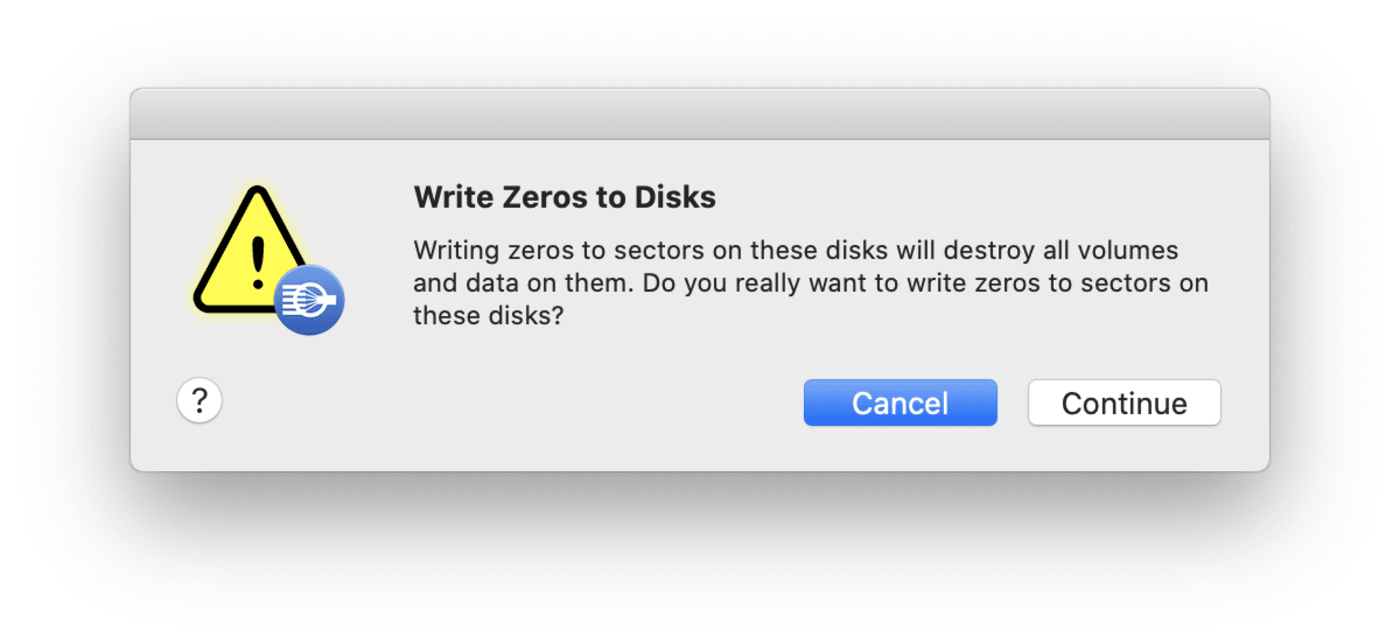
- You will be prompted to confirm you want to zero your disks
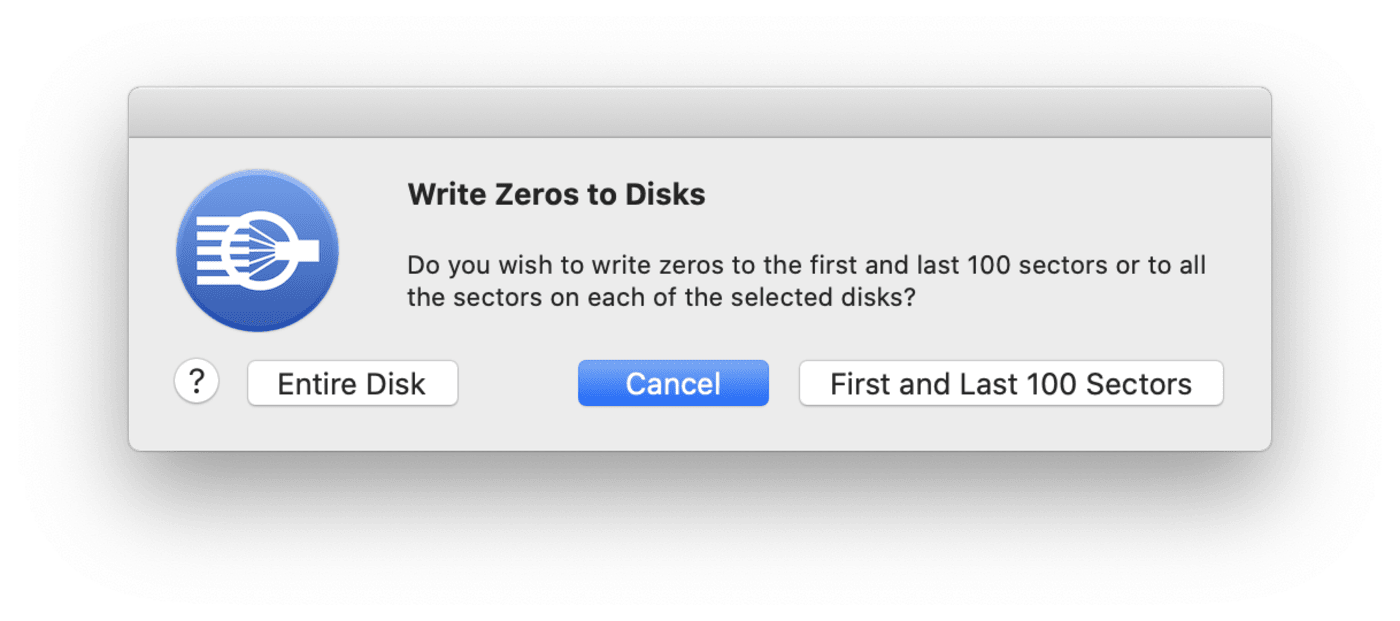
- Select "First and last 100 sectors"
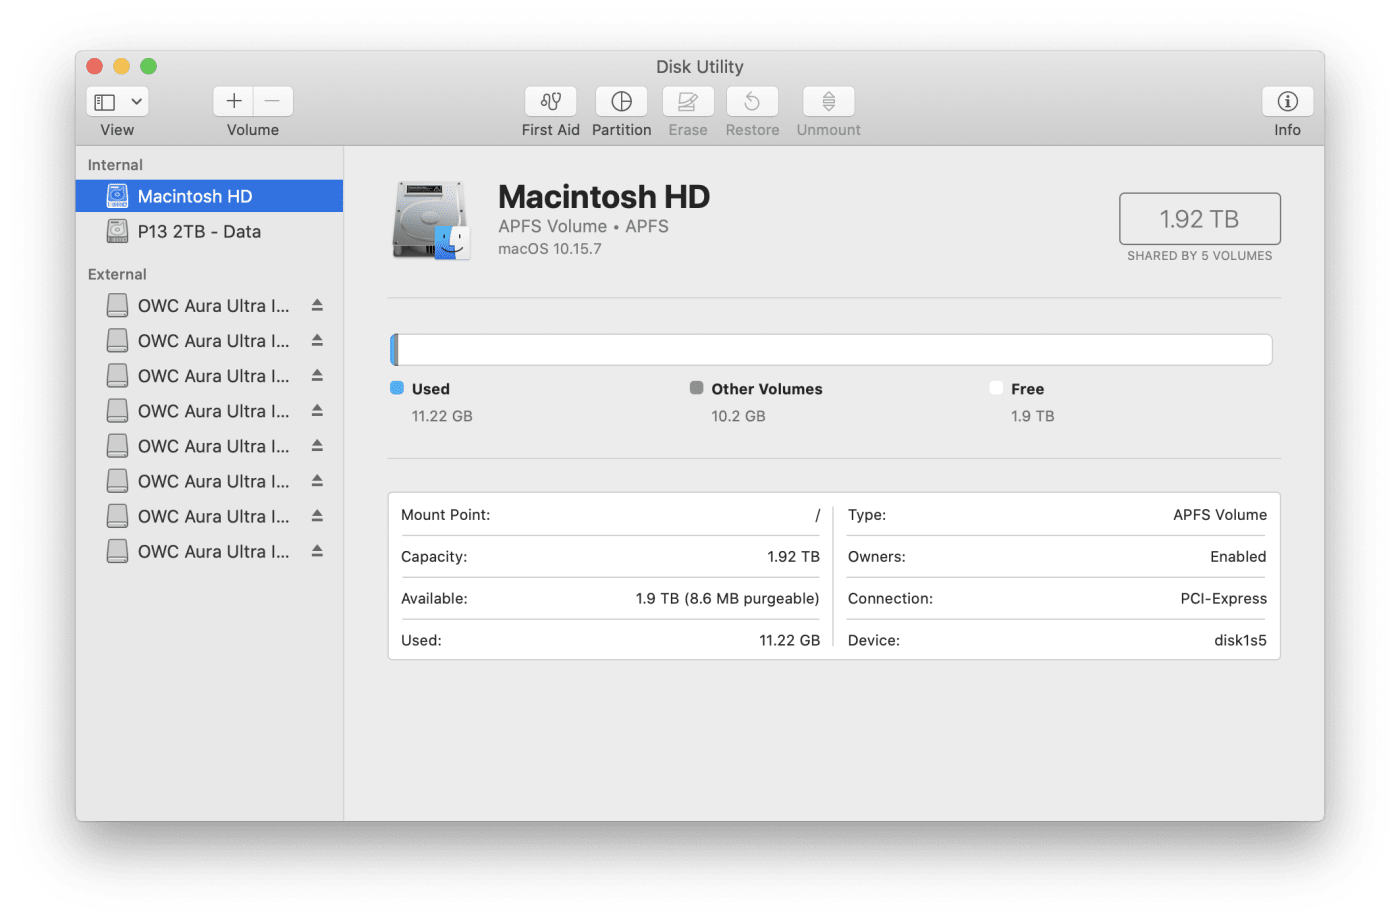
6. Launch Disk Utility
Quit SoftRAID. Launch Disk Utility from the Applications/Utilities folder.
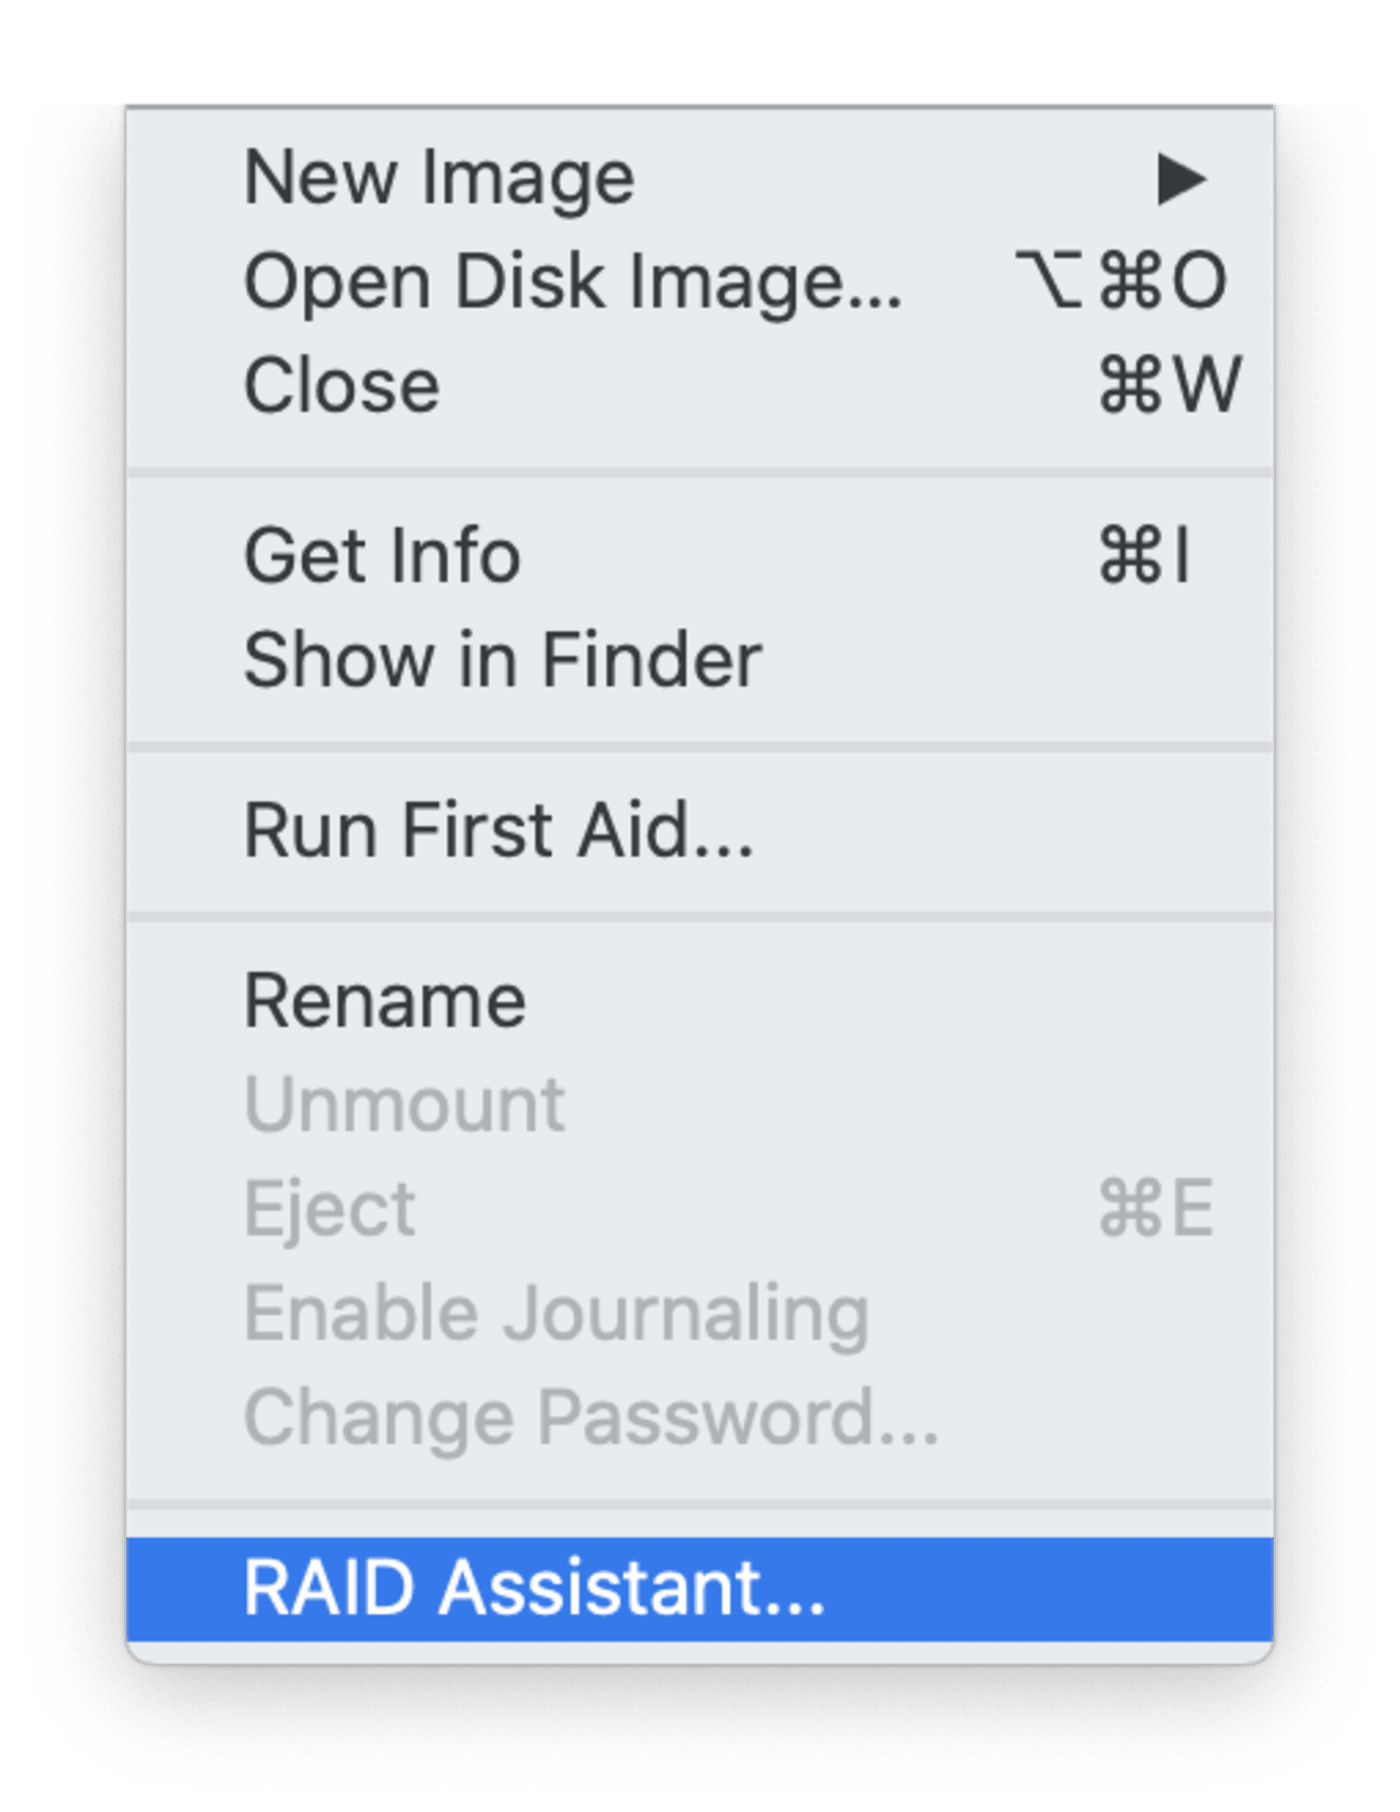
7. RAID Assistant
RAID Assistant is found at the bottom of the Files menu in Disk Utility
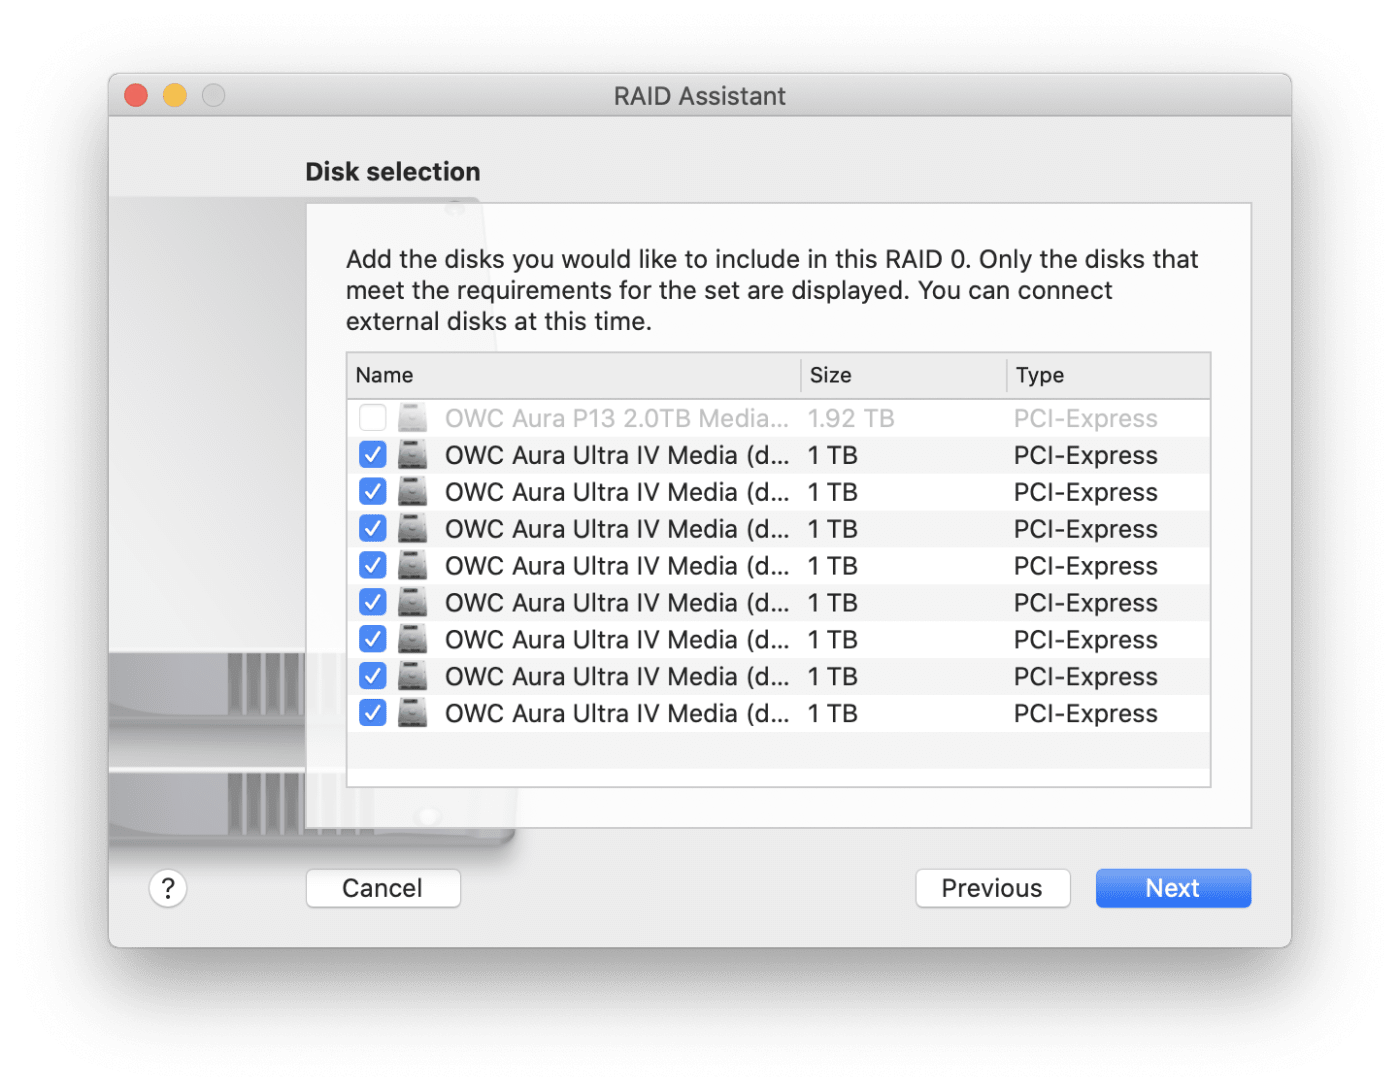
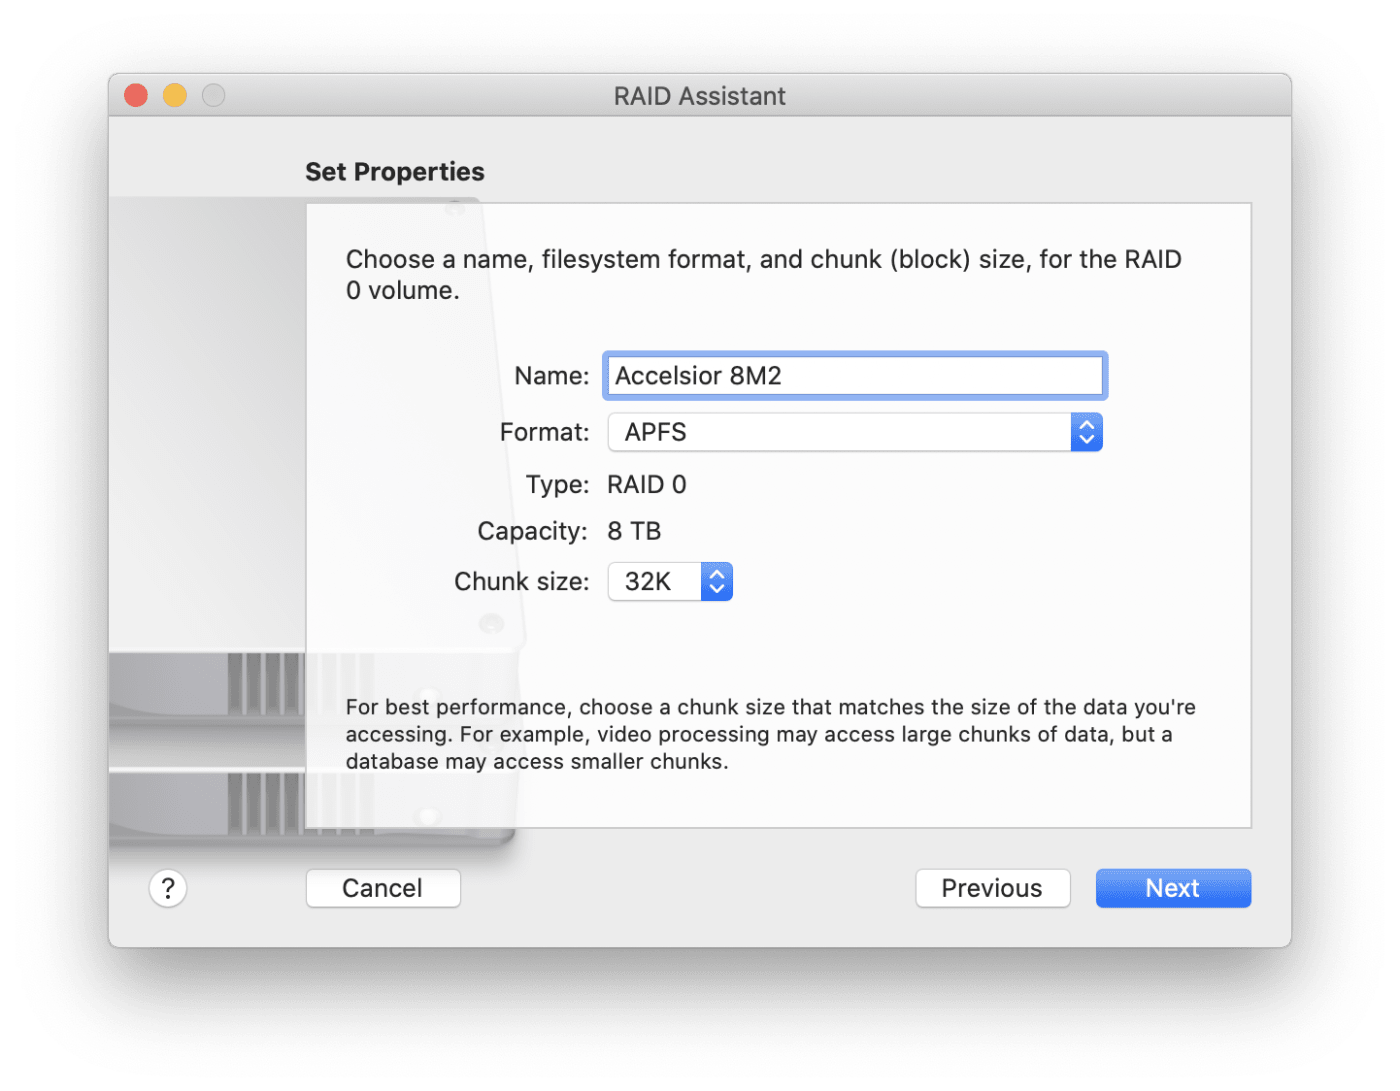
8. Create a RAID 0 Volume
- Select all the NVMe blades, and click Next (ignore the greyed disk in the below photo)
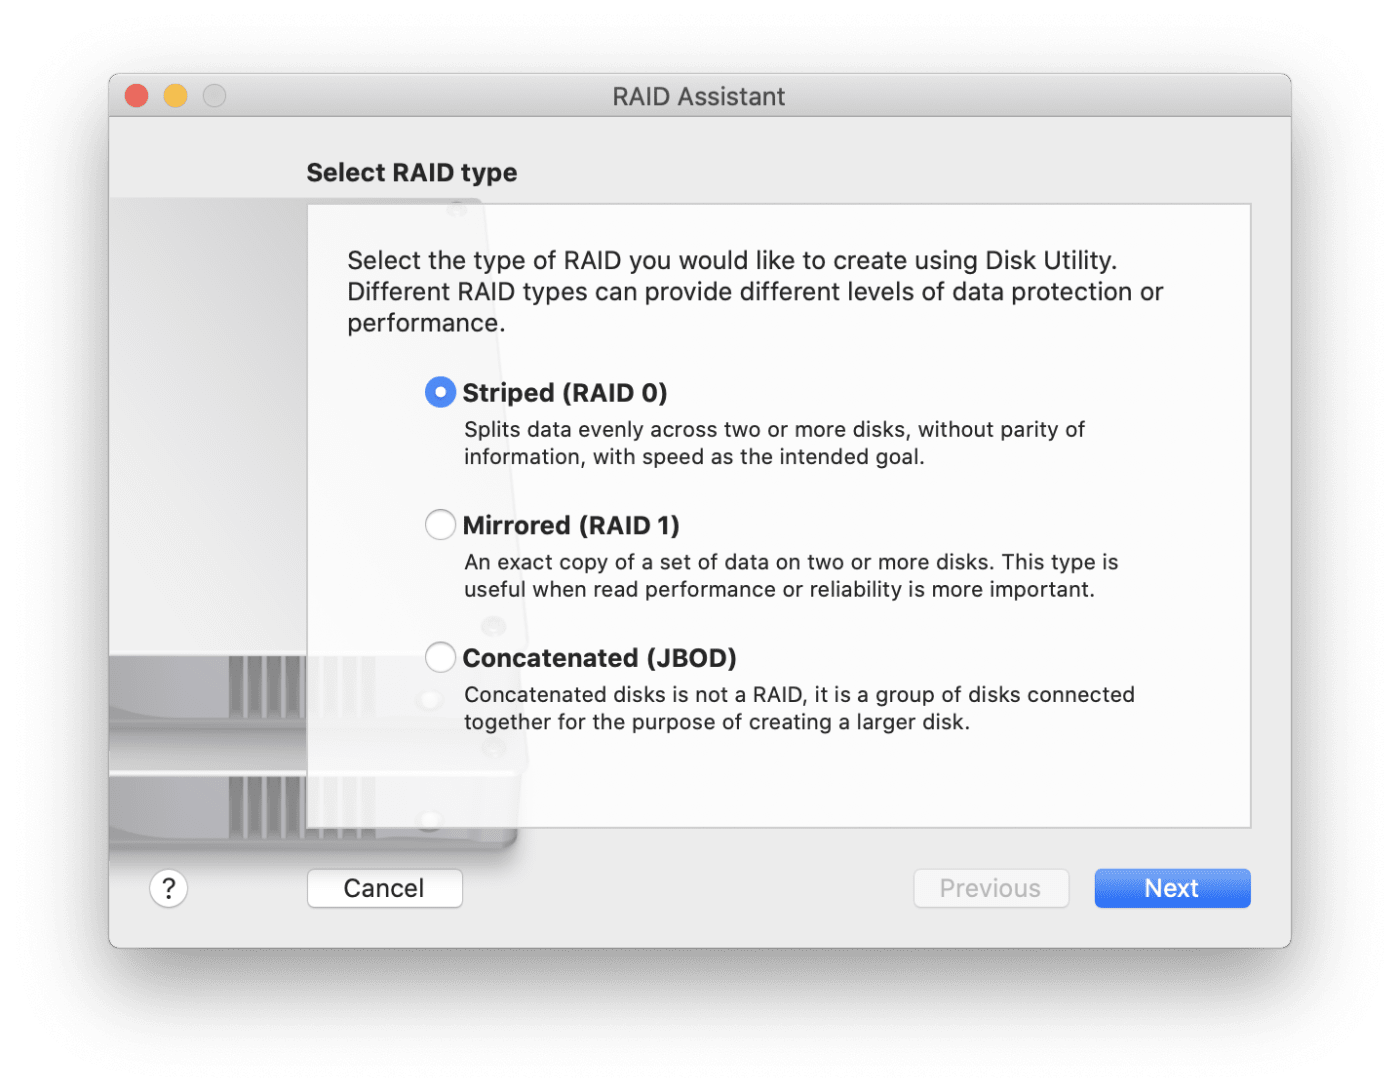
- Select Striped (RAID 0)
- Give your volume a name, select a file System (APFS selected in this example). You can customize the chunk size if you wish.
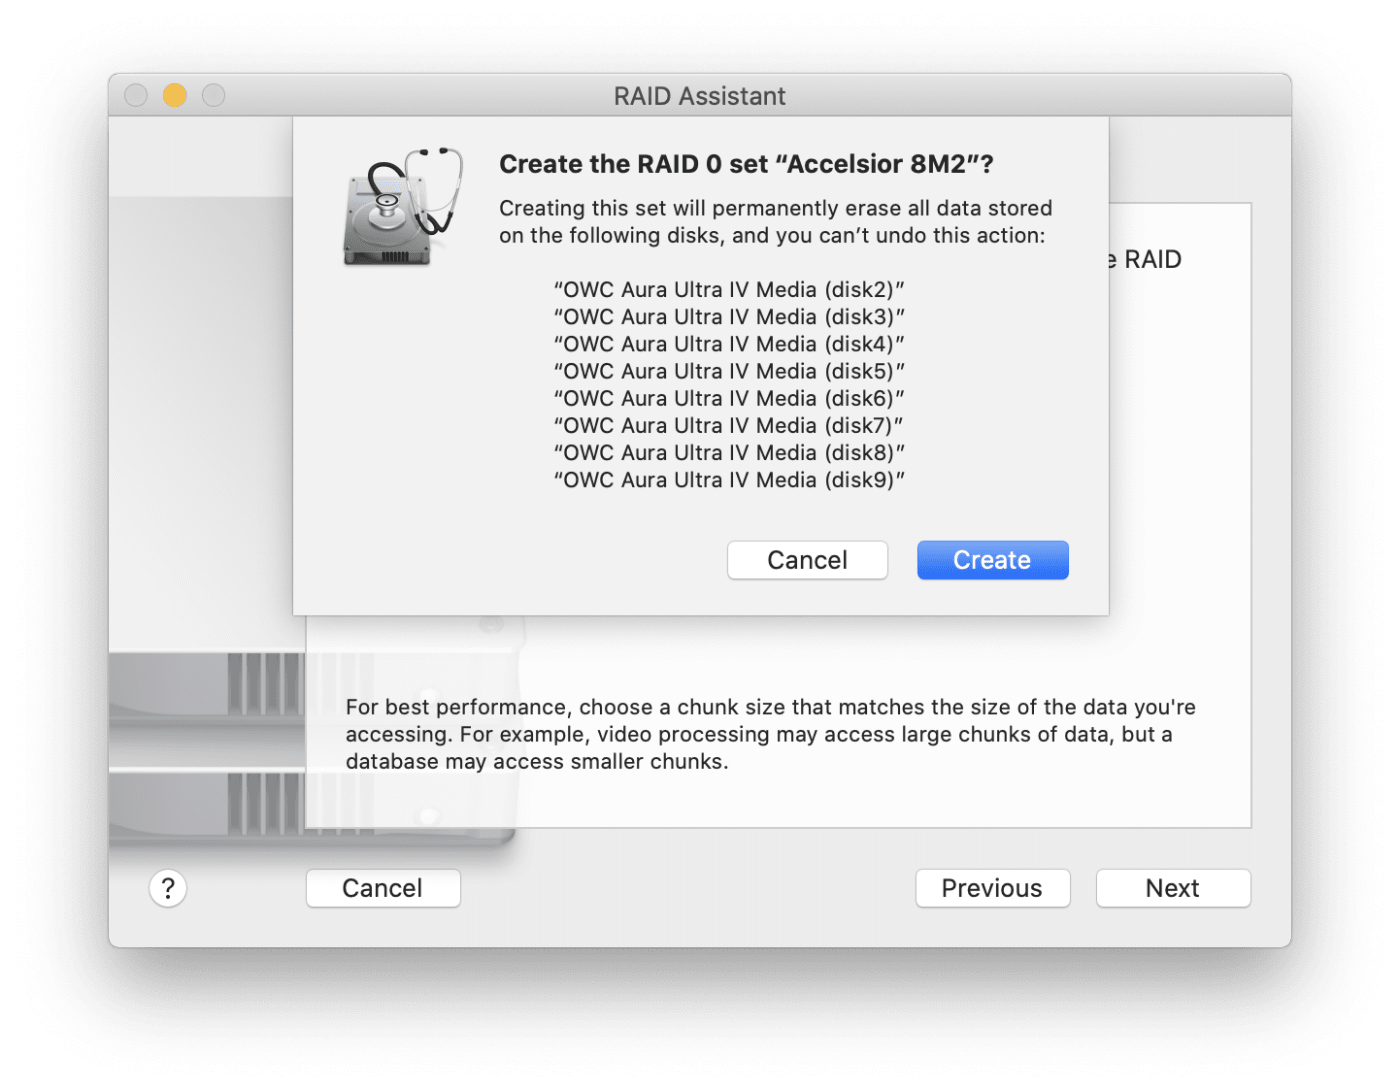
- Click Next
- Click Create
9. Use your new volume.
- It will mount on your desktop, as shown.
- Shut down your computer and move your volume to the new 2023 computer. It does not need any additional settings to work.