 USA + International
 OWC Canda
 OWC Europe
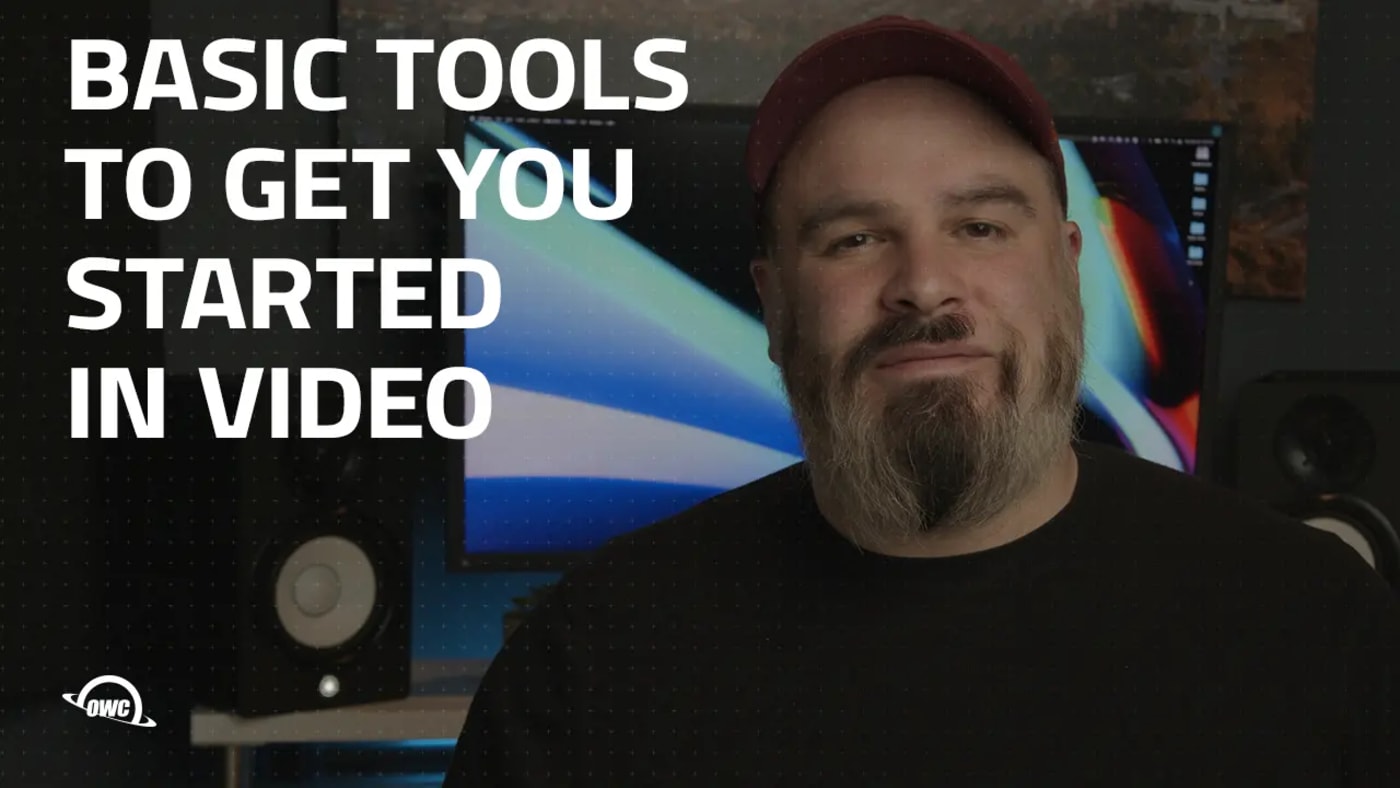
In 2022, video feels more important than ever before. Whether it’s the saturation of content across social media or the fact that YouTube is the second-most visited website behind Google, there’s no denying that video is the most powerful format when it comes to delivering your point, message, or story. Video editing makes it possible to tell that story, and the pro tips for video editors you’ll find in this post will help get you started.
Knowing how to edit video is a fantastic skill set to acquire. Of course, for a total novice and beginner, it can all seem a little daunting–to the point where you’re turned off by the idea, perhaps. But if not now, when? In this article, we’ll give you nine pro tips on how to get started with video editing. Using these essential tips, you can come to grips with editing and begin your journey better equipped.
In today’s video, Jon goes over the essential tools you will need to start making videos.
Pick the right software
Our first pro tip for video editors is an obvious one: Decide which non-linear editing (NLE) software you’re going to use. This can be one of the first hurdles for a lot of beginners due to the fact there are so many options out there. Below, we’ll go through a few of our recommendations.
Adobe Premiere Pro
Premiere Pro is expensive, but with good reason. It’s been an industry-standard tool for decades now, used by the top professionals on everything from YouTube videos to ads, short films, broadcast TV, and feature-length cinema. What it doesn’t have isn’t worth having.
Of course, you do need to factor in the immense demands on your PC, which can quickly add up when you throw in the necessary RAM and a high-powered GPU on top of the already-expensive annual subscription (we’ll cover this in the next section). If you’re a beginner or enthusiast, there may be other, more suitable options to explore that don’t break the bank.

Avid Media Composer
Avid Media Composer is another industry-standard tool that’s every bit as good as Premiere Pro and, in plenty of professionals’ eyes, even better.
This top video editing software has always felt ahead of the curve. You’ll find a brilliant array of powerful, high-end tools and a fully customizable interface that allows you to work however you want.
Naturally, given that it’s such a powerful piece of software, Media Composer places high demands on your PC. You’ll need a very powerful system to run this smoothly and it’s certainly not for amateurs – the learning curve is steep and complex.

Blackmagic Design DaVinci Resolve Studio
Blackmagic’s DaVinci Resolve is fast, not too demanding on your PC, and, in our humble opinion, has the best color-grading options of any all-purpose NLE in the industry.
Blackmagic offers a lite version that’s really impressive and well worth checking out. However, focusing on that option would distract you from the studio version, which has a powerful feature set that more than justifies its one-time purchase price of $299.

Apple iMovie
Using a Mac? Well, you’re in luck. Apple iMovie is probably the best free editing software out there, and it comes preloaded on your system
Apple’s ubiquitous entry-level NLE boasts a host of fantastic premium features that will ensure every enthusiast and amateur feels fully catered to.
At no additional cost after you buy your Mac, you simply can’t go wrong here.

LumaFusion
When it comes to the mobile apps market, LumaFusion is the top video editing solution out there, providing a professional, desktop-quality program on your mobile device. It’s astonishing how much it enables you to achieve while on the move.
If you need any further certification on this one, just look at the fact that Apple uses LumaFusion instead of the iOS version of iMovie when promoting editing on the iPhone. While Luma is currently an iOS-only app, an Android version is in the works, according to LumaTouch.

Make sure your computer can handle it
Our next pro tip concerns your editing system. As we’ve mentioned a few times already, some editing software may put heavy demands on your system to deliver smooth performance. This isn’t just a software issue; the type of video you’re working with can put a strain on editing performance too.
Before you get started, you need to ensure that your system is optimized for video editing. Make sure you have the right hardware to handle the general demands of editing HD or 4K (or higher) video in single or multiple streams. You’ll also want to check that your system is tailored to meet the specific requirements of your NLE of choice.
Some links provided above will give you the recommended specs for working with specific NLEs. But some requirements are more universal.
You’ll want to focus on having a faster internal system drive, like an SSD. You’ll also want to increase your system RAM (16GB at the very least; 64GB+ recommended for some NLEs).

You should also ensure that you have a video card or GPU (graphics processing unit) that meets the minimum requirements for your software.
All of these factors will contribute to how easy your editing experience is and how fast you can export.
Learn the basic terminology
When you first start out as a video editor, there’s some basic terminology that’s good to learn:
Timeline
You’ll find that most editing software utilizes a timeline. This is a display that shows all of your video footage from start to finish, left to right. On the timeline, you can scroll back and forth through the footage making cuts, tweaks, and changes to the footage.
Bin
No, the bin in your NLE isn’t where you trash files and footage. Bins, confusingly, are just another word for folders in your editing software.
B-roll
Chances are that if you’ve had anything to do with video, you’ve heard of “B-roll” already. In its most simple form, B-roll is just footage you shot that can help to flesh out a sequence, location, or scene.
Cuts
There are 3 kinds of “cuts” you’ll want to get familiar with right away:
- Jump cuts: This is where the footage “jumps” ahead because you’ve cut out boring, non-important sequences in between.
- L-cuts: This is where the video cuts first, before audio, making the shape of an “L” in the layers of your timeline.
- J-cuts: You guessed it. This is the opposite of the L cut, where audio cuts before the video. Also makes a “J” in your timeline.
Montage
A montage is a sequence of clips that indicate the passing of time.
Speed Ramp
A speed ramp is a transition in which the speed of the footage changes.
YouTube is your friend
In 2022, I’d argue that you don’t really need to attend a film school to learn to edit. Everything that you need to know can be self-taught simply by watching YouTube tutorials. Of course, there are a multitude of other free resources out there, such as this blog you’re reading right now!
If you want to take things a step further and pay for some specific editing courses, we can highly recommend sites such as Skillshare.
Back up your footage multiple times in multiple locations
This might be the most important pro tip of all for video editors like you: Back up your footage. Then back it up again. And again. And why not one more time? The footage you’re working within the edit is your everything, so you really need to take care of it. To lose it would mean the end of your project and all your hard work would be for nothing.
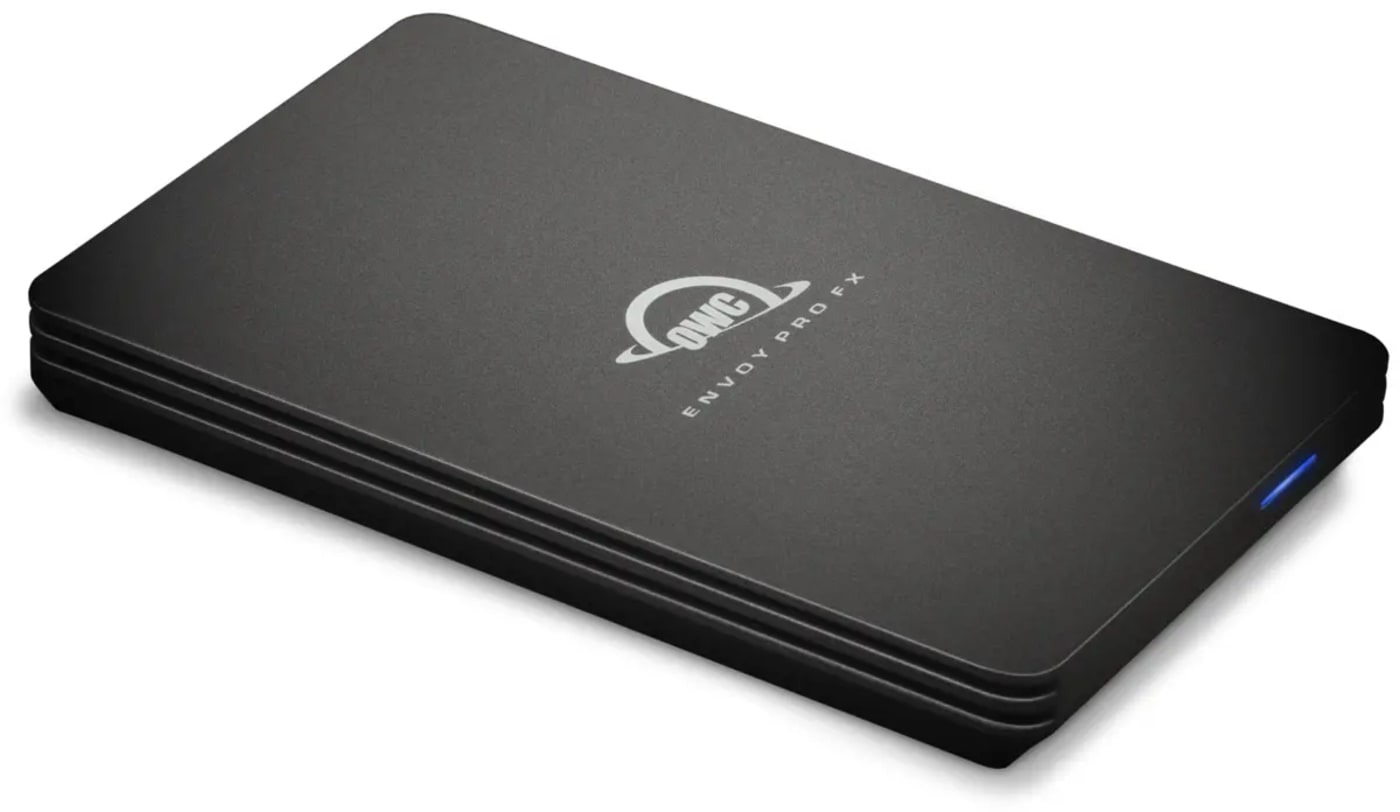
Again, I recommend using solid-state drives (SSDs) for this. External SSDs can add as much as 64TB of storage, depending on your needs! Not only are external SSD drives great for storing your footage, but they’ll also free up your computer’s internal storage, ensuring faster editing.
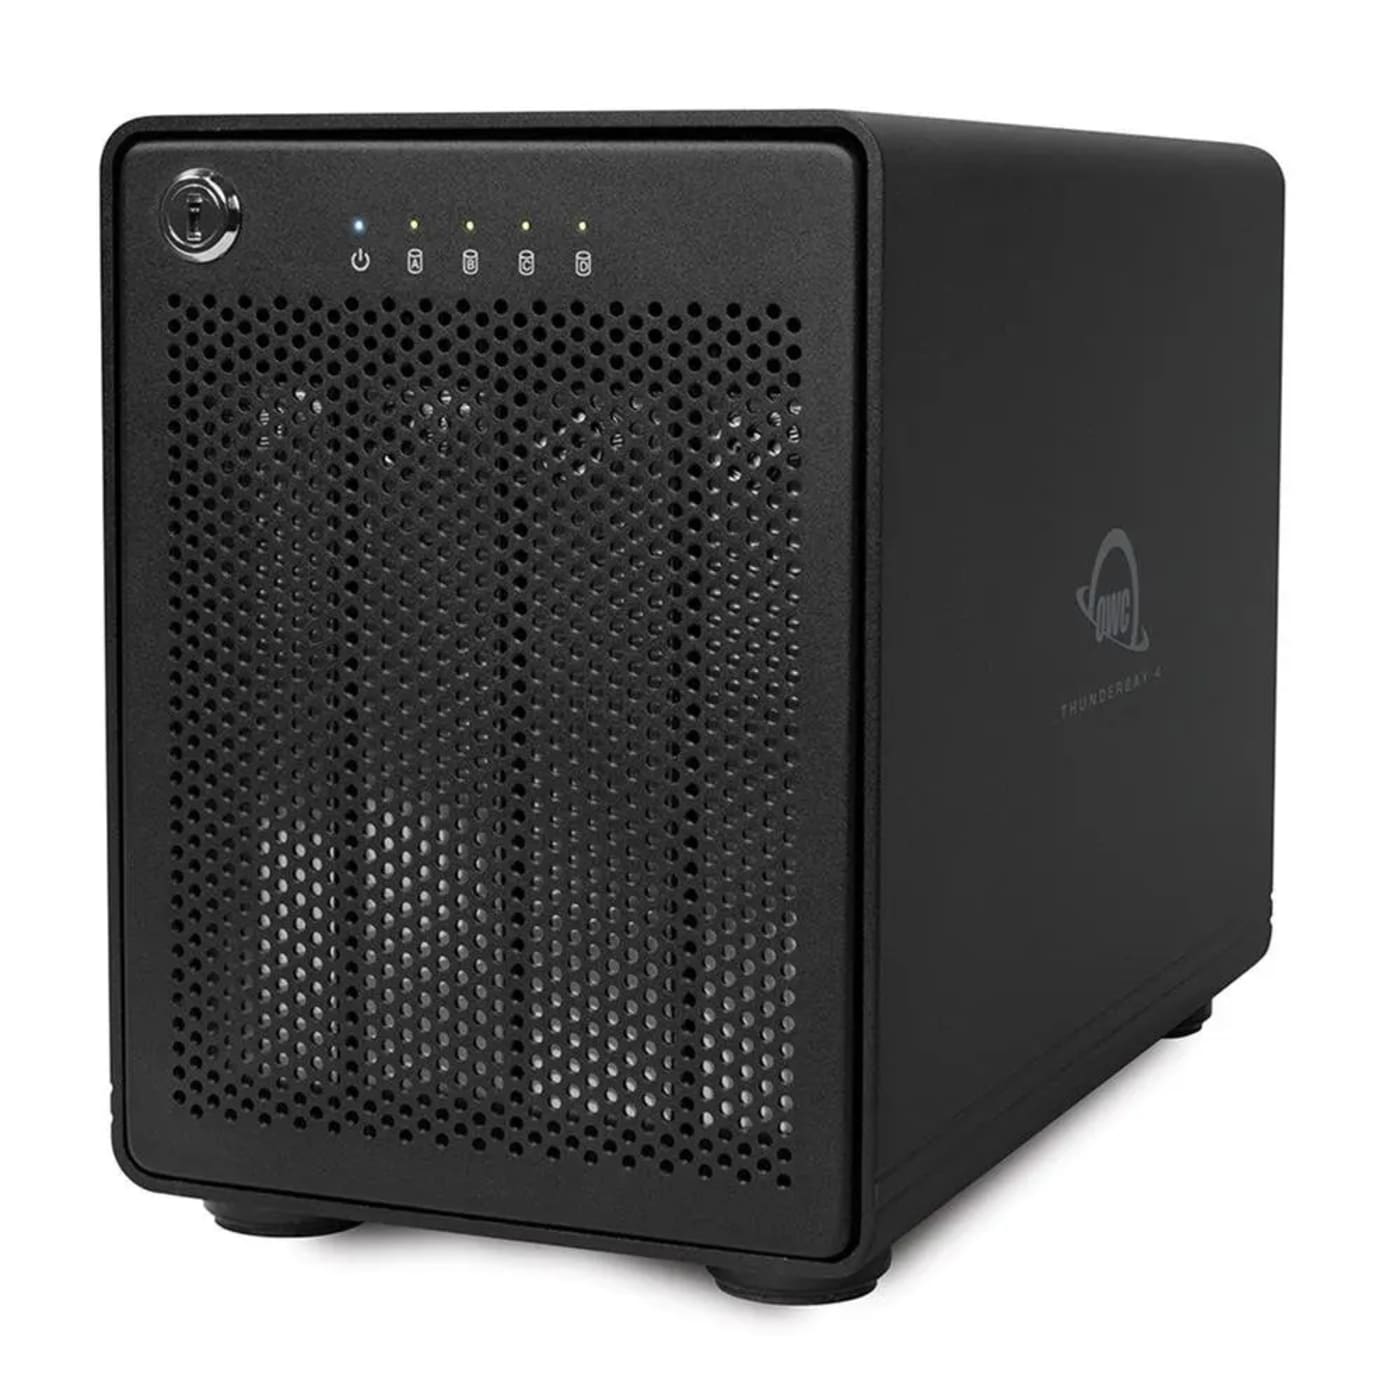
If the budget allows, utilizing a RAID system (Redundant Array of Independent Disks) like the OWC ThunderBay is even more bullet-proof.
Organize your files
When you’re editing, you’ll quickly realize just how many files you have to work with. If you don’t organize these files neatly and efficiently, things can get complicated and messy very, very fast.
You need to set up a system of storing and organizing that works for you. Below, I’ve shared how I’d store my files:
SSD > Year > Project name
Within each project, I create the following folders:
- Project files
- Media
- GFX
- SFX
- Audio
- Music
- Edits
If there’s anything else you can think of, go ahead and create that folder.
Within the media folder, I then create subfolders for each of the cameras I’ve shot footage on for the project. For example, perhaps there’s one for my Panasonic GH5, one for my GoPro Hero 10, and one for the Sony ZV-1. Within each of these folders, you can store your footage from that specific camera.
Once that’s done, go ahead and mirror all of this in other locations and hard drives until you have a minimum of three backups.
Get to know keyboard shortcuts
One video editing tip that’s going to save you a ton of time is learning the relevant, most-used keyboard shortcuts for your editing software. This can really speed up your process and help you get through large chunks of editing at a faster rate. Of course, the keyboard shortcuts differ for each editing software so you’ll have to check YouTube tutorials for the specifics.
You can even buy an editing keyboard if you’re looking to take things even further.
Improve your edits with color correction and grading
Color correction and grading can go a long way in making your edit feel more professional. Color is a very powerful way to evoke emotions within a scene, highlight a subject and set the mood and atmosphere. You’d be smart to master this.
Most editing software that we highlighted up top will allow you to play with some color correction and grading at the very least. Specific software such as DaVinci Resolve Studio is particularly adept in this department.
Adobe Premiere Pro also stepped up its color grading game in 2017 when Adobe integrated SpeedGrade (acquired a few years earlier from IRIDAS) and integrated it into Premiere Pro as the Lumetri Color Panel. FCP X has an advanced color workflow as well. But DaVinci probably still has the edge here.
Choose your music wisely
Another way to improve your editing skills is to think very carefully about your music choices. When it comes to evoking specific emotions, setting the mood and atmosphere, I’d argue that music is the most important factor. There are plenty of great sites to help get you started, including MusicBed, ArtList, and Epidemic Sound.
Practice, practice, practice
So, those are our nine pro tips for video editors! When you’re a beginner, it can certainly seem like a very difficult subject to approach, but now that you’re equipped with these tips, you’re ready to start your journey. Remember–the more you practice, the more you’ll learn and improve. Nobody is expecting you to be an Oscar-winning editor on the first day, so take it easy and enjoy the process.
Other topics you might like

The New Portkeys LH7C is a Rugged, Bright, Yet Affordable On-Camera Monitor
Updated on Jun 16, 2026
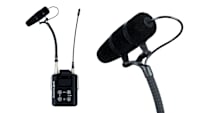
Grab Great Audio From Anywhere with This New DPA 4097 CORE+ Micro Shotgun Microphone
Updated on May 29, 2026
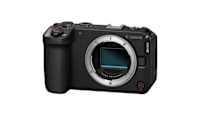
Canon’s New EOS R6V Adapts the R6 III Into a Video-First Body Aimed at Creators
Updated on May 13, 2026