 USA + International
 OWC Canda
 OWC Europe
Apple ProRes Workflows for Windows
Find out how to Write Apple ProRes on Windows PCs using Adobe Creative Cloud and Avid Media Composer. Encode and decode ProRes on Windows.
Arthur Ditner • Mar 25, 2022
Apple ProRes is one of the most popular video codecs used today in the film and television industry and with good reason; the quality is fantastic, the file sizes are manageable, and the ease of use for macOS users to view ProRes files in QuickLook or Quicktime. Recently Apple ProRes compatibility for Windows PC users has been greatly expanded, with Windows being able to read and write ProRes in several pieces of software. Check out our ProRes for Windows workflow below.
Decoding (playback)
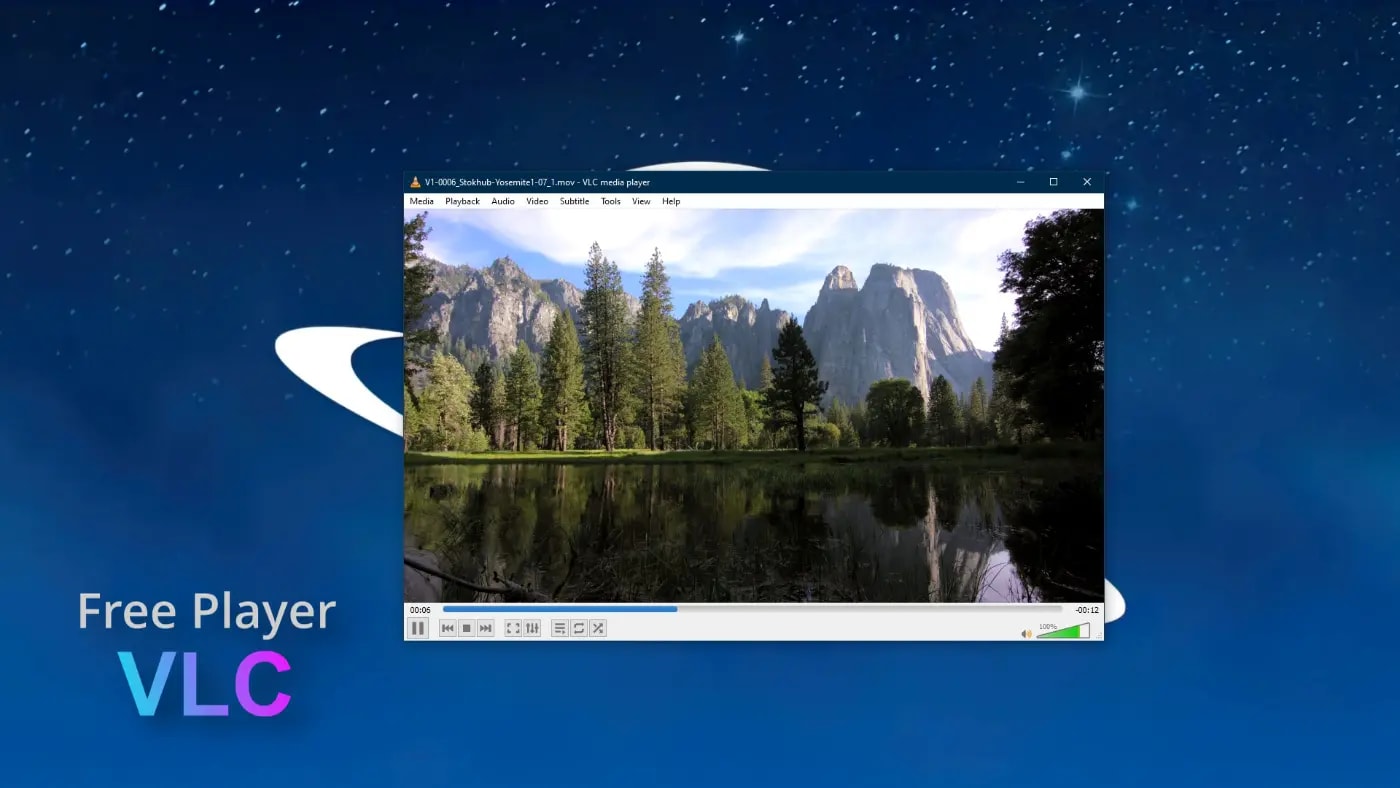
If you only need to playback ProRes files but not write them, there are two good free solutions. The first is the VLC player. VLC is something of a Swiss-Army Knife when it comes to playing back video and audio files.
Another option is DaVinci Resolve which is a suite of full-blown video editing and color correction software. Now, this may exceed your needs, but it is a free solution and can playback other popular video files such as RED camera files, H264, H265, and even MKV. DaVinci Resolve on Windows cannot save ProRes files. Programs that can save ProRes on Windows are next on our list.
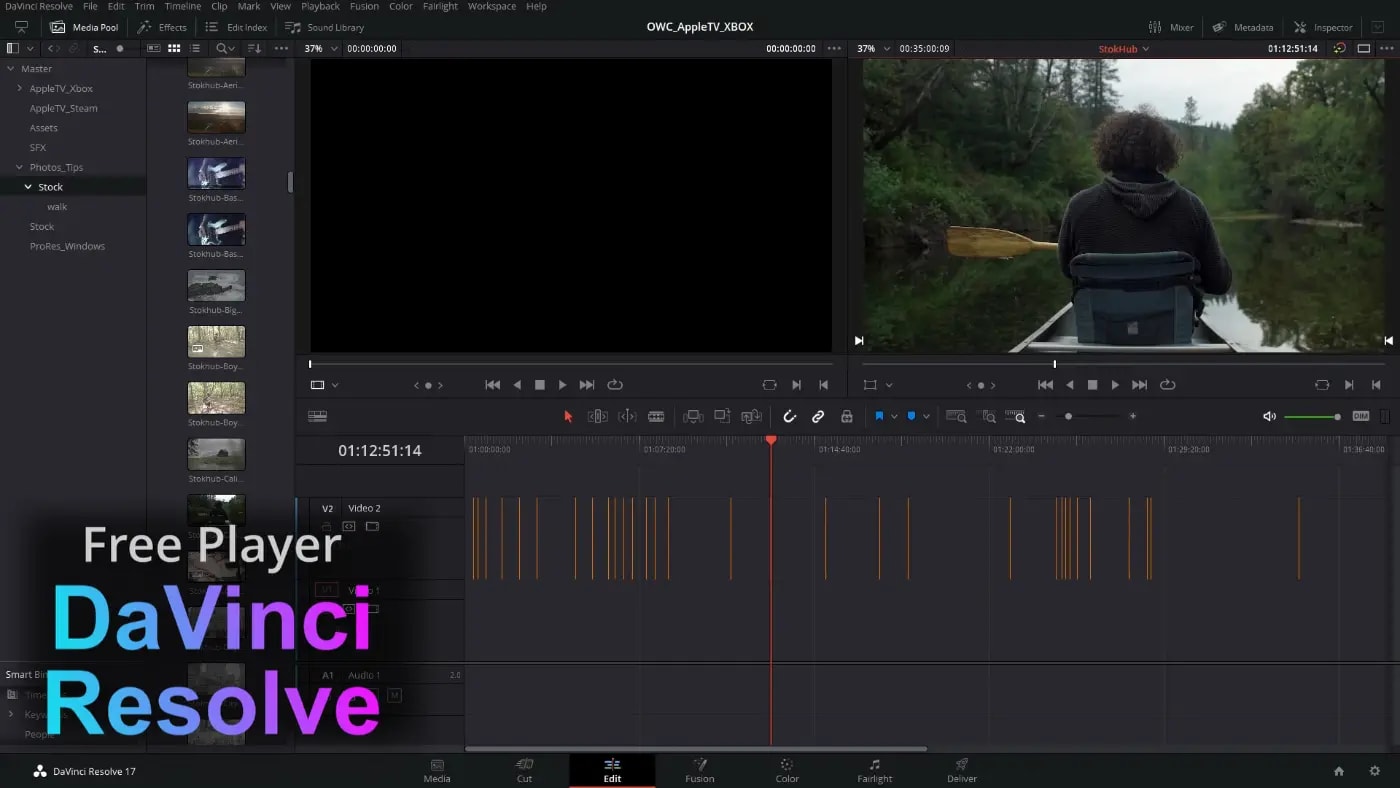
To view ProRes files in DaVinci Resolve, click on the Media tab along the bottom of the interface. Navigate to where your ProRes clips are saved in the Media Storage panel. Note that this panel can also see connected hard drives, networks, and camera cards. If you need full-screen playback in a pinch, the keyboard shortcut is “P” for… pinch? I’m not sure why “P” but that’s full-screen! Press “P” again to exit full-screen.
Encoding (writing)
The Adobe Creative Suite
Adobe Premiere Pro, Media Encoder, and After Effects can now natively read and write Apple ProRes on Windows thanks to a recent update. You will need an active subscription to Adobe Creative Cloud to access these features.
ADOBE PREMIERE
I have some edited videos in a timeline and would like to export this content as a ProRes QuickTime MOV. To save Apple ProRes files out of Adobe Premiere Pro:
- Click on the timeline panel to ensure it is selected.
- Select Menubar > File > Export > Media.
- Under Export Settings choose QuickTime.
- Under Preset choose Apple ProRes 422.
I chose ProRes 422 since it is a good catch-all setting and is ideal if filming was done on a DSLR, GoPro, or mirrorless camera. There are other presets which have special use-cases but for most projects, they are unnecessarily large.
ADOBE MEDIA ENCODER
Media Encoder is a great choice to convert multiple pieces of video at once. Often, files like H265 can be too difficult for some computers to play back smoothly, and so the Editor will want to convert them to ProRes for efficiency. Media Encoder presets are the exact same as Premiere Pro:
- Bring the files you which to convert into the Render Queue.
- Select QuickTime from the Export Settings column.
- Select Apple ProRes 422 from the Preset column.
- Click output file to set the destination for the render.
ADOBE AFTER EFFECTS
Apple ProRes can be particularly useful for After Effects artists as the format can save transparency information. In this animated title, the background is not really black, it’s see-thru. Let’s save it with transparency enabled so we can drop it into Premiere Pro for the edit. Follow these steps:
- Select Menubar > Composition > Add to Render Queue.
- Adjust the Output Module by clicking High Quality.
- Format Options…
- Select Video Codec: Apple ProRes 4444.
- Change Video Output > Channels to RGB + Alpha.
- Ensure Depth is Millions of Colors+.
- Specify an Output Path.
Now with my animation rendered, the transparency information is preserved. I can drop this clip straight into an editor like Premiere Pro and immediately see the results.
Avid Media Composer
Avid Media Composer, widely popular among feature film and newsroom editors around the world, can also decode and encode ProRes on the Windows platform. Avid also looks a lot prettier these days with a recent UI refresh. There are two ways to interact with the ProRes codec. The first is to change the default import settings to ProRes—this part is optional. But, when importing media you can transcode to ProRes straight away by selecting:
- Menubar > Edit > Preferences
- Project
- Media Creation
- Import
- Apple ProRes and the compression type from the pulldown (Note: ProRes 422, sometimes simply called ProRes, is a good catch-all setting if you are unsure.)
Finally, click “Apply to all.” Now, any media created inside Avid will be in this codec.
Alternatively, we can export standalone ProRes video files from Media Composer. To do this:
- Select Menubar > File > Output > Export to File.
- Open the Options Panel.
- Export As: MOV.
- Change Codec Family to Apple ProRes.
- Change Compression to Apple ProRes 422.
Recent additions
A few other video editing platforms have very recently added Apple ProRes encode support on Windows, these include Magix Vegas, Lightworks Pro, and Edius X.
Fake ProRes beware
It’s worth noting that there are some suspicious software packages available that promise ProRes encode on Windows, and will usually cost a few dollars. These suites are nothing new and are usually referred to as FFMPEG ProRes encodes. FFMPEG ProRes is a method of using open source tools to reverse engineer the codec.
The main issue with using FFMPEG ProRes is how metadata gets written in the video. One of the first lines of metadata in an Apple Approved ProRes file will state this, whereas the FFMPEG version will not. The best-case scenario is this won’t be a problem, but the worst-case scenario is a client could reject your film or television program because it doesn’t meet the criteria during a technical inspection. For safety, I recommend sticking with the list of software packages above.
Did I miss anything? Care to share your favorite Windows encoding workflow? Let me know in the comments, I’d love to hear it!
Other topics you might like


The New Portkeys LH7C is a Rugged, Bright, Yet Affordable On-Camera Monitor
Updated on Jun 16, 2026
Grab Great Audio From Anywhere with This New DPA 4097 CORE+ Micro Shotgun Microphone
Updated on May 29, 2026

Canon’s New EOS R6V Adapts the R6 III Into a Video-First Body Aimed at Creators
Updated on May 13, 2026