 USA + International
 OWC Canda
 OWC Europe
5 Steps to Shooting Pro Quality Video on iPhone
Want to shoot high quality iPhone video? Here's how to get cinematic, professional results from Apple's smartphone.
Josh Edwards • Sep 19, 2022
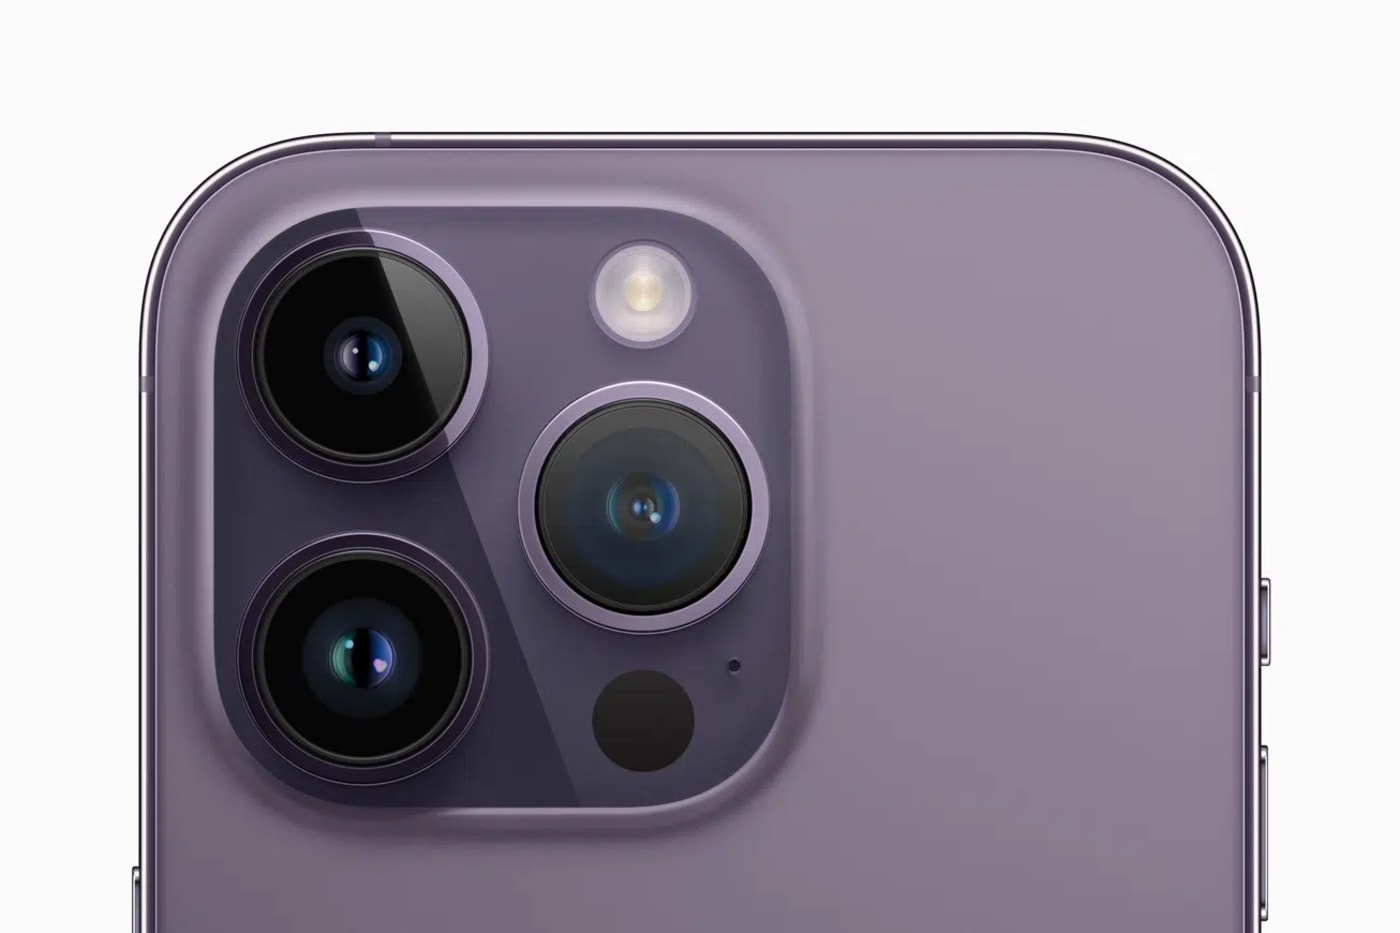
Mobile video is everywhere now, and with good reason. With such impressive advances in technology, today’s mobile phone cameras—most notably the brand new iPhone 14 Pro and Pro Max—are viable filmmaking tools. While you may not be shooting a feature film on your iPhone—although technically you could (see the success of films such as Tangerine, or High Flying Bird)— mobile video is a thing and it’s a very useful arrow to have in your quiver.
In this article, we’re taking a look at five ways to achieve professional quality mobile video. So, whether you’re looking at how to shoot a music video by yourself on iPhone or something as simple as just getting your home movies to look better, we’ve got you covered here.
1. Dial in your settings
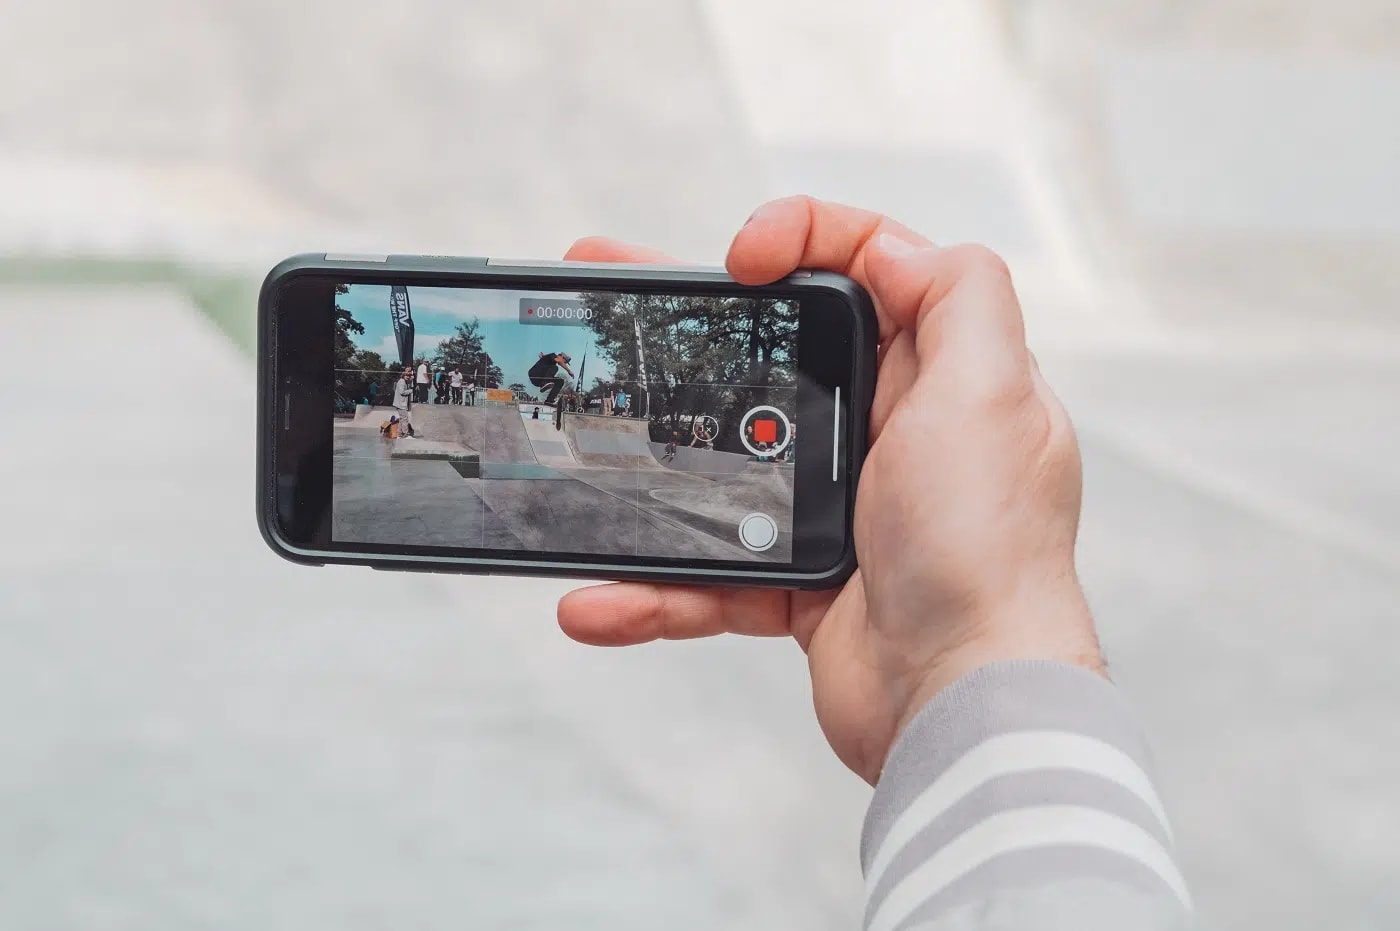
First up, when looking at how to record video on iPhone, remember to dial in your settings properly. It can be tempting to just hit record straight away, but the video mode on the iPhone provides an exceptionally powerful array of tools and you should make good use of them if you really want to achieve the best results possible.
We recommend shooting in a resolution of 4K, with a frame rate of 24fps. If you’d like to shoot some slow-mo footage, 4K at 60fps will allow you to slow footage down by 40%. If you need to slow things down even further, iPhone 8 models and newer can shoot 240fps. However, this mode is limited to a resolution of 1080p. So, if you need slo-mo but you want the most versatile footage—footage that will let you crop in without losing resolution—we still think it’s probably best to stick with 4k at 60fps.
There are two ways of changing which resolution and frame rate your iPhone shoots video in within iOS 16. The first is through the Settings app. Tap Settings > Camera > Record Video. From this menu you can select your resolution and frame rate and see a breakdown of how large the file sizes will be for each option.
A note on Cinematic Mode
Heading back out to the camera menu, you can also select the resolution and frame rate that the iPhone’s Cinematic Mode shoots in. Cinematic Mode is basically Portrait Mode for video. It implements digital blurring or bokeh to simulate the way a standalone camera and lens capture depth in a scene. But that’s not all.
Cinematic Mode also simulates a moviemaking technique called focus pulling. With a tap you can change the focus between subjects in the scene similar to how a professional camera operator pulls focus manually. It’s not a perfect simulation by any means, but it’s fun to play around with. With the iPhone 14 Pro and Pro Max, Apple has enabled cinematic mode to be shot at a truly cinematic 4K 24fps.
ProRes
The Pro model iPhones starting with the 13 Pro and Pro Max can shoot in ProRes, a capability aimed squarely at professional users. Shooting in ProRes ensures the maximum amount of editing flexibility you can get out of iPhone footage. The supported iPhones can shoot 10-bit HDR footage delivering less compressed files with higher fidelity with regard to colors.
However, shooting in ProRes does present some rather serious limitations. For starters, it only shoots in 1080p at 30fps. Second, even though the resolution is only 1080p, the footage still eats up so much storage space that it’s impractical unless you have a lot of free storage space on your iPhone. Apple says 1 minute of ProRes footage will take up 1.7GB of space. With that said, we would advise against shooting with this mode unless you absolutely need the fidelity and know you have enough storage space on your device. If you do choose to go that route, you’ll want to ensure that ProRes is enabled. Head to Settings > Camera > Formats and ensure the switch next to Apple ProRes at the bottom is turned on.
Dolby Vision
If you want HDR footage without the ProRes file size, make sure you have Dolby Vision enabled. Beginning with the iPhone 12, all iPhones since have been able to shoot in this professional HDR format. Dolby Vision is a widely adopted format in Hollywood and TV. Between Netflix and Disney+ alone there are thousands of Dolby Vision titles you can check out right now.
Dolby Visions on iPhone enables the device’s camera to capture more details in the highlights, and captures colors with the a similar level of accuracy as you see in many of the latest films and TV shows. (If you have an Apple TV connected to a Dolby Vision-capable TV, your home movies will look amazing.) And while the Dolby Vision footage looks amazing, it can make editing your footage in a non-linear editor like Final Cut Pro or Adobe Premiere a tad more complicated.
Exposure and Focus
Other settings that are very useful include locking your exposure and focus before hitting record. There’s nothing more jolting for a viewer than when the exposure suddenly shoots up or the focus jumps on a mobile video.
While recording video on your iPhone, you can lock focus and exposure in by holding down on the screen atop the area you want to focus on. This focus and exposure lock will give you a more professional, cinematic shot.
2. Think about lighting
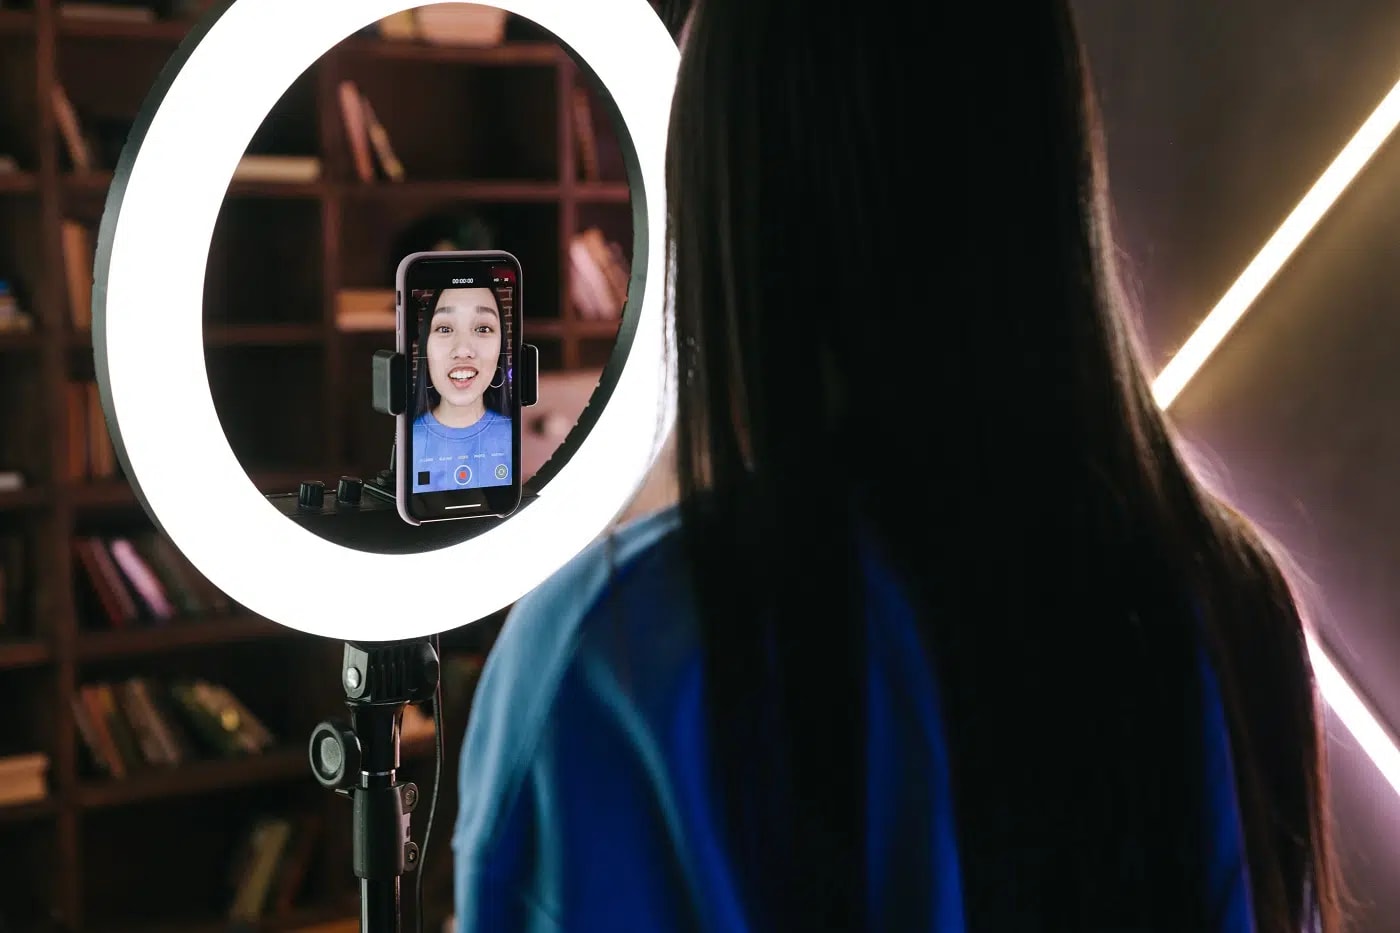
The virtues of the ring light are well extolled by now, but it bears repeating that lighting is very important when it comes to shooting high quality video. If you’re looking at how to clean up video quality on iPhone, the chances are you’re not shooting with sufficient light. There are two ways to tackle this.
First, try to get outside and shoot in natural light. Despite how far these cameras and sensors have come, there are still limitations. At the end of the day, they’re small lenses with small sensors; not a professional RED or Alexa. You may find that when shooting indoors, the lighting is just not sufficient enough and the image appears grainy or low quality. Getting outdoors can change this instantly.
If you do have to shoot indoors, you should consider investing in a lighting setup. Whether you want to purchase a ring light for your iPhone, or something even more professional such as key lights and softboxes, this can drastically improve the quality of your mobile video immediately. There are several high quality but affordable kits on Amazon that will provide you with excellent key lighting or a full three-point lighting setup. It can’t be understated: better lighting can have drastic results on iPhone footage.
3. Keep it steady
A very easy mistake to make when shooting mobile video is to move the camera around too quickly. This movement can produce a lot of shake and blurriness in the image. Over the years, iPhones have implemented OIS, or, optical image stabilization. The latest iPhone models actually have sensor shift OIS which actually moves the image sensor to compensate for jerky handling of the camera.
Still, whenever possible, you want to slow down and physically keep your iPhone as steady as possible. Hold it with two hands and keep your arms close to your body, taking small, soft steps if moving.
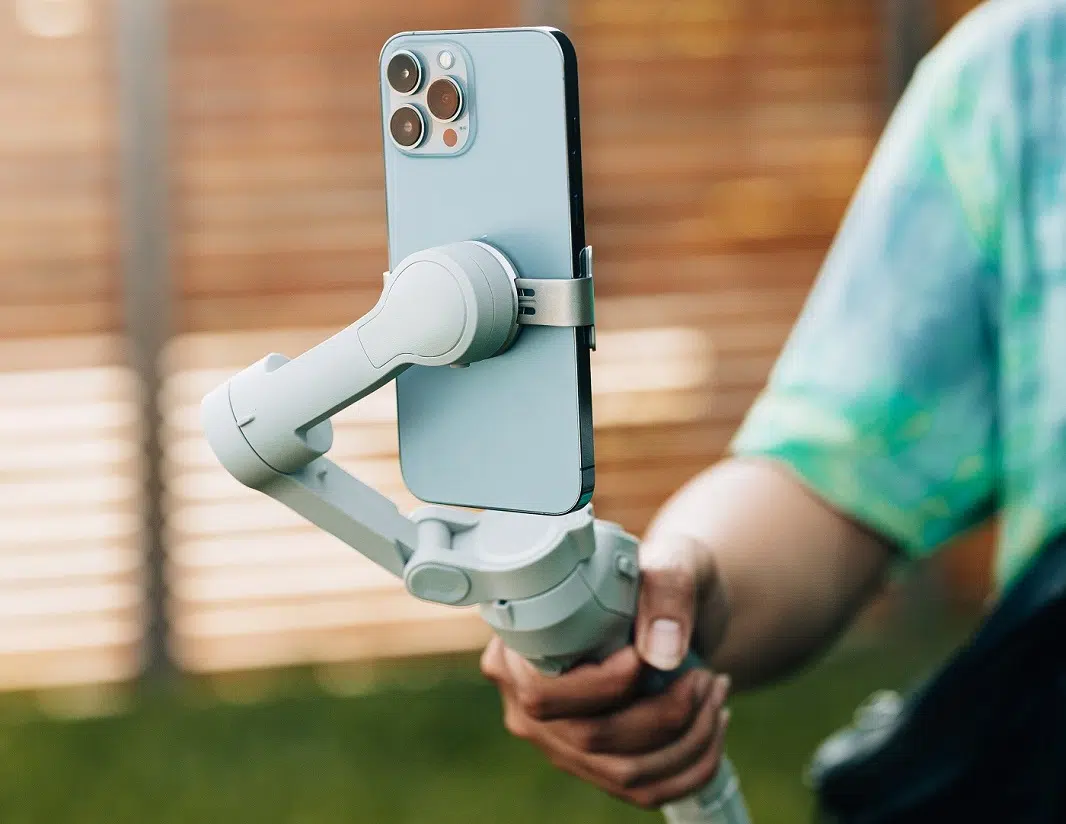
Better yet, if you can, look at investing in a mobile phone gimbal. There are some great options out there such as the DJI OM5 or the Zhiyun Smooth 5. Having a gimbal instantly smooths out all of your shots and can allow you to add some nice cinematic movements such as pushing forward and backwards. Adding movement into your footage will instantly improve the quality of the final video – it’s more dynamic and interesting when compared with a flat, static image.
Alternatively, as we mentioned above, you could also shoot in slow motion at 4K 60fps. This would allow you to slow down your footage by 40% and is a great low-budget alternative for smoothing out your footage.
Action Mode
While a gimbal is an awesome tool to have, if you have an iPhone 14 or iPhone 14 Pro model you might not need one. With these models, Apple introduced a new video mode called Action Mode. The mode uses the full sensor with a slight crop-in to correct for excess movement. This gif shows the difference:
To enable Action Mode, open Camera, swipe to Video, then tap this button:
Note that there are limitations to Action Mode. For starters it only shoots up to 2.8K. So if you need smooth 4K footage, your best bet is still to grab a gimble. Second, it requires a lot of light to work best. As such, it’s really designed around capturing outdoor shots.
4. Consider an external mic
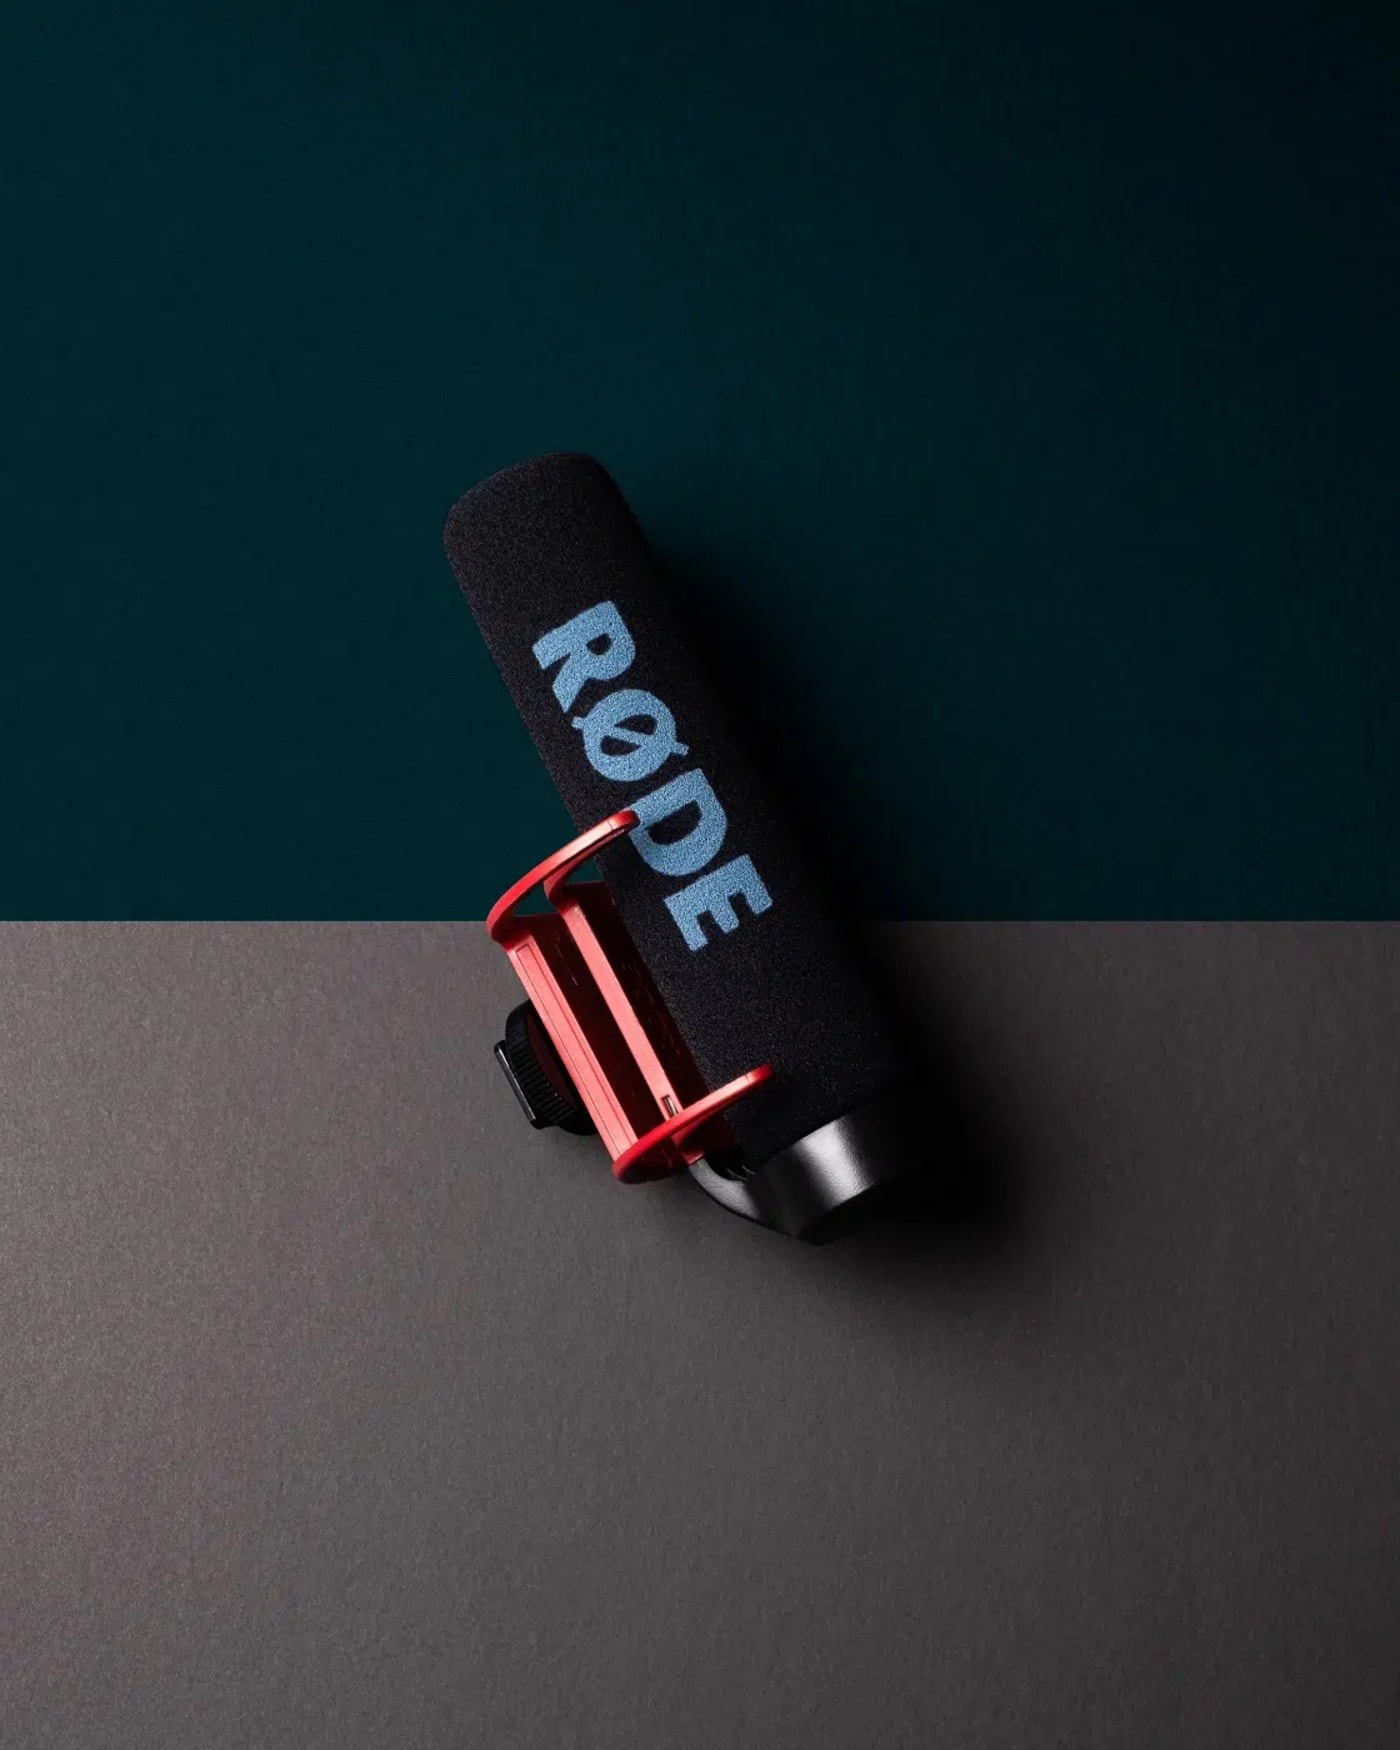
Audio is just as important as video. While the audio on your iPhone is sufficient, it may begin to fall apart in certain environments that are very windy or noisy (like filming on the subway, for example). Viewers can tolerate a certain drop-off in video quality if the audio is good, but as soon as the audio begins to deteriorate, they’re no longer watching.
With this in mind, check out some of the mobile microphones available to you, such as the RØDE VideoMic Me-L that have been specifically designed with mobile video in mind. They’re small and compact enough to not drastically increase the footprint of your setup while offering a much higher quality of audio that’s able to block out wind and background noise, honing in on your voice or chosen subject. Personally, I would say that this is one of the most important accessories you can buy if you’re looking at how to record video on iPhone.
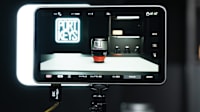
5. Check out apps and accessories
In general, there are plenty of apps and accessories out there that can really help you achieve better quality mobile video. We’ve already mentioned a few accessories such as purchasing a ring light or other lighting equipment, getting a gimbal for smoother, more cinematic movement, as well as an external microphone.
Going further, we’d recommend a grippy, flexible tripod that allows you to shoot both handheld footage on the go, as well as placing the phone down and filming hands free. (The Joby Gorillapod is a great one to start with.) You could also check out different lenses for your phone. Companies like Moment actually make anamorphic lenses for iPhone. While anamorphic lenses give you an incredible wide field of view that looks very cinematic, you can also attach telephoto lenses for zoomed-in shots that simply aren’t possible or don’t look right with a digital zoom on your mobile.
In terms of apps, there are tons out there. iMovie is a no brainer—a beautiful piece of editing software that makes you wonder how it’s free! You can make use of a very intuitive design that’s packed full with tools and templates allowing you to create some really slick, professional edits right in the palm of your hand. Meanwhile, a tool like Sun Surveyor is going to allow you to accurately plan your shoot, knowing exactly when the best light is going to be and where it’s going to fall. Before you’ve even seen a location, you can know exactly what shots you’re going to get there. It’s brilliant.
In terms of actually shooting mobile footage, we highly recommend Filmic Pro. You’ll have to pay $14.99 for it but believe us, it’s $14.99 well spent. This app lets you set and lock the shutter speed (so you can achieve a cinematic motion blur), as well as filming in the LOG gamma curve, giving you enhanced tonal range and flexibility with the details in your highlights and shadows. With zebra stripes alerting you to over-exposed parts of the frame, audio clipping, false color and focus peaking, this is a really professional, high-end filmmaking app. If you’re serious about how to improve video quality on iPhone, this is for you
Wrapping up
So, those are a few essential tips on how to improve video quality on iPhone. If you’re committed to getting the very best, cinematic footage possible with your iPhone, making the purchases for some of these apps and accessories, as well as paying attention to the finer details in your camera settings, the way you light a scene and the way you move, will all help you get to where you want to be.
When you master the art of filmmaking on your iPhone, it’s truly astonishing what can be achieved. For such a small piece of technology that fits in our pocket, the advancements over the past decade and the power it now wields are phenomenal. We’re looking forward to seeing where we are with mobile video in another 10 years.
Other topics you might like

The New Portkeys LH7C is a Rugged, Bright, Yet Affordable On-Camera Monitor
Updated on Jun 16, 2026
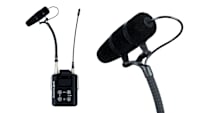
Grab Great Audio From Anywhere with This New DPA 4097 CORE+ Micro Shotgun Microphone
Updated on May 29, 2026
Canon’s New EOS R6V Adapts the R6 III Into a Video-First Body Aimed at Creators
Updated on May 13, 2026