 USA + International
 OWC Canda
 OWC Europe
Getting Started With GarageBand: How to Edit a Guitar Performance
Need help with recording and editing guitar performance in GarageBand? This getting started guide takes you step by step.
Arthur Ditner • Jun 06, 2022
GarageBand has long been one of the biggest perks of owning an Apple device. This fully-featured digital audio workstation (DAW) comes free with every Mac, iPhone, and iPad, giving users an intuitive, streamlined way for creating and publishing music, podcast, audiobook and other types of recordings. If you’re new to GarageBand, this is the series for you. In Getting Started With GarageBand, we’ll be covering topics that help you get the most out of this free—yet powerful—app.
Also in this series:
How to Record and Edit a Digital Piano
Recording and editing music of your own may seem like a daunting task and many musicians may feel overwhelmed with the plethora of hardware and software options available. Today, we’re going to discuss how to record and edit guitars in GarageBand for Mac. For any guitarist looking to jot ideas down, flesh out a demo, or produce a finished track, GarageBand is an easy to use piece of software compatible with every Mac. Best of all, GarageBand is available for free in the Mac App Store.
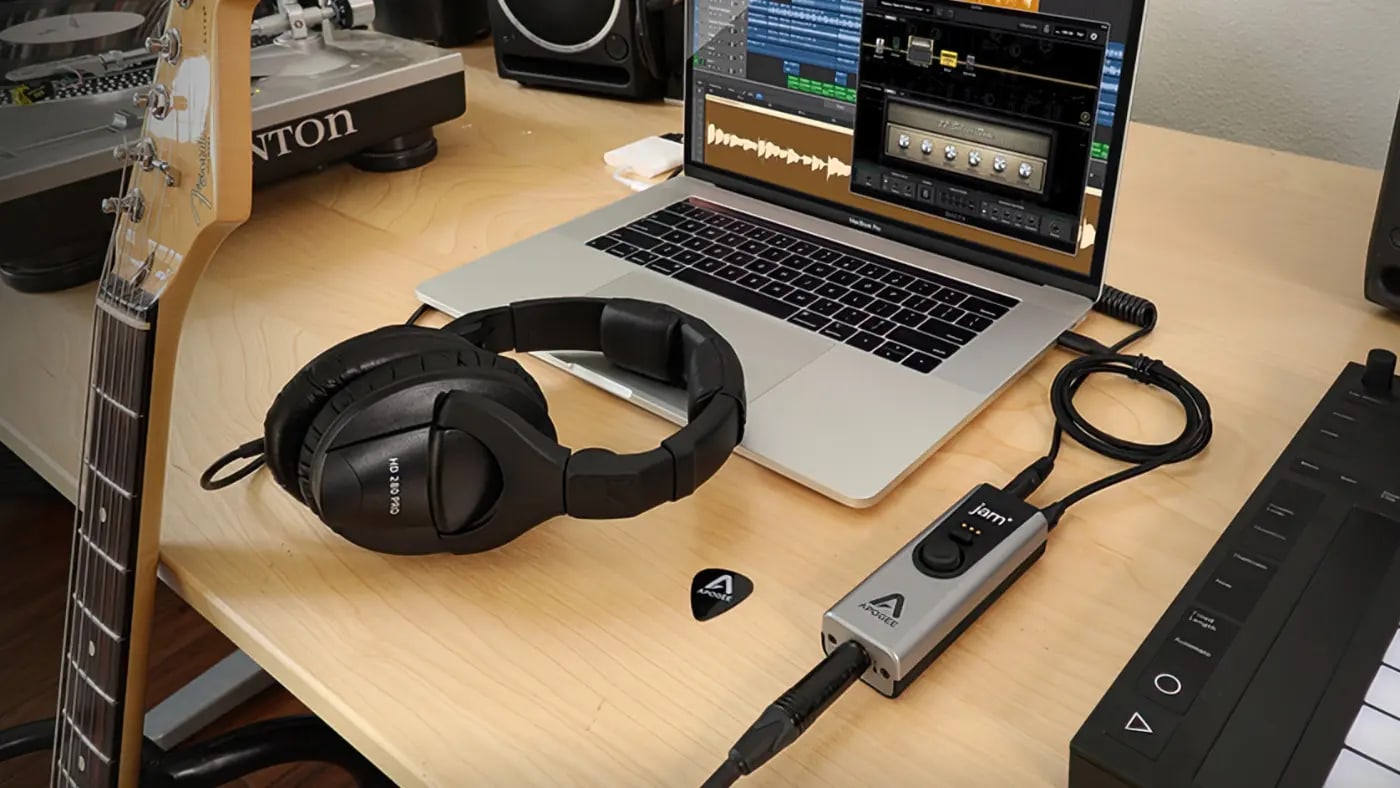
For acoustic guitarists, all you will need to get started is a microphone. Any microphone that macOS can see, GarageBand can see, be it a dedicated USB mic or even the built-in iSight camera found on iMacs and MacBook Pros.
Electric guitars, however, require an audio interface. Audio interfaces are input/output boxes that convert a sound signal into a digital signal that can be understood by your Mac. There are many audio interfaces available to purchase from the likes of M-Audio, Arturia, Focusrite, MOTU, and Apogee. While the feature set between devices will vary, a single 1/4″ line to USB conversion box will be enough to get started.
Setting Up
Before launching GarageBand, its best to confirm a few settings.
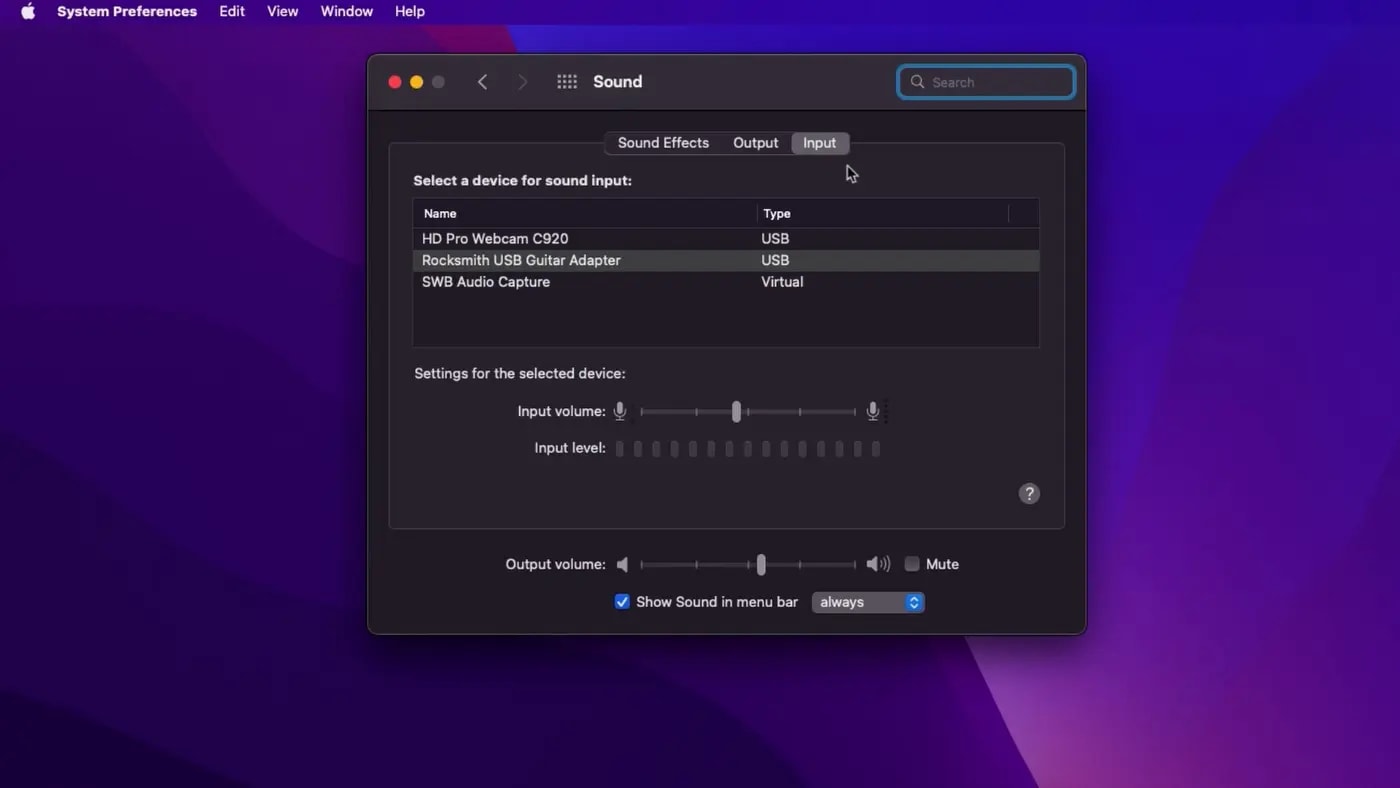
- Click the Apple menubar icon
- Select System Preferences
- Sound
- Input
Ensure that macOS can see the audio interface currently connected to the system. If the name of your device appears, good news! You can launch GarageBand. If not, ensure the device is plugged in properly, powered on (if applicable), and check the product’s website to ensure no additional software is required. Note, any sound input such as a microphone, webcam, or even a headset will appear in this menu. GarageBand utilizes CoreAudio for input and output.
Now, launch GarageBand and select Empty Project +.
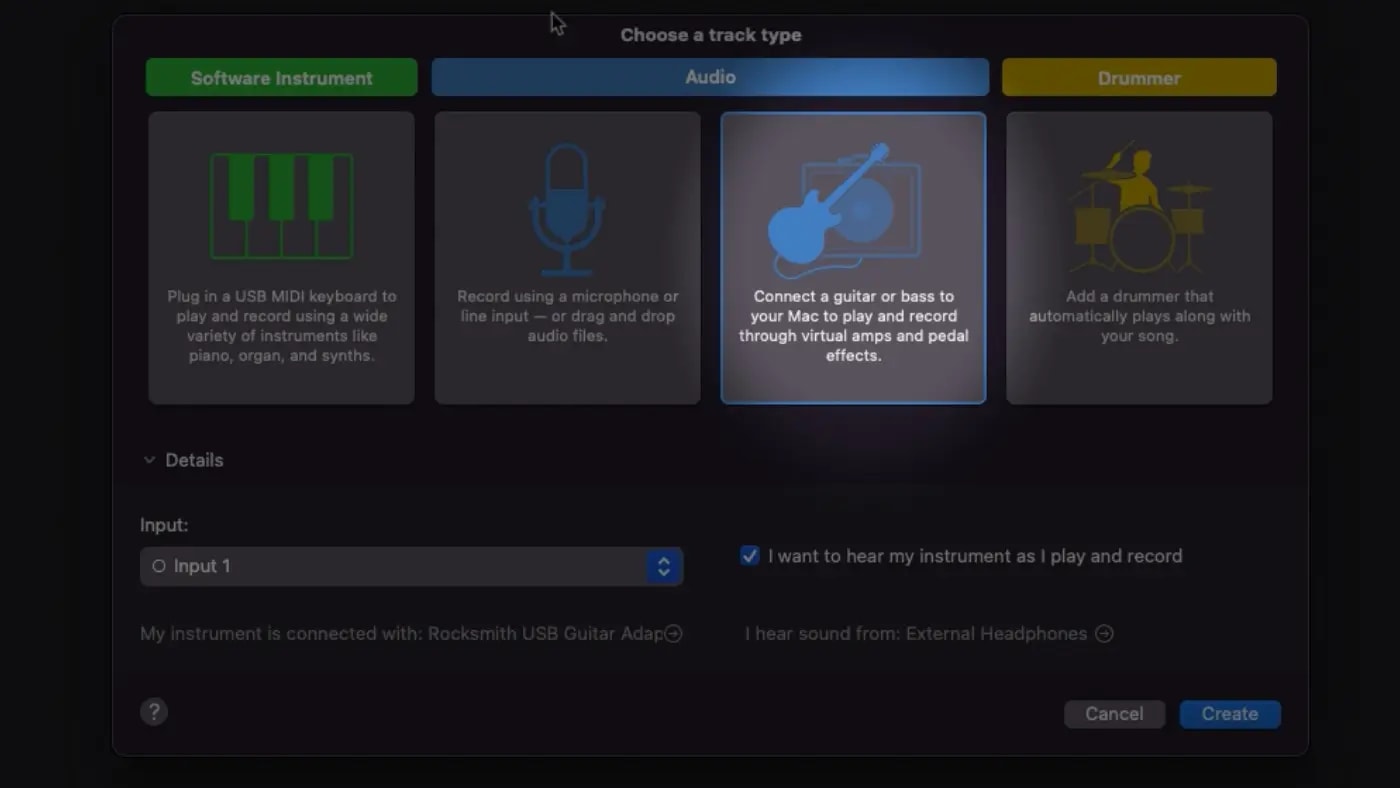
The project template launches with several options, select Audio > Connect a guitar or bass.
GarageBand finishes loading and an empty project is available. A track has already been created with a basic amplifier preset. Before we begin recording, confirm one more essential setting.
- Select the GarageBand menubar
- Preferences
- Audio/MIDI
- Input Devices
Confirm that the input device is mapped to the audio interface. A common problem is that GarageBand will sometimes look for audio coming in from the iSight camera and not the desired input, microphone, or interface. Close the settings panel.
A tuner can be found in the form of a fork icon, along the right side of the recording transport. An essential setting to check as well before recording!
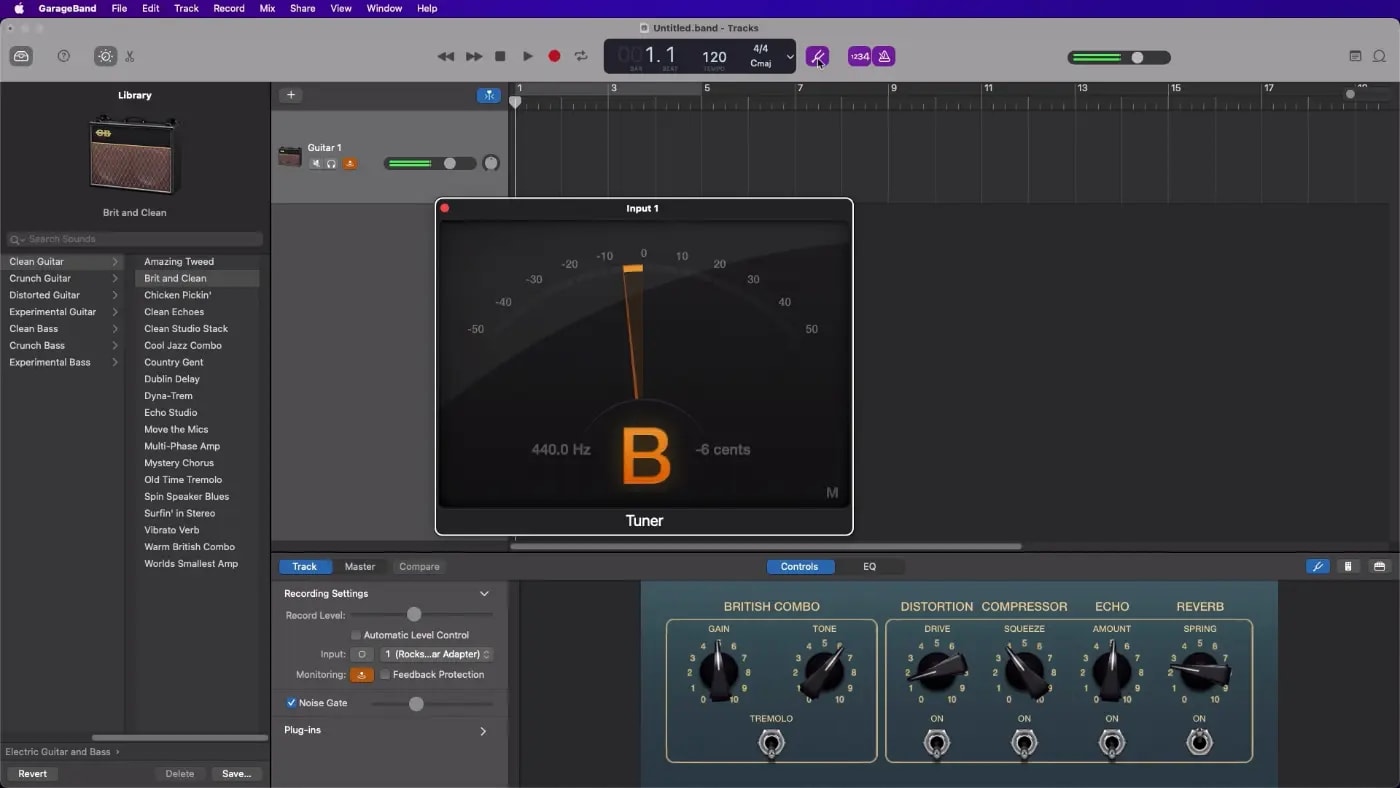
Now, I’m ready to record.
Editing Guitars in GarageBand: The Basics
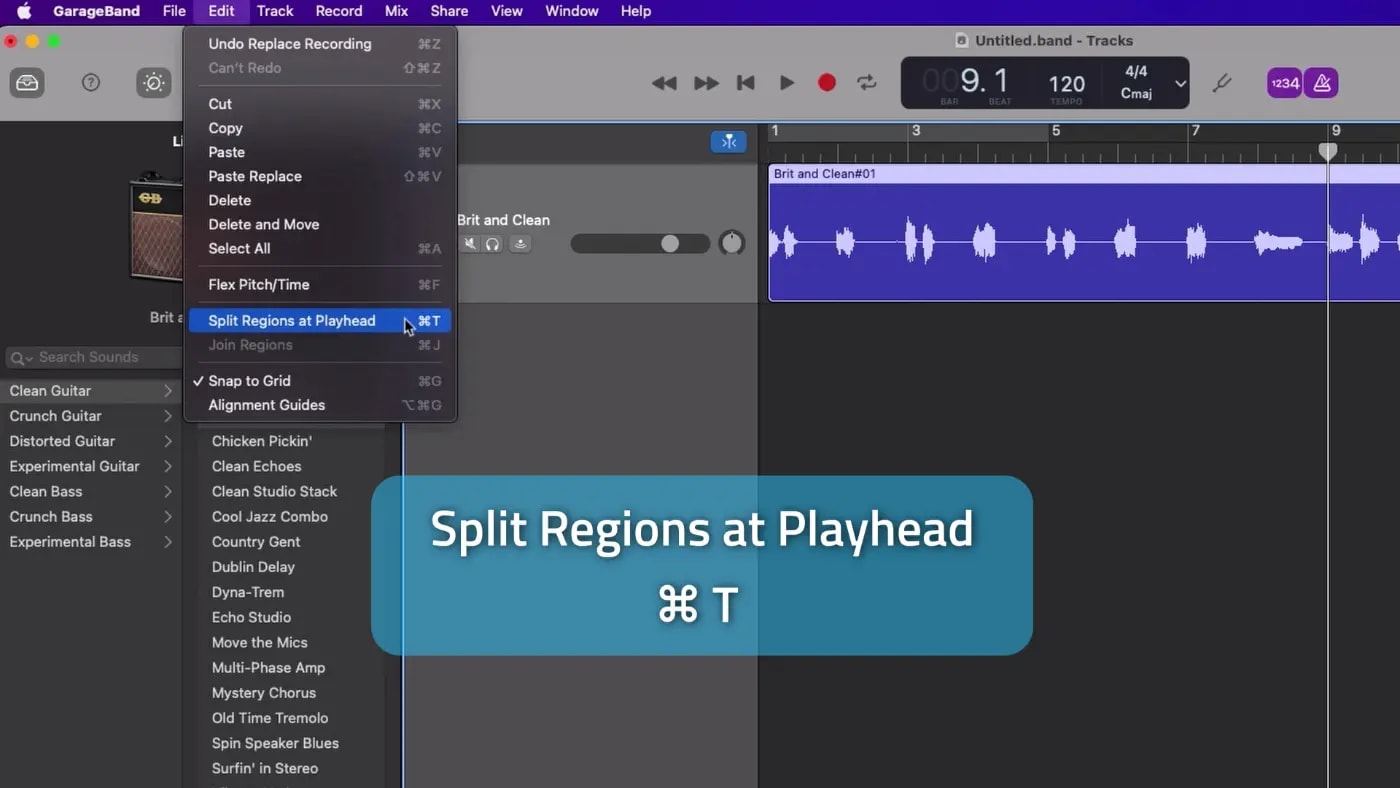
Listening back, not bad, but I’m off on quite a few of these bars. I want to tighten up this performance and ensure chords start on each bar. Splitting the take at the 9th bar will ensure anything I move around earlier will leave the latter part alone, move the playhead to the 9 on the time ruler, click to activate the event and select:
- Edit menubar
- Split Regions at Playhead (Command T)
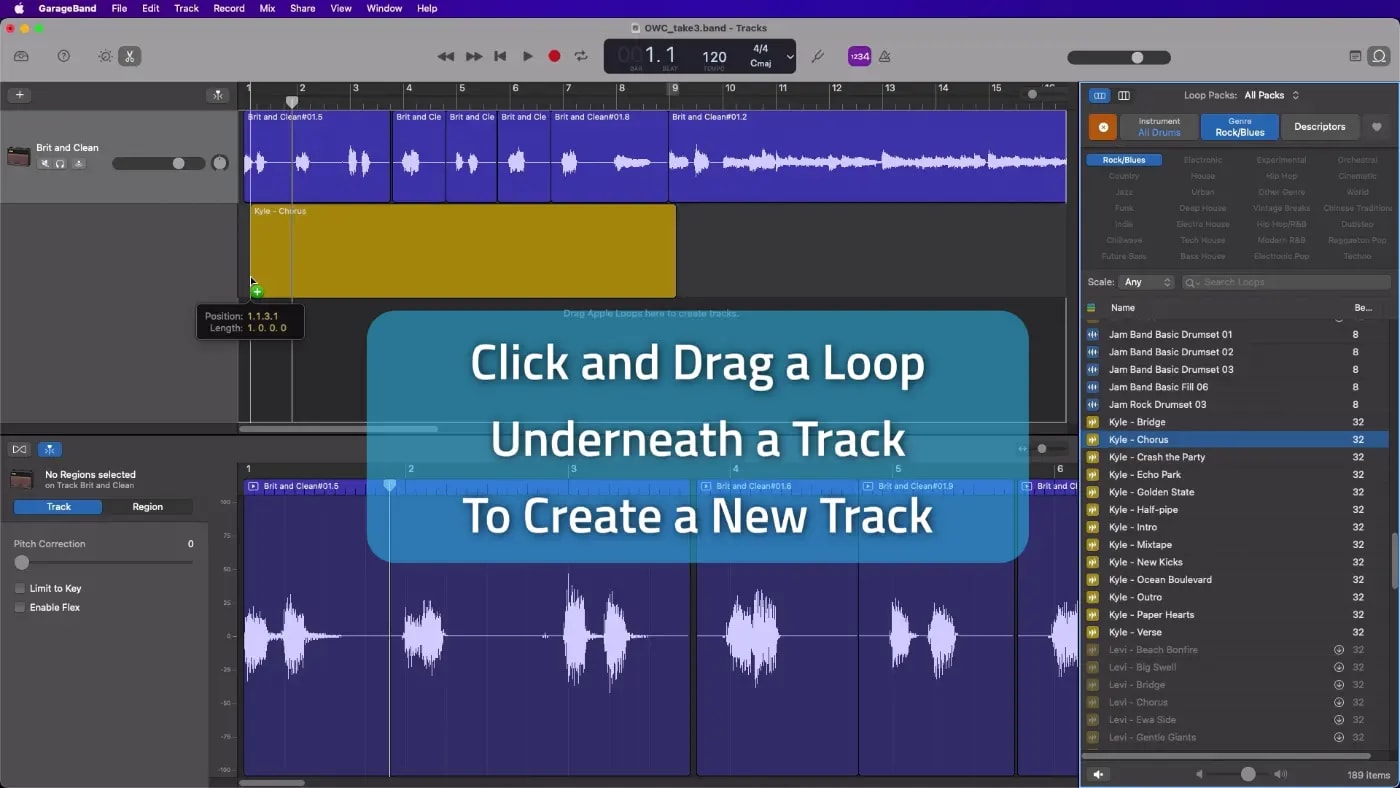
The metronome is serviceable but a bit annoying. I’m going to replace it with a drum loop. Opening up the loops browser, I’m going to filter the results down to All Drums > Rock. Click on a loop to audition it. To add to the composition, click and drag the loop below the guitar track. GarageBand will add a new virtual instrument track. This sounds much nicer for a temp track.
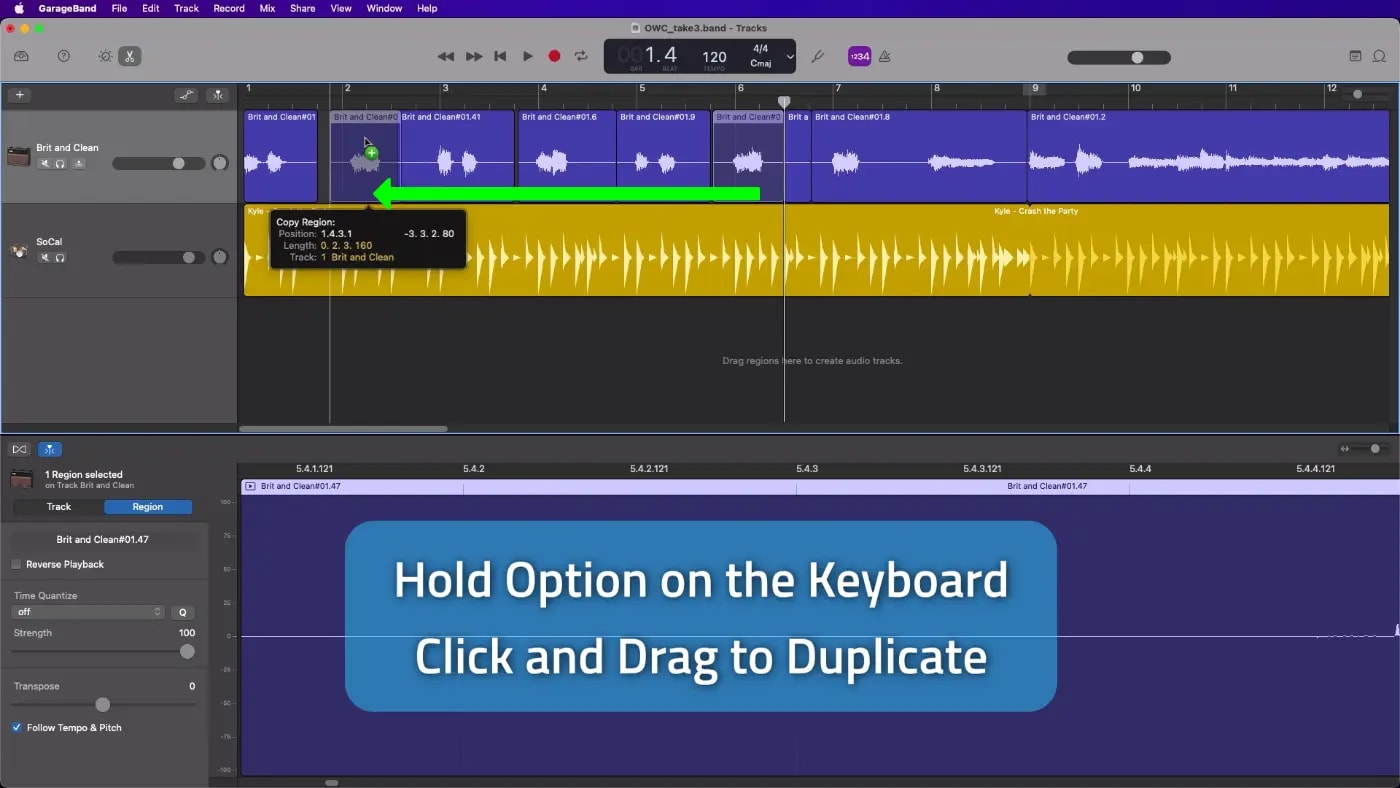
Almost there, but the chord I played on bar 2 is too early and too fast but, I know I played the chord correctly on bar 6. First, I’m going to use the same Split Regions at Playhead command to isolate and remove the bad take, and to isolate the good take. Hold the option key down on the keyboard and click and drag the good take over the bad one, the performance gets duplicated. Much faster than copying and pasting!
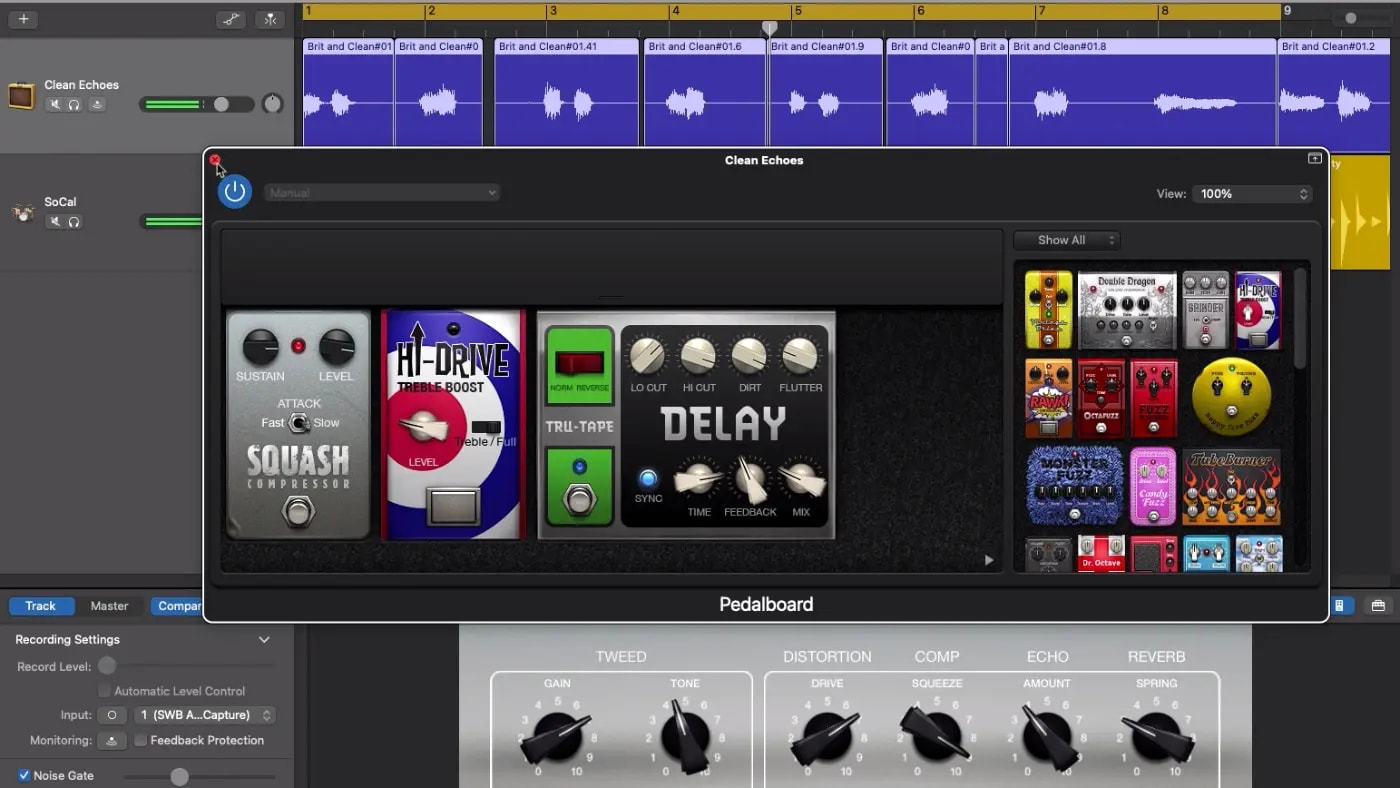
I quite like recording in GarageBand because all the guitar parts are recorded clean; without any effects applied. This offers great flexibility in the editing process because amps and pedals can be freely modified. I can audition different presets by opening the library, and any preset can be modified such as replacing one pedal for another.
GarageBand is a great way to start recording and is available on every Mac for free. Once you’ve explored its features and want to learn more, any GarageBand project can be sent into Logic Pro for more refinement and polish so, no need to worry about starting in GarageBand and having projects stuck in that platform; an upgrade path is available.
Other topics you might like

Mountain Lodge Meets Music Magic: Inside Dark Horse Recording with Dave Hagen
Updated on Jun 4, 2026
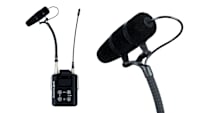
Grab Great Audio From Anywhere with This New DPA 4097 CORE+ Micro Shotgun Microphone
Updated on May 29, 2026
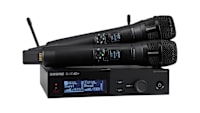
Upgrade Your Live Performance Sound with the Shure SLXD24D+/N8C Dual-Channel Wireless Mic System
Updated on May 28, 2026

More Than Two Decades of Trust: How Prime Recording Relies on OWC to Protect Every Note
Updated on May 7, 2026