

Optional Software and Integrations Support Manual
Table of Contents
- Unboxing Your OWC Jellyfish
- Connecting Your OWC Jellyfish to the Internet
- Activating Your Integrations
- Kyno for OWC Jellyfish
- Media Engine
- Transferring Media to Your OWC Jellyfish
- Additional Resources
Unboxing Your OWC Jellyfish
- So far you’ve unboxed your OWC Jellyfish, plugged in your cables, downloaded and installed your software, and connected your workstations. Next, we will break down a few optional steps you may want to take in setting up your new OWC Jellyfish. In this section, you’ll learn how to connect your OWC Jellyfish to the Internet and acquaint yourself with our many seamless software integrations.
Connecting Your OWC Jellyfish to the Internet
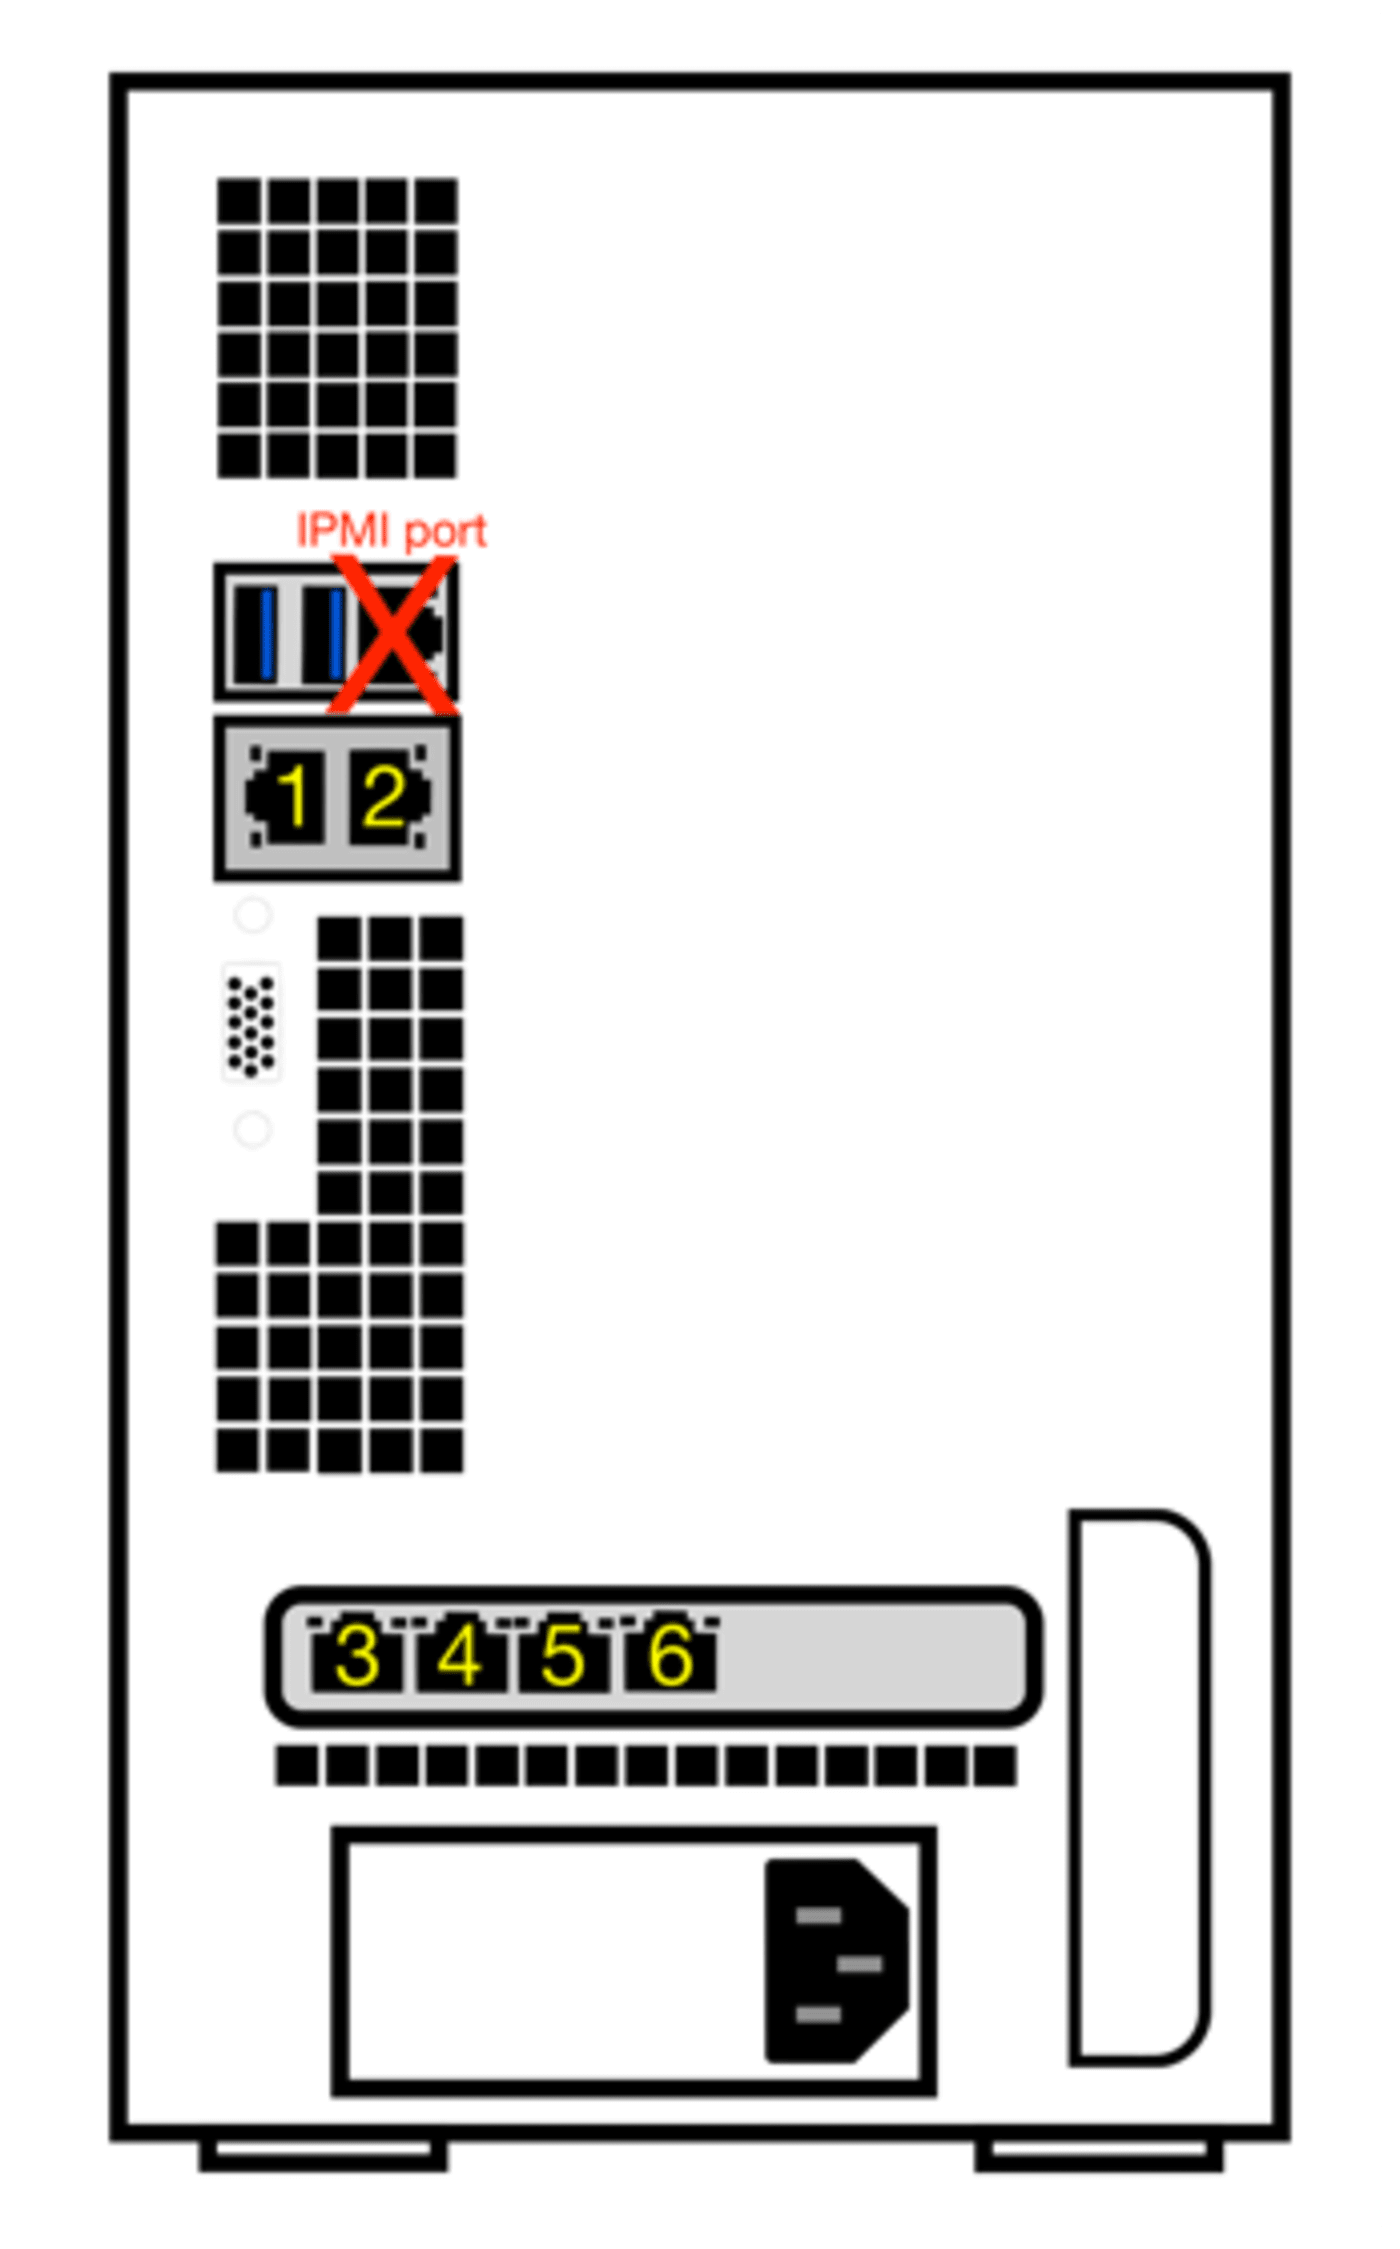
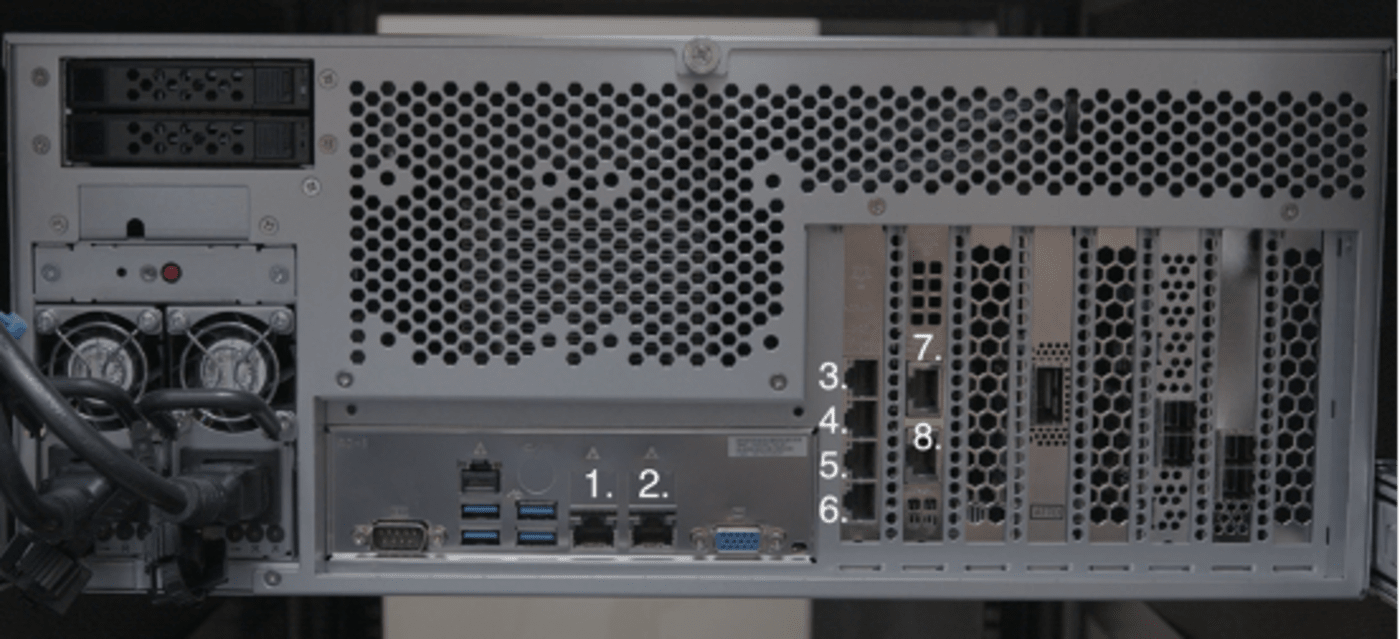
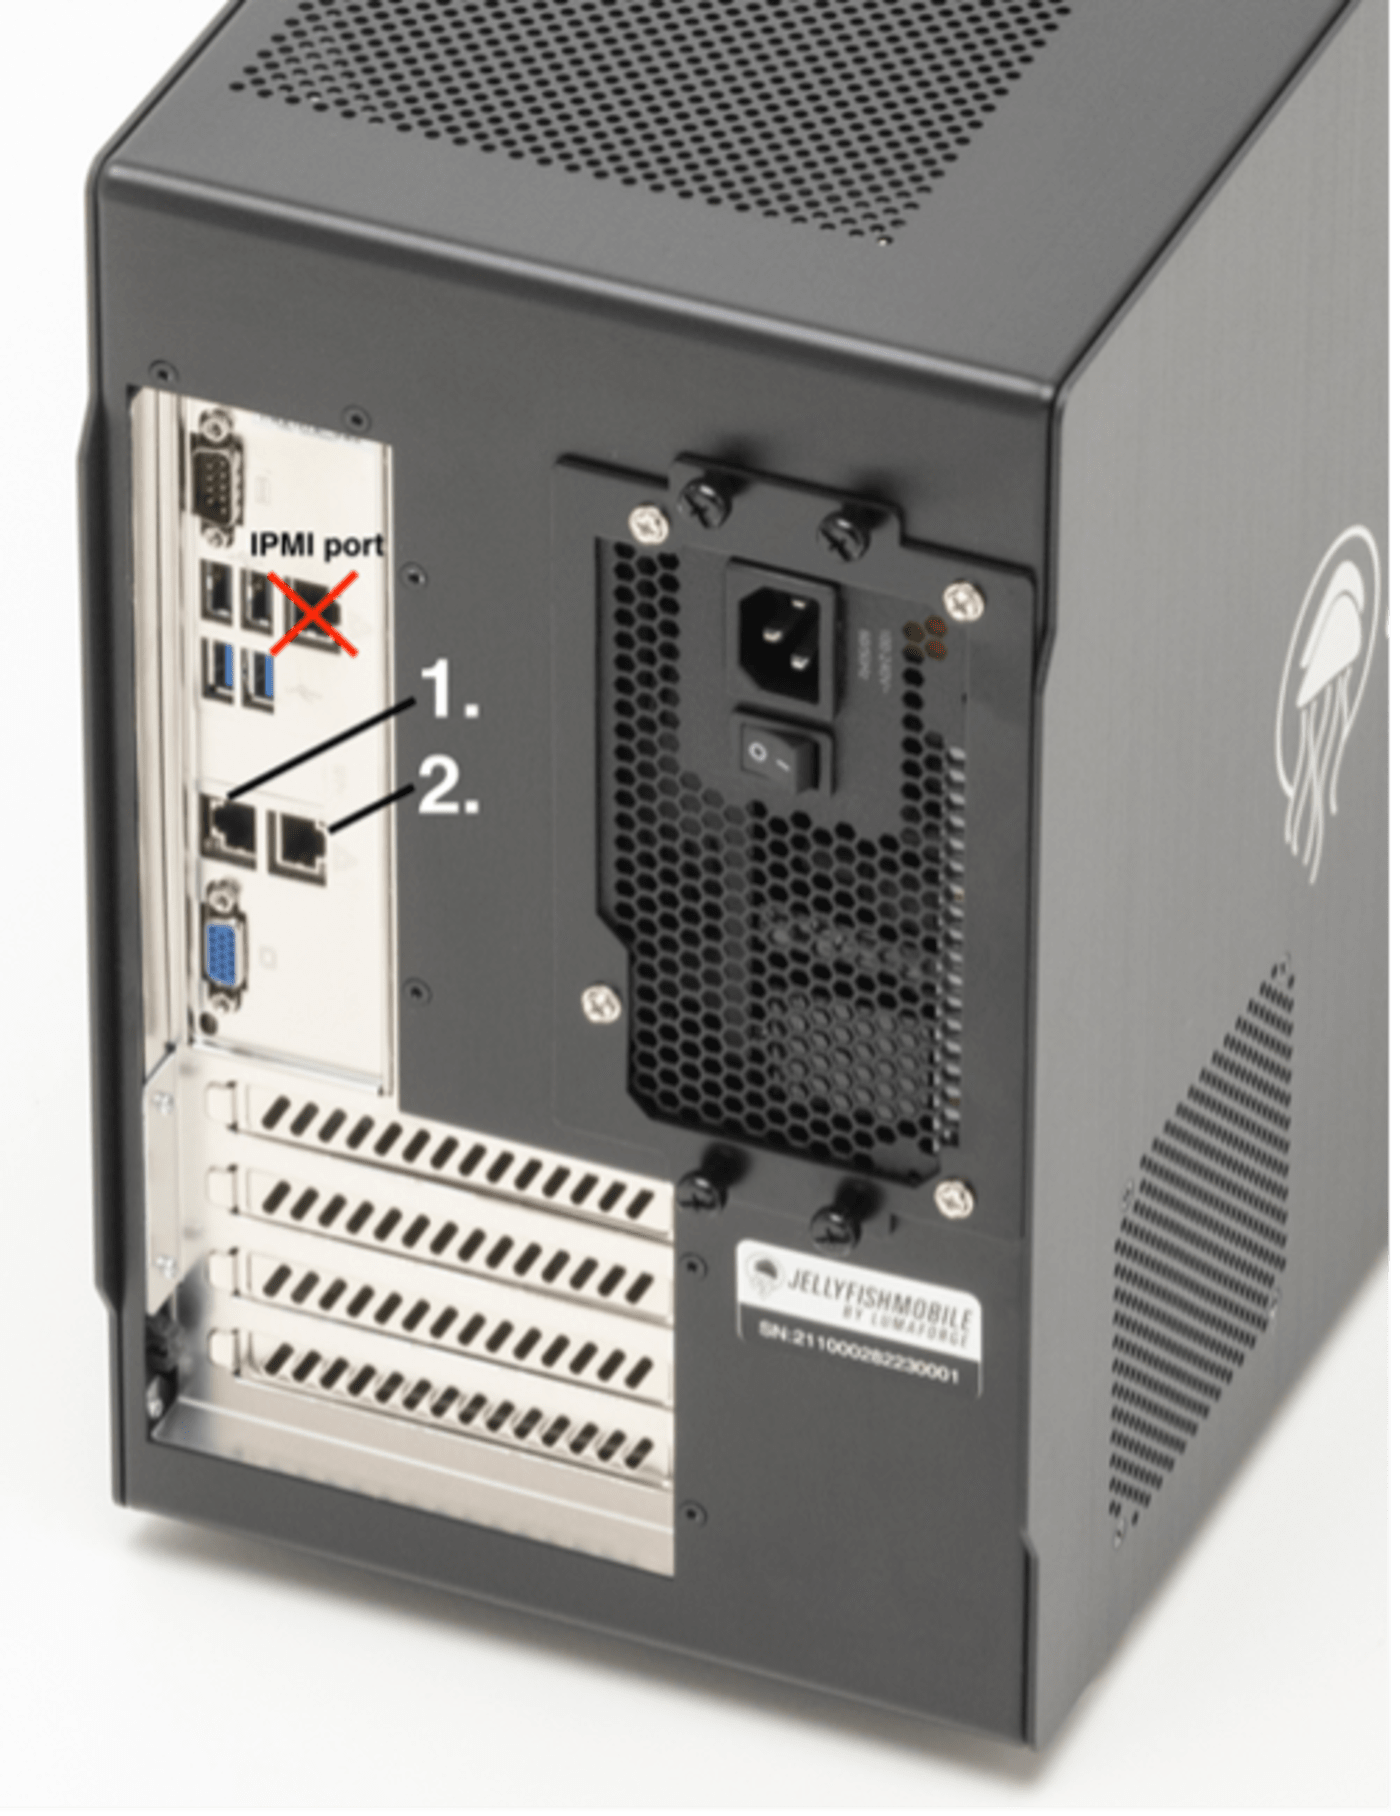
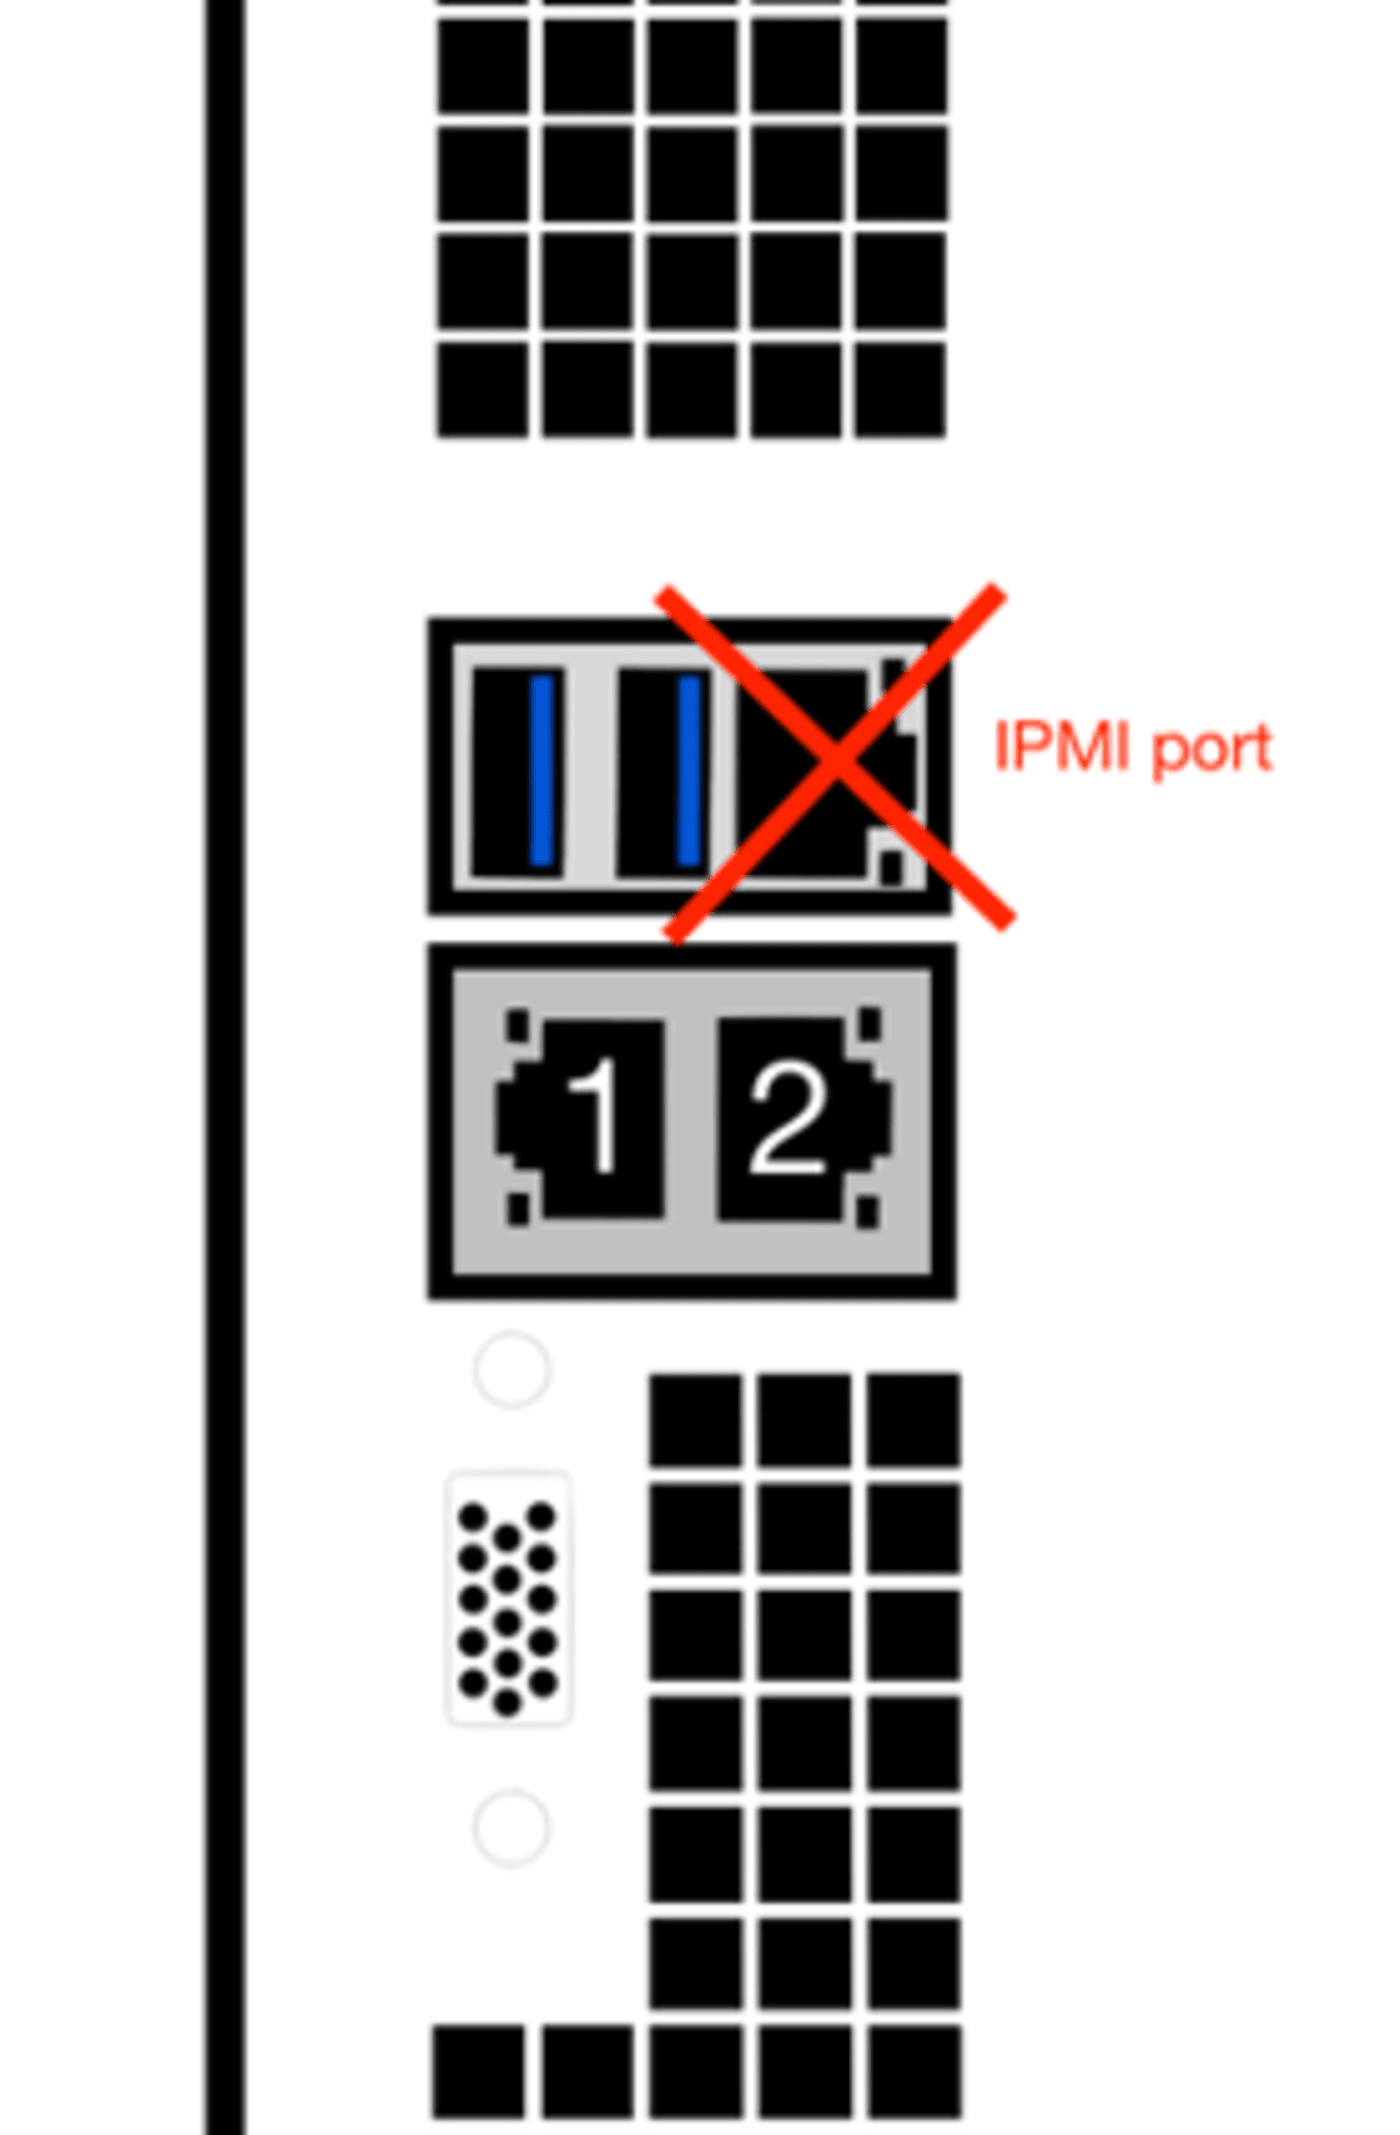
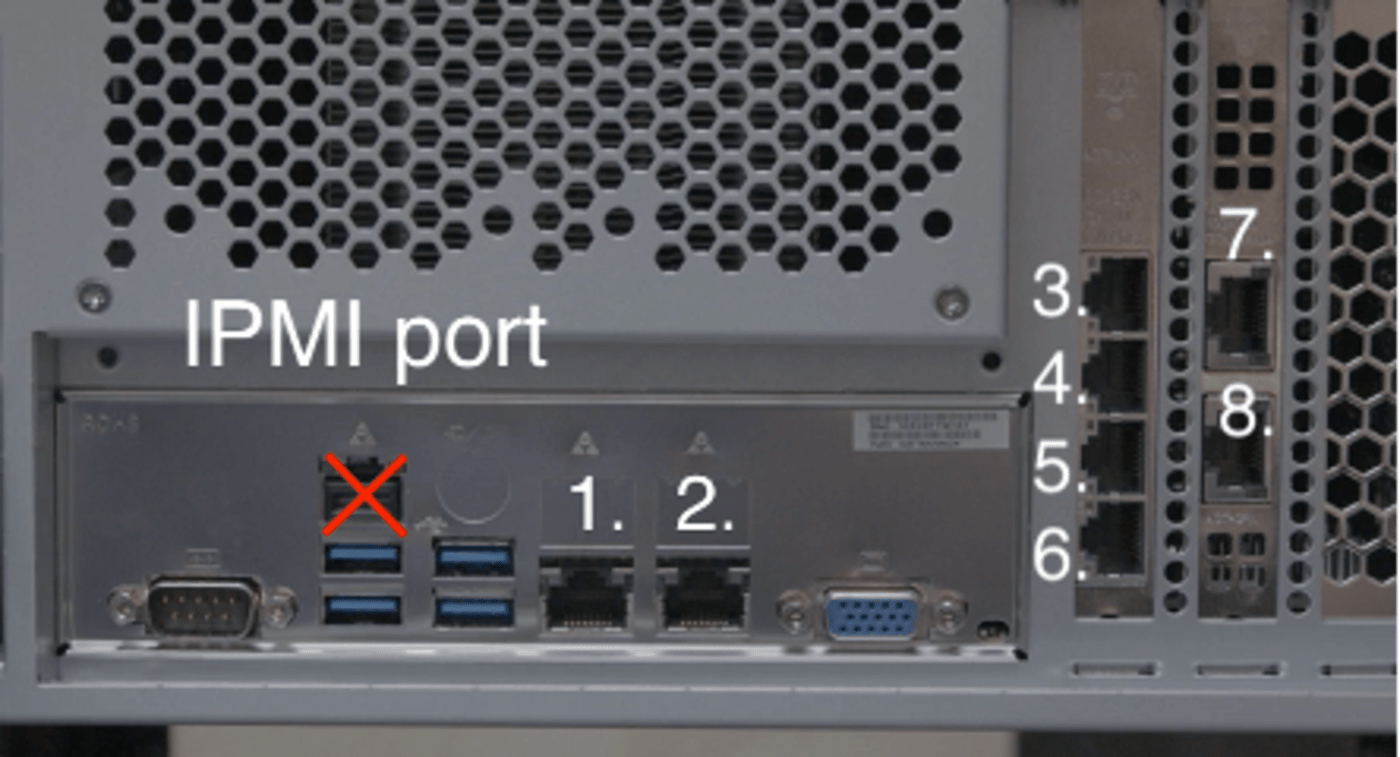
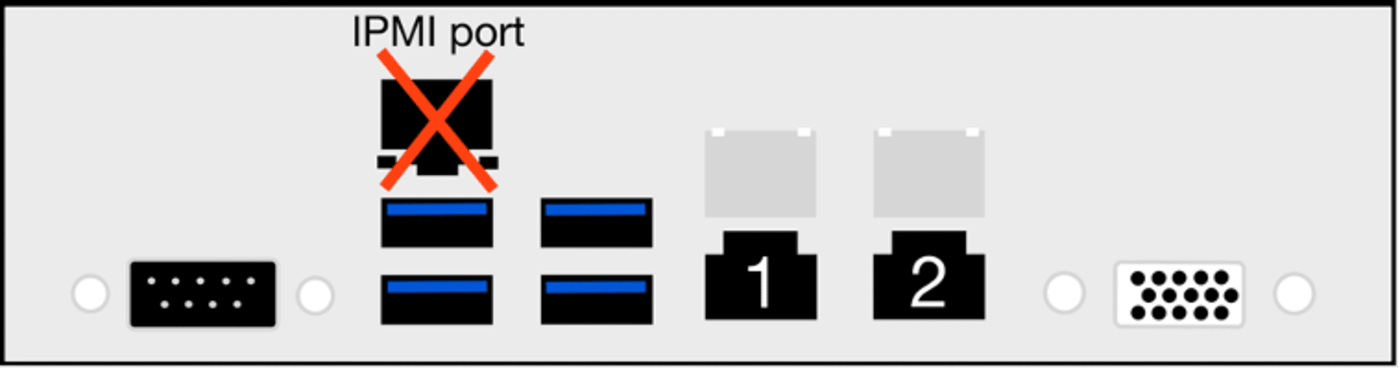
- Depending on your use case, you may want to utilize a 1GbE or 10GbE connection for your network connection. Please note that if you choose a 10GbE port, you will need a switch that is 10GbE compatible in order to achieve 10GbE speeds. If you will have multiple users connecting simultaneously over LAN, we recommend using at least a 10GbE port. If you are only using it for an Internet connection, 1GbE should be sufficient. Be sure you are not using the IPMI port of the OWC Jellyfish as this will not provide access to your data.
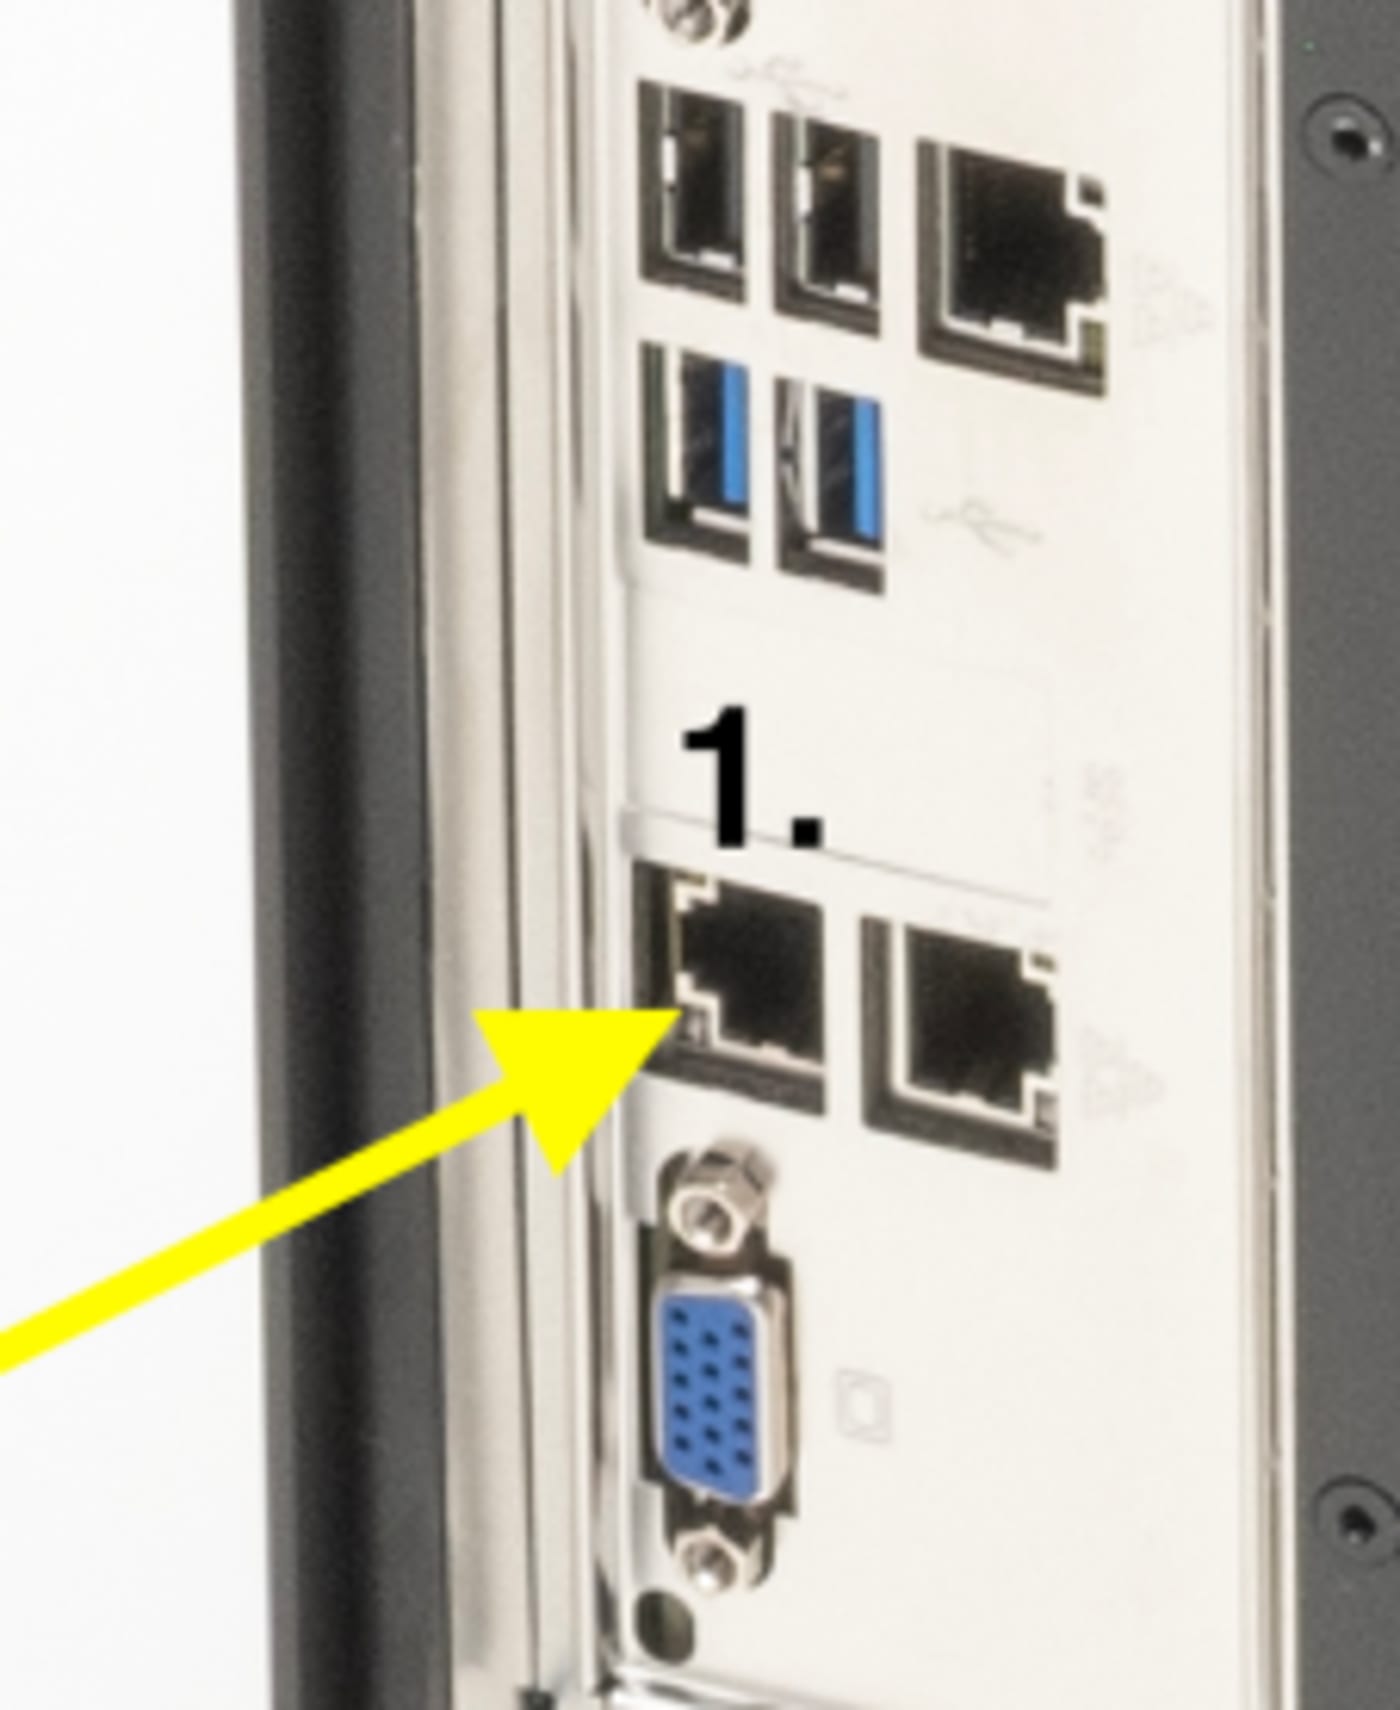
1. First, connect one of your OWC Jellyfish ports to your switch. OWC Jellyfish ports are always counted from top to bottom and left to right.


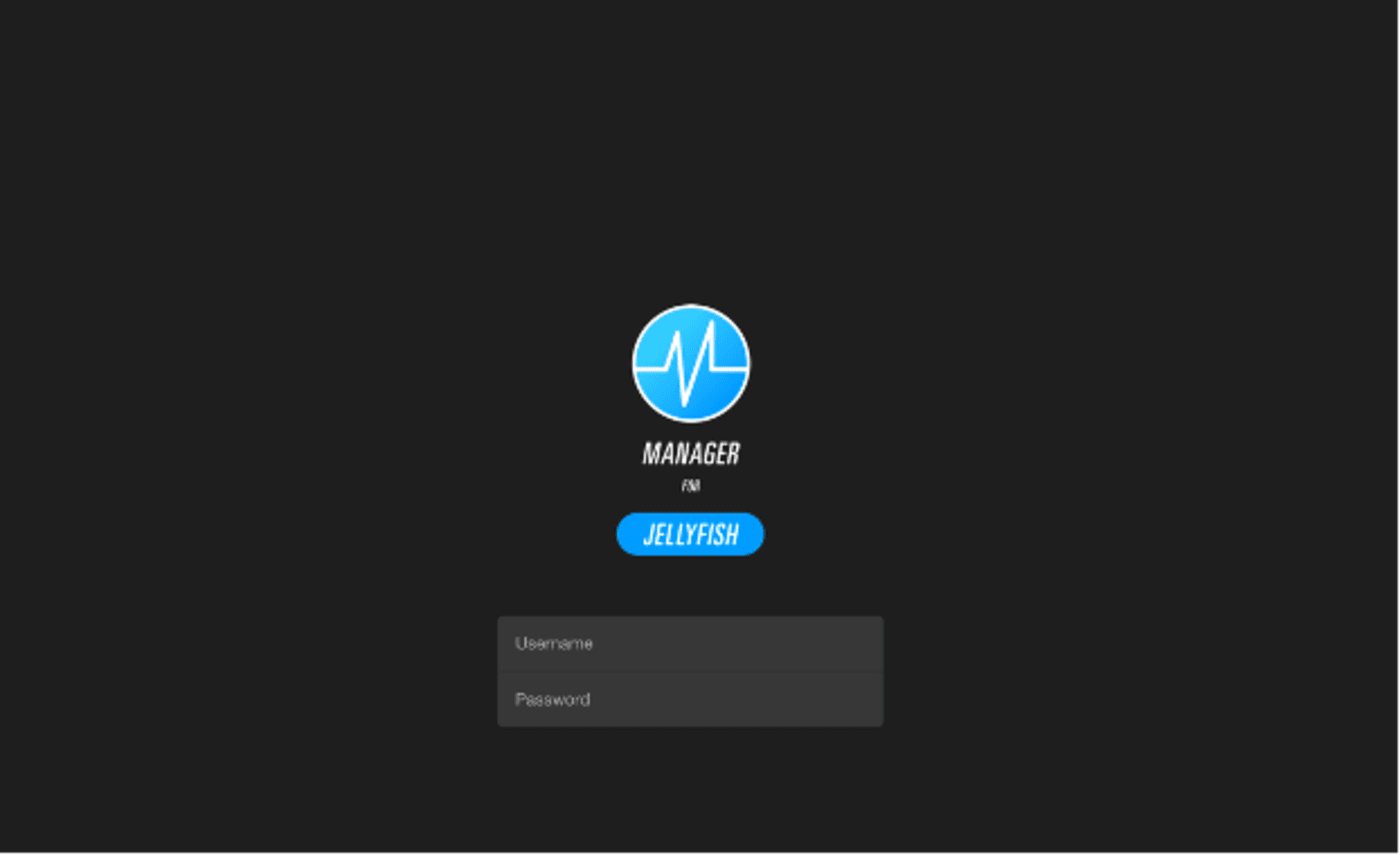
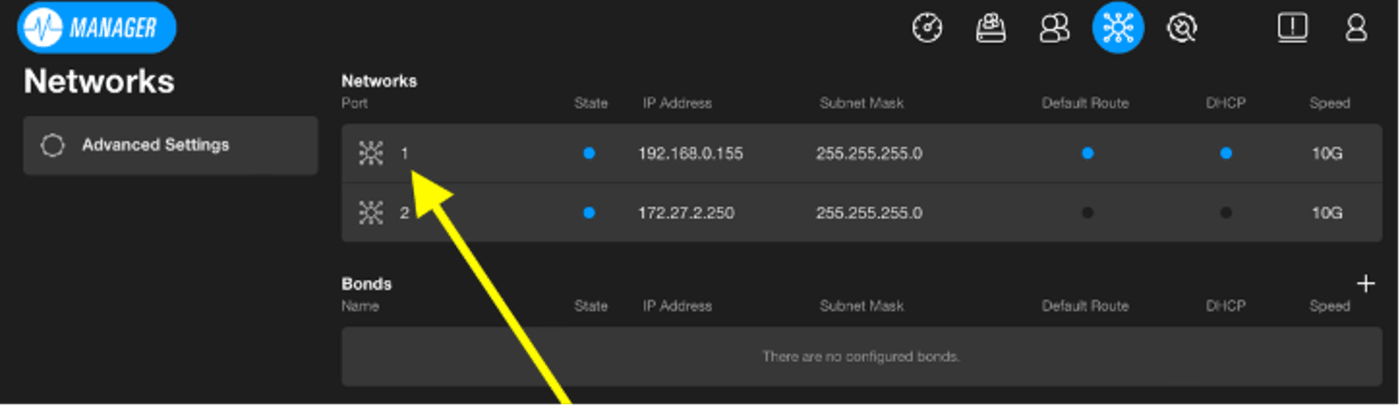
2. Once you have connected to the correct port, log into Manager for OWC Jellyfish and go to the Networks page.
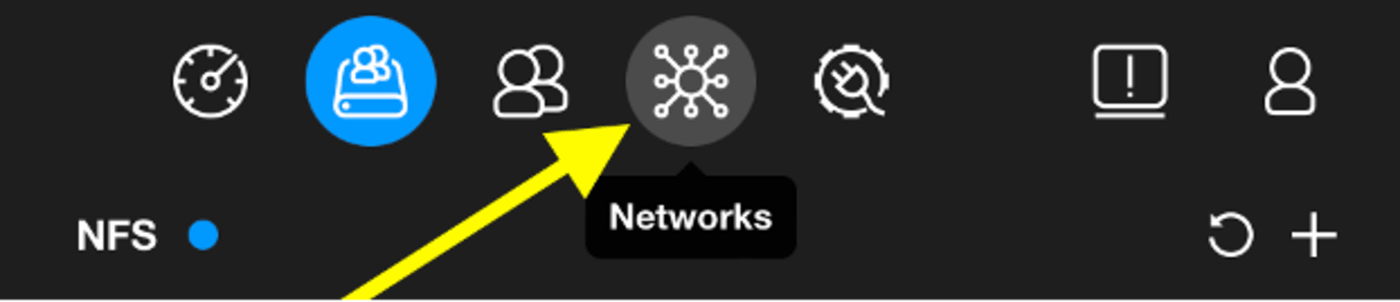
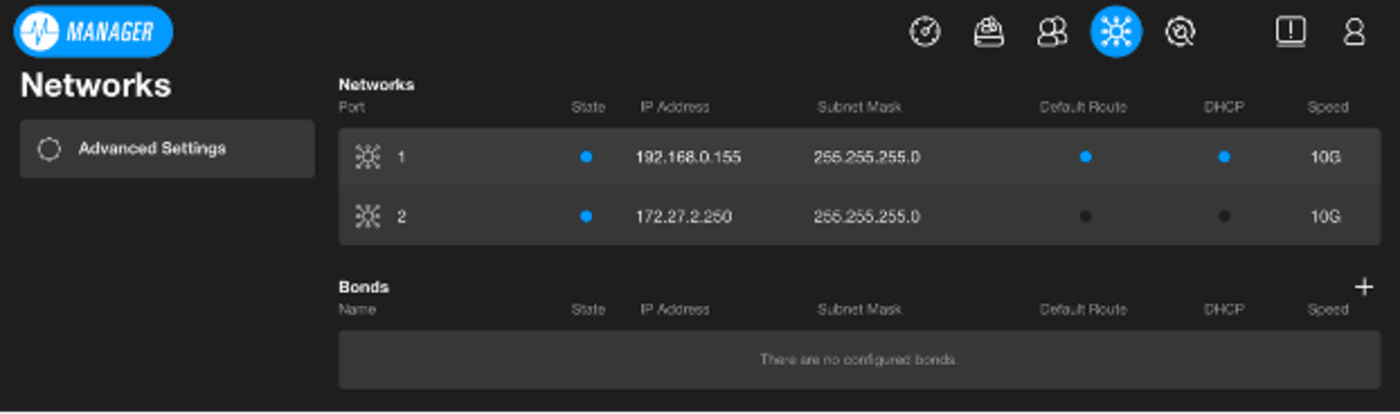
3. Select the port you connected to the switch or router.
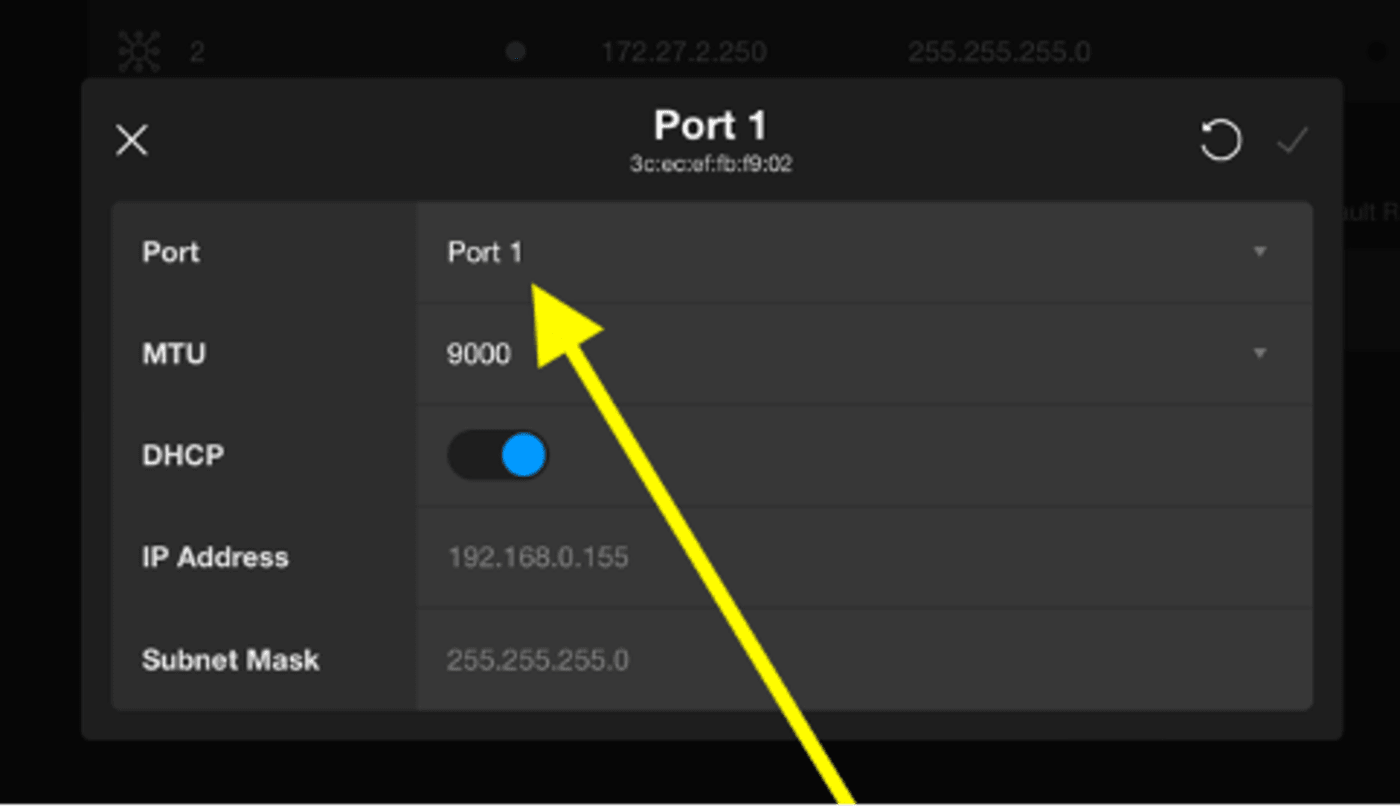
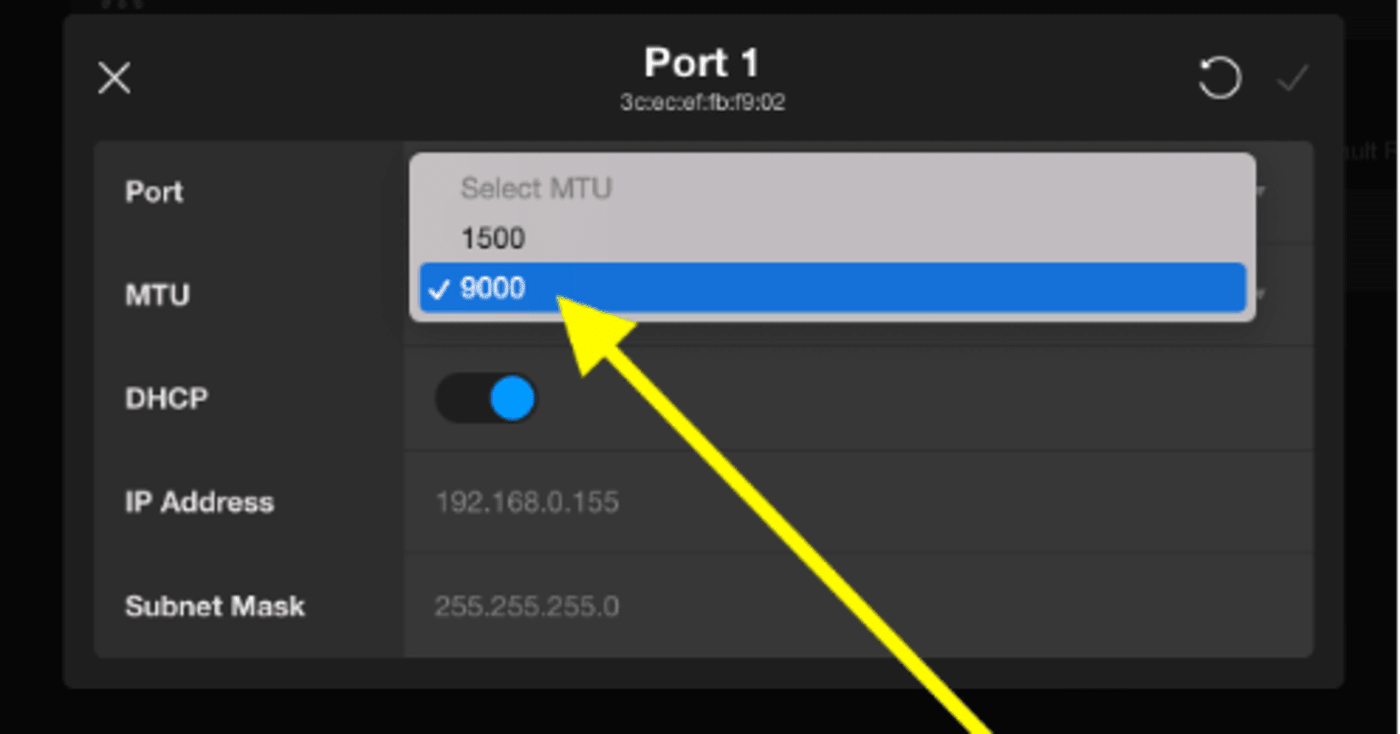
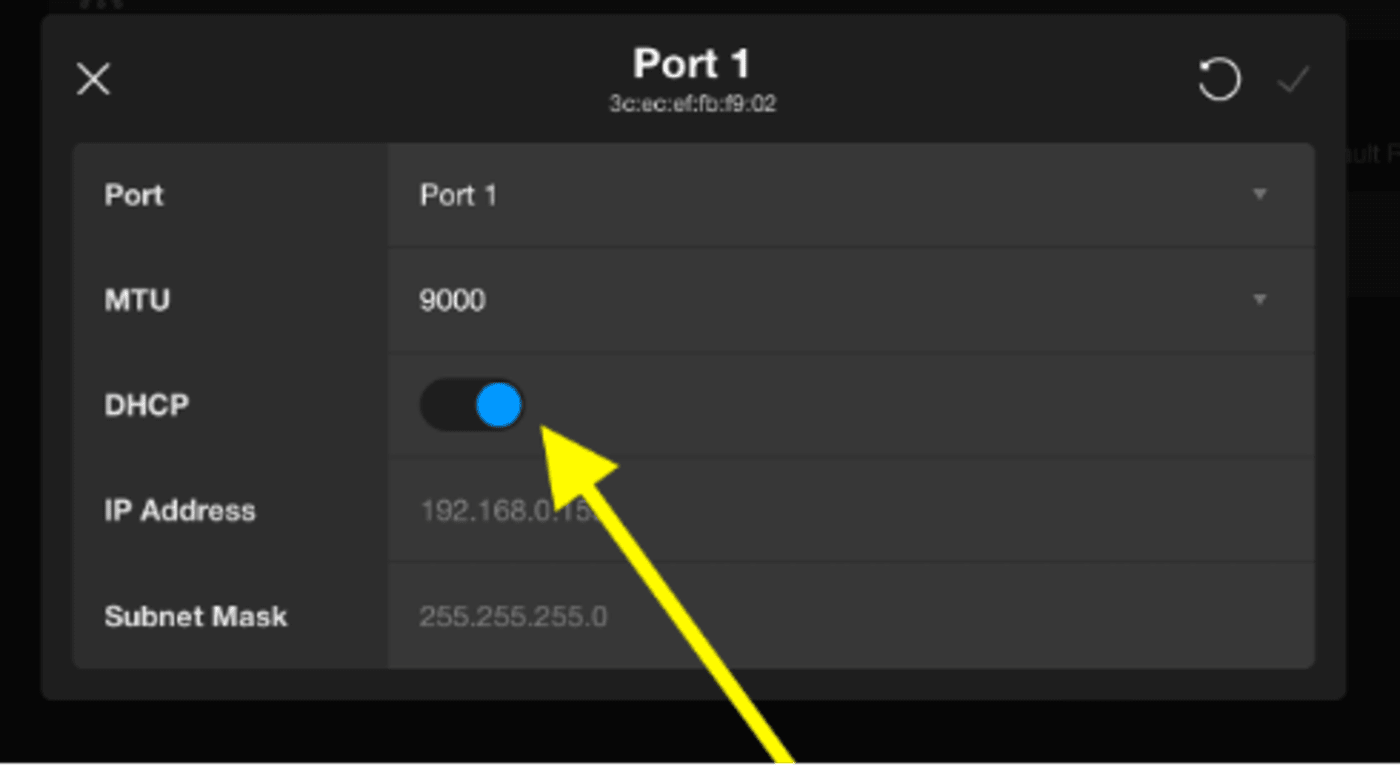
4. Using the drop-down arrow on the right side of the MTU selection, set the MTU to 1500 if you are using a 1GbE connection, or 9000 if you are using a 10GbE connection.
5. Toggle on DHCP. Check your switch settings to make ensure DHCP is enabled. This may be the default setting.
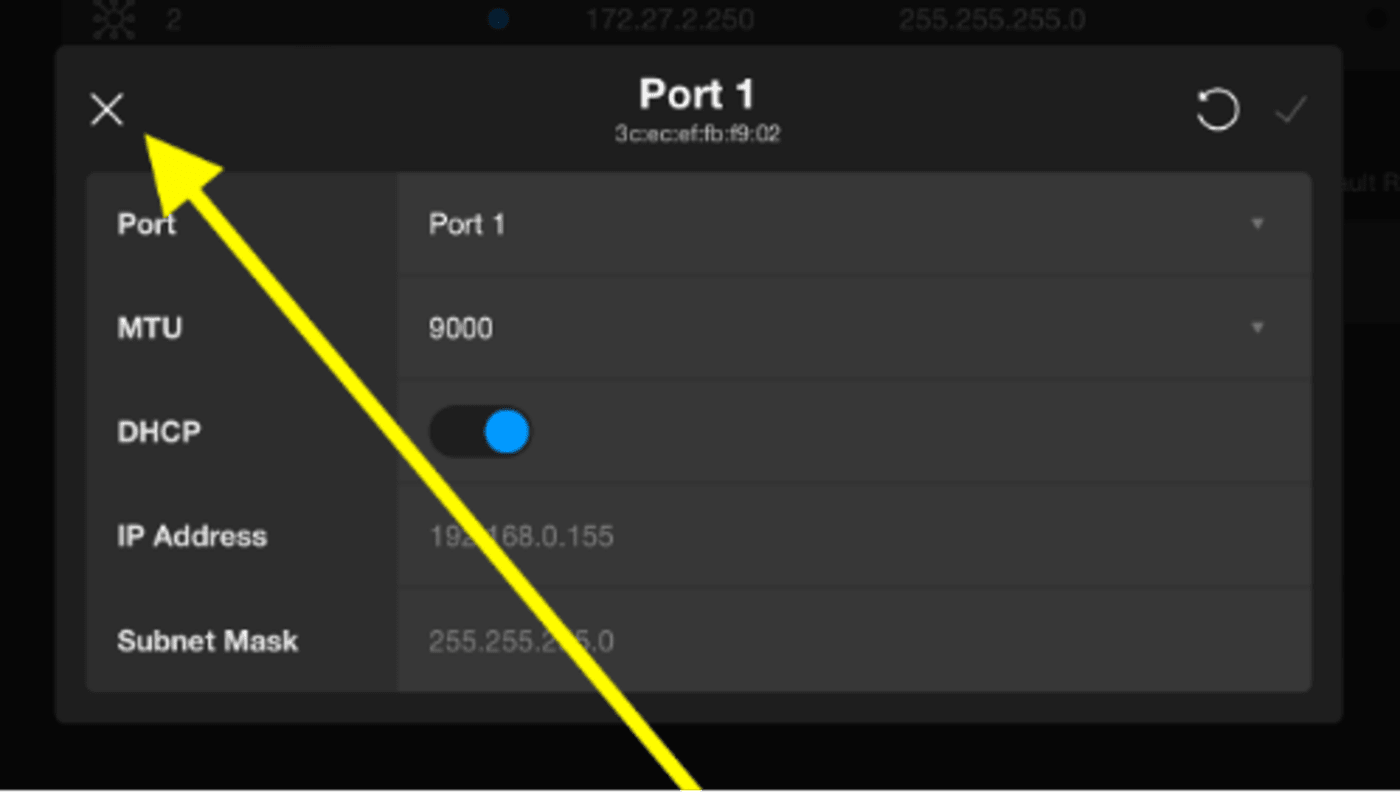
6. Click the checkmark in the top right corner to save.

7. Exit out of this dialogue box by clicking the “x” in the top left corner.
8. Refresh the page.

9. The OWC Jellyfish port will now have an automatically assigned IP address.
10. Here are the recommended network settings for a 10GbE connection on a Mac:
- Configure manually
- Speed: 10GBaseT
- Duplex: full-duplex
- MTU: 9000
- Make sure the box is unticked for AVB.
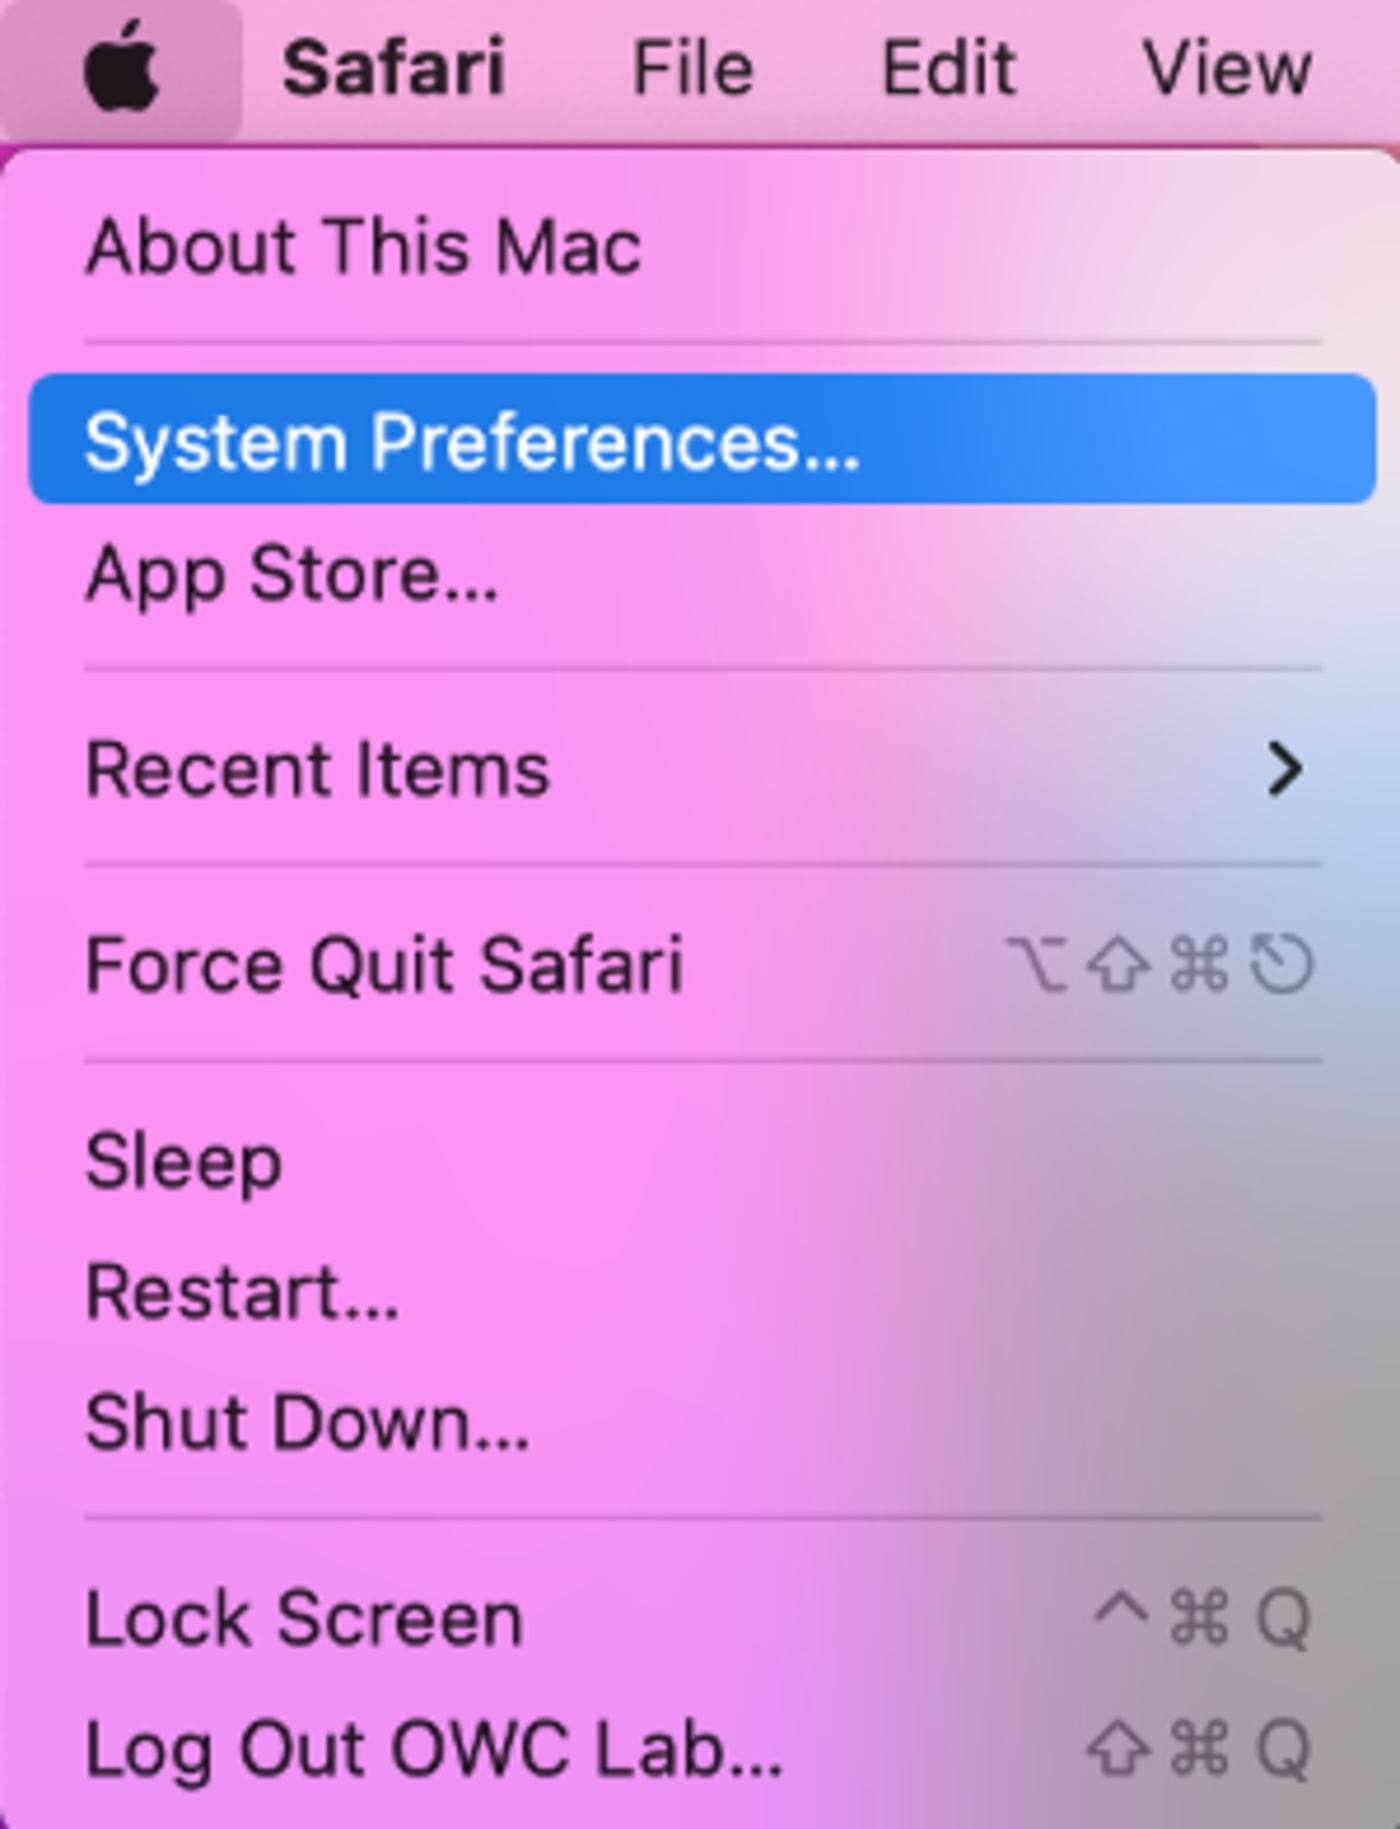
NOTE: These settings can be found by clicking the Apple logo in the top left of your screen and selecting System Preferences.
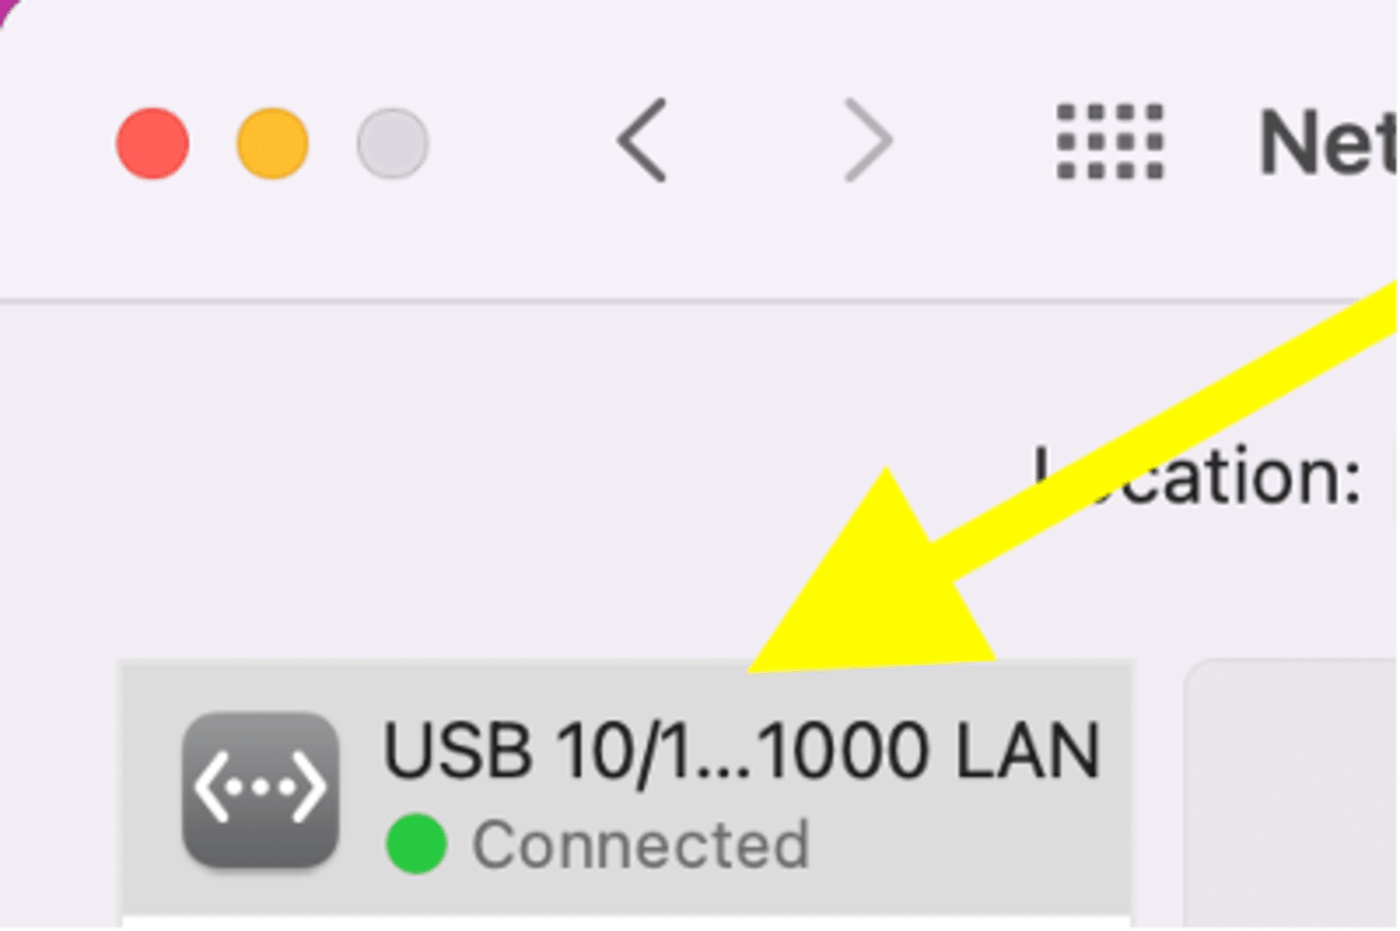
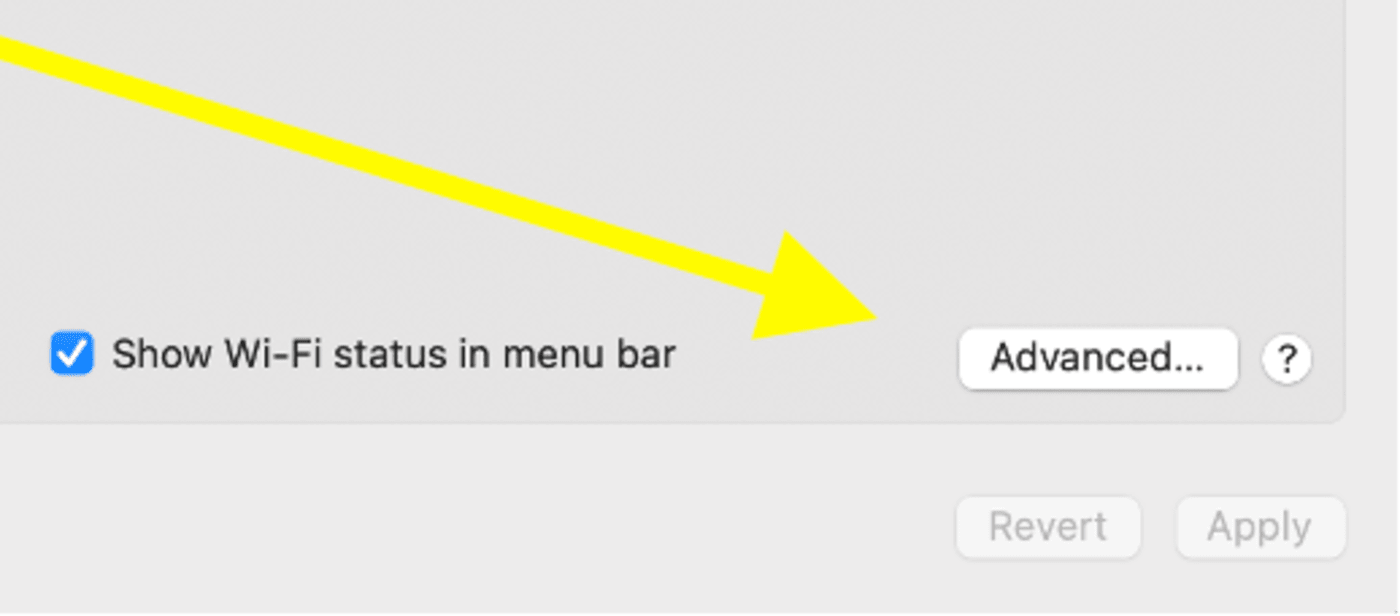
11. From here, select Network. Select your OWC Jellyfish connection in your list of network connections. Next, click Advanced at the bottom right corner of that dialogue box.

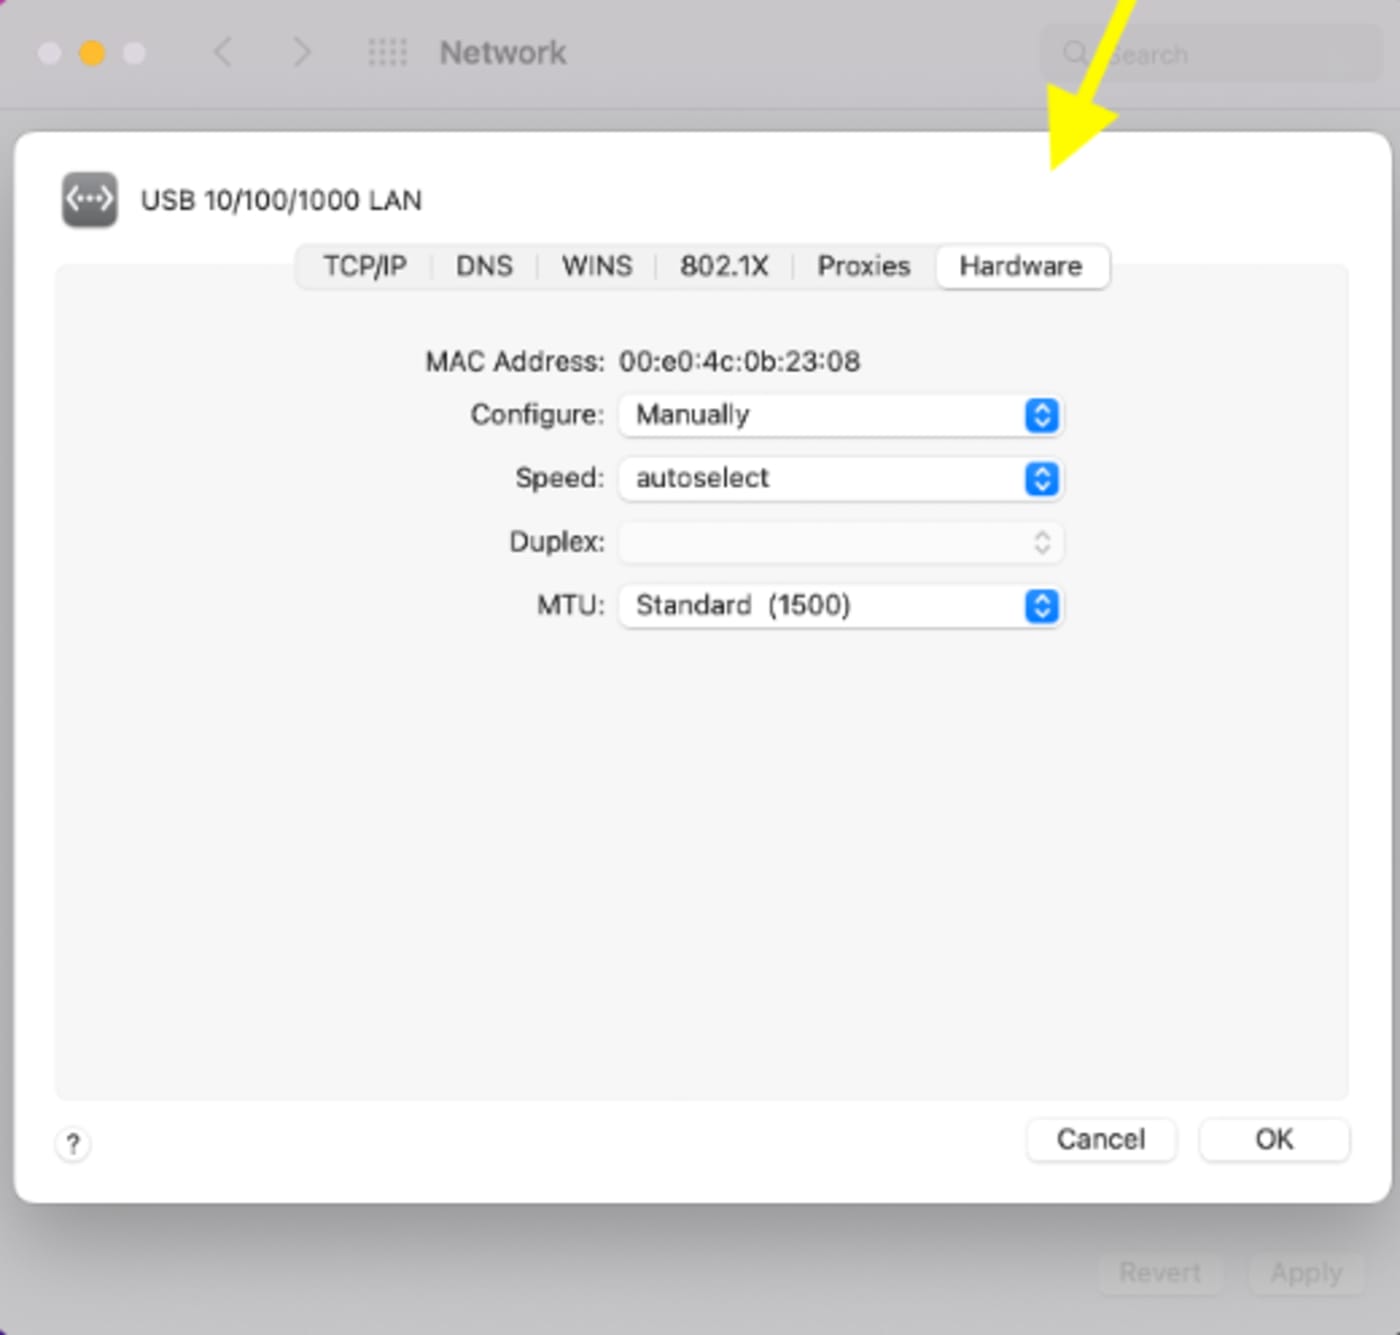
12. Click the Hardware tab on the right side to see your adjustable settings. When you’ve finished any necessary adjustments, click OK to save your changes.
13. Here are the recommended network settings for a 10GbE connection on a Windows:
- Jumbo Packet = 9014 Bytes
- Flow Control = Disabled
- Interrupt Moderation Rate = Low
- Interrupt Moderation = Disabled
Activating Your Integrations
- There are many integrations you can use with the OWC Jellyfish. These can help maximize the efficiency of your workflow. You will need to input license keys and/or usernames and passwords for these integrations.
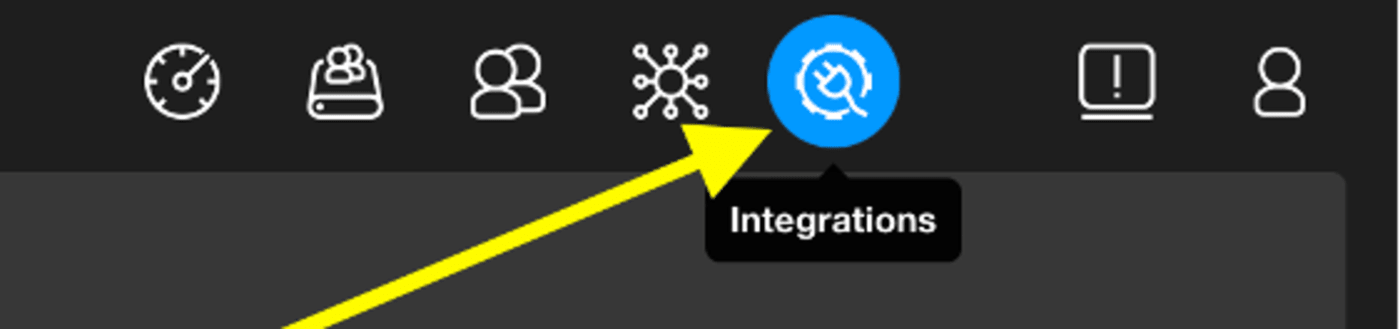
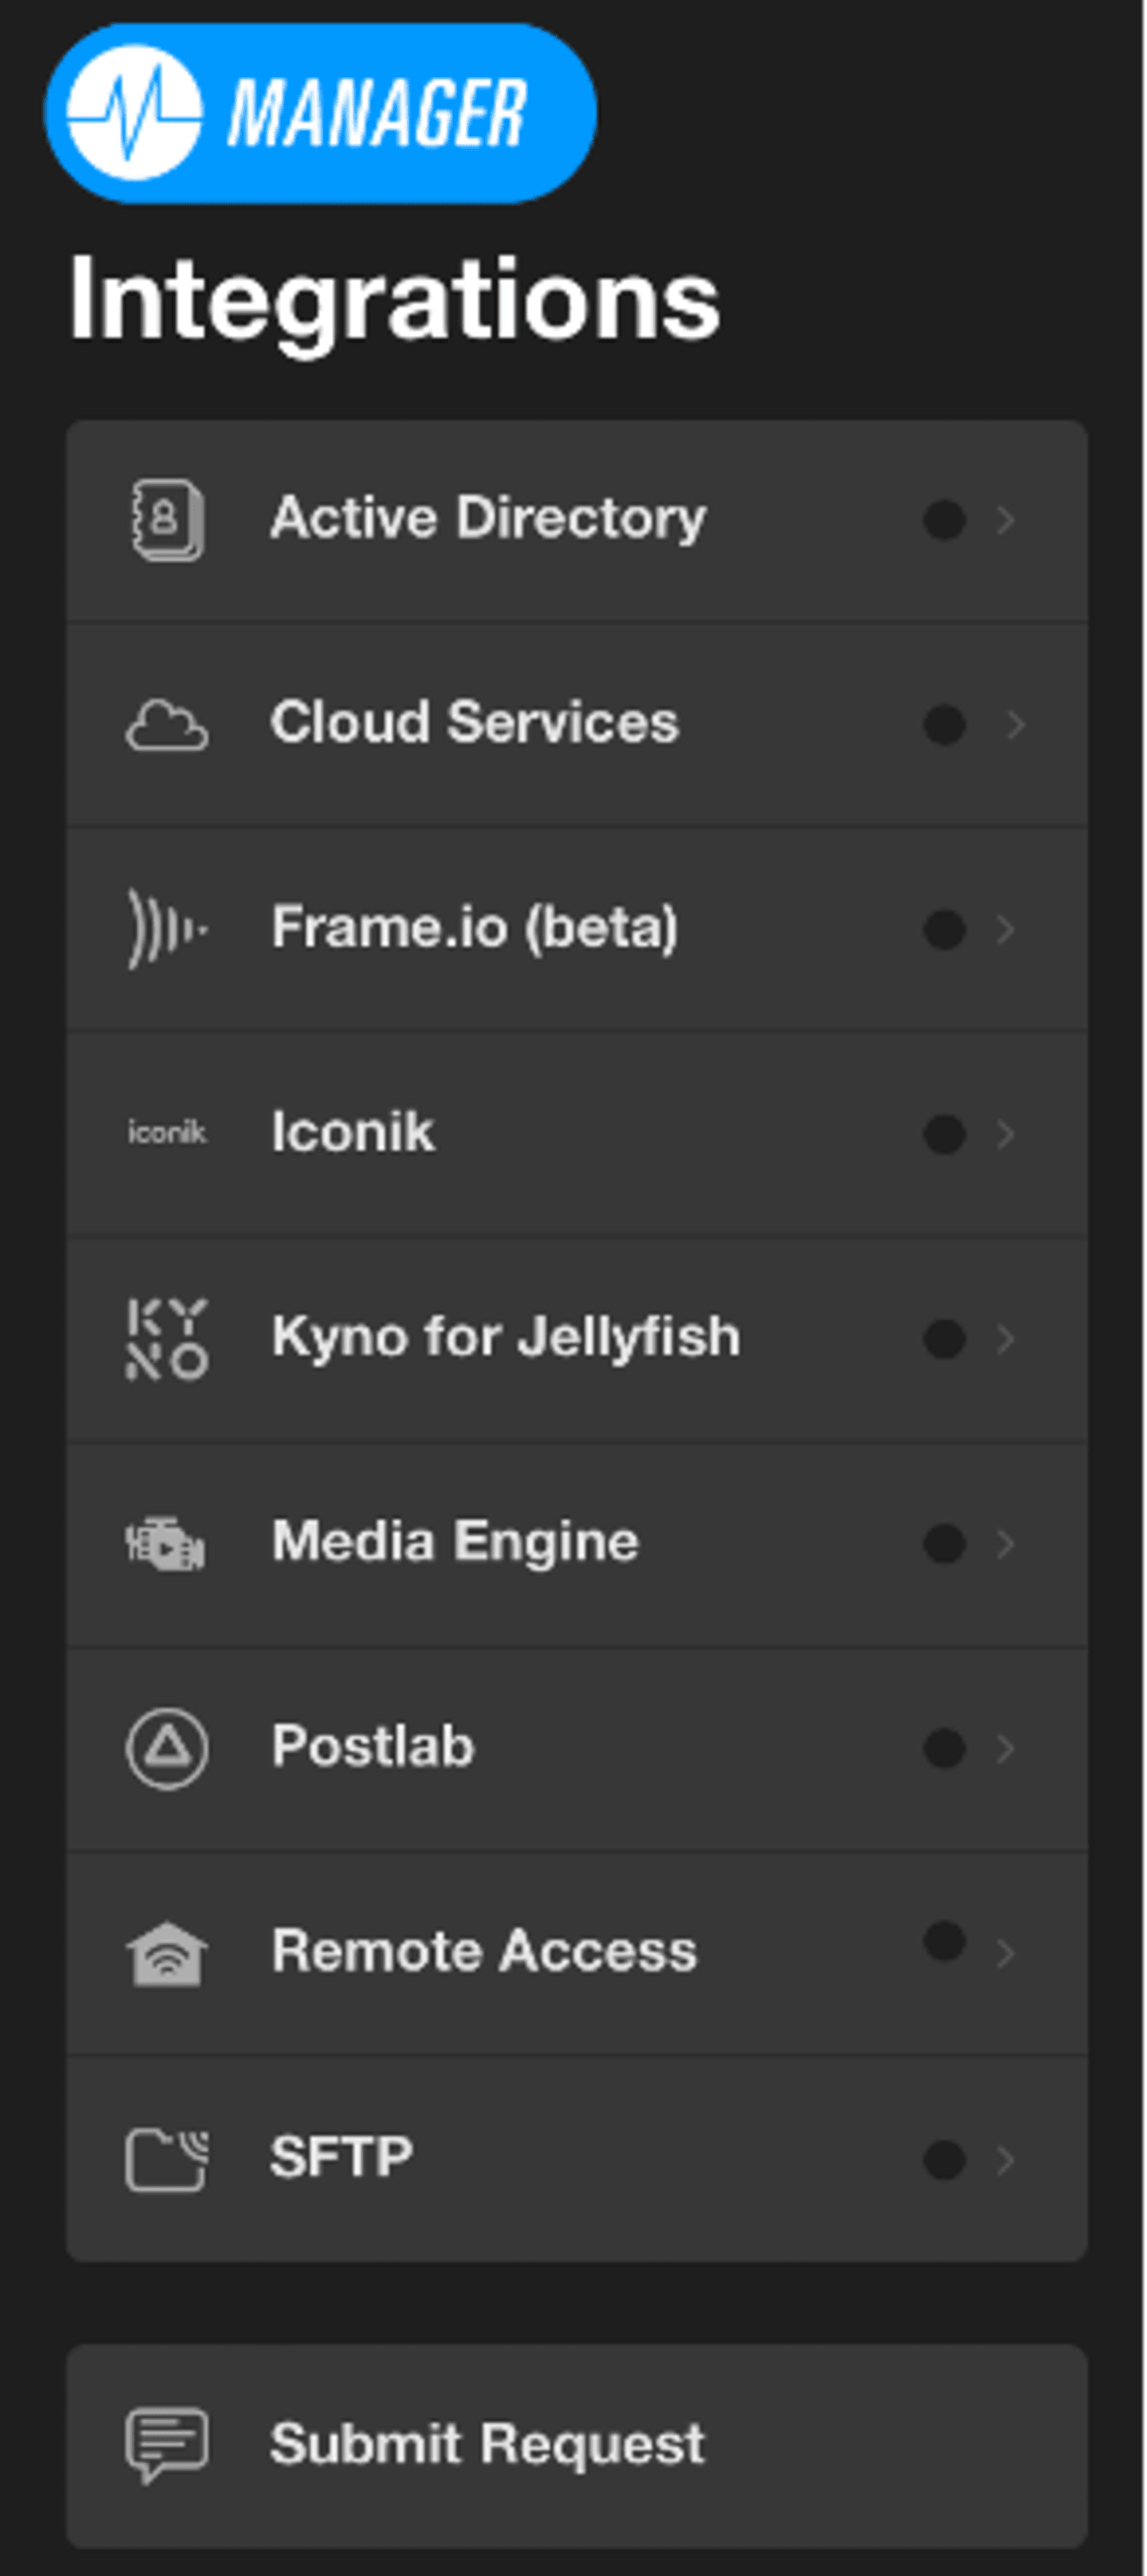
1. To access them, open Manager for OWC Jellyfish and click on the Integrations tab in the upper right corner.
2. Here you will find a list of services that work with your OWC Jellyfish.
Kyno for OWC Jellyfish
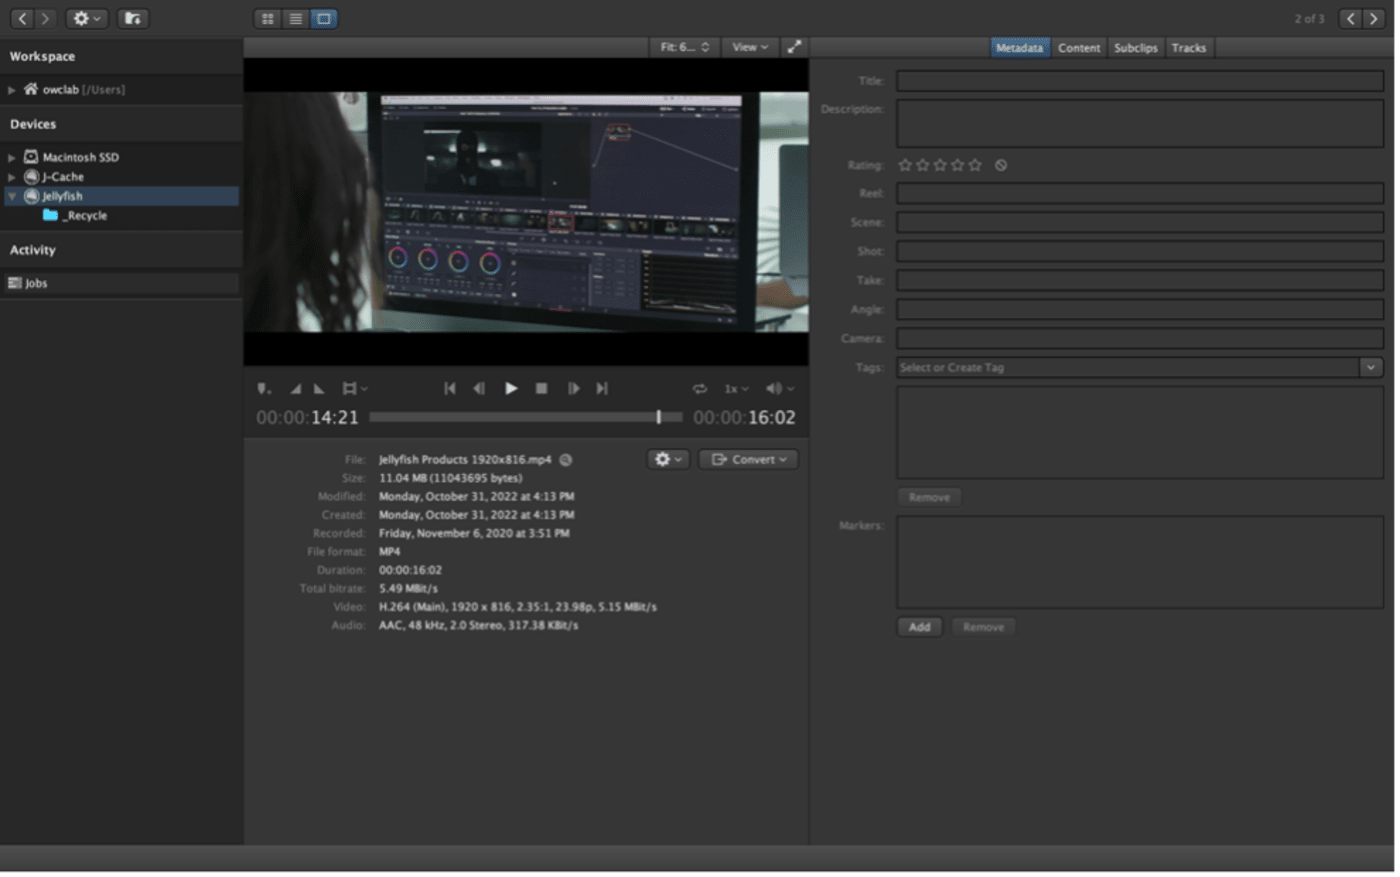
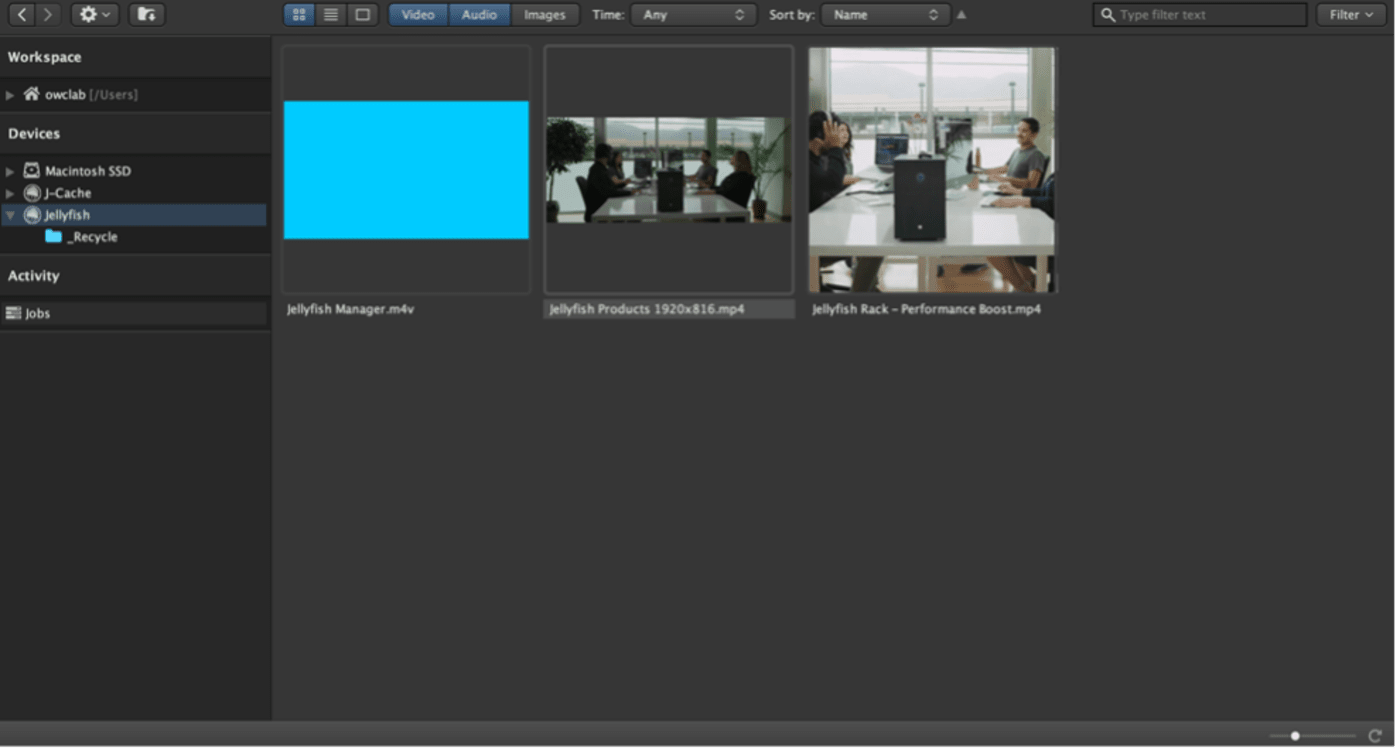
- Kyno for OWC Jellyfish is a media management application for macOS and Windows. It provides five main functions: pro video file playback, verified transfers, transcoding, metadata tagging, and locating media by metadata. Many teams find it to be a very helpful tool.
1. Our support team will supply you with all the necessary information to get set up. You’ll need to enter your email you want to register with, along with the serial number, and client secret. If you haven’t been provided with this information, please reach out to our support team and we will happily provide the necessary credentials.
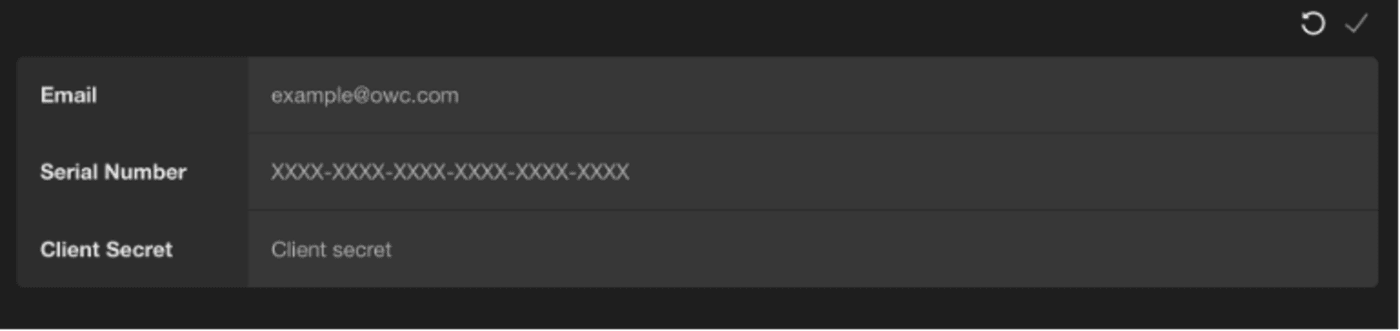
2. When you are finished, click the white checkmark in the top right corner to save your changes.

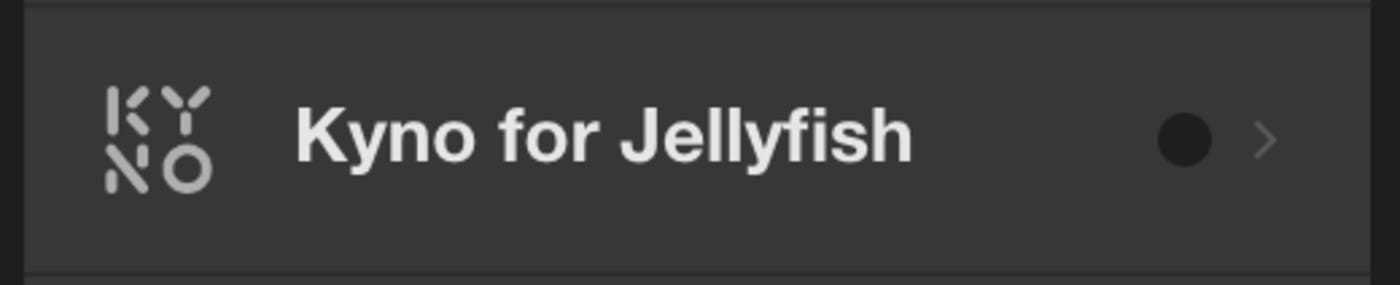
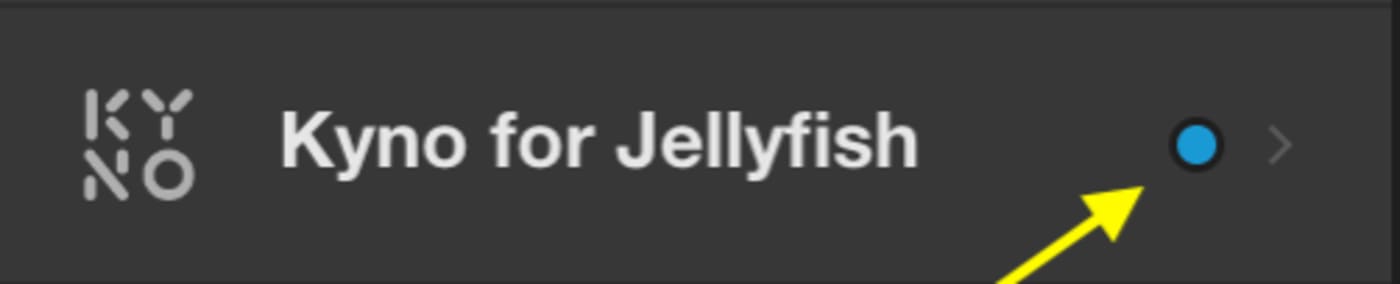
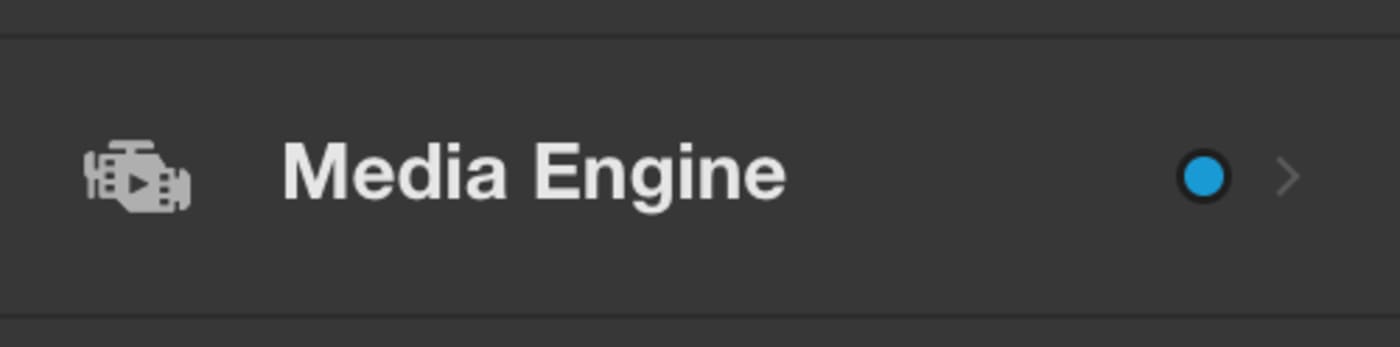
3. When your credentials are successfully entered and saved, the indicator next to the Kyno for OWC Jellyfish tab will turn blue.
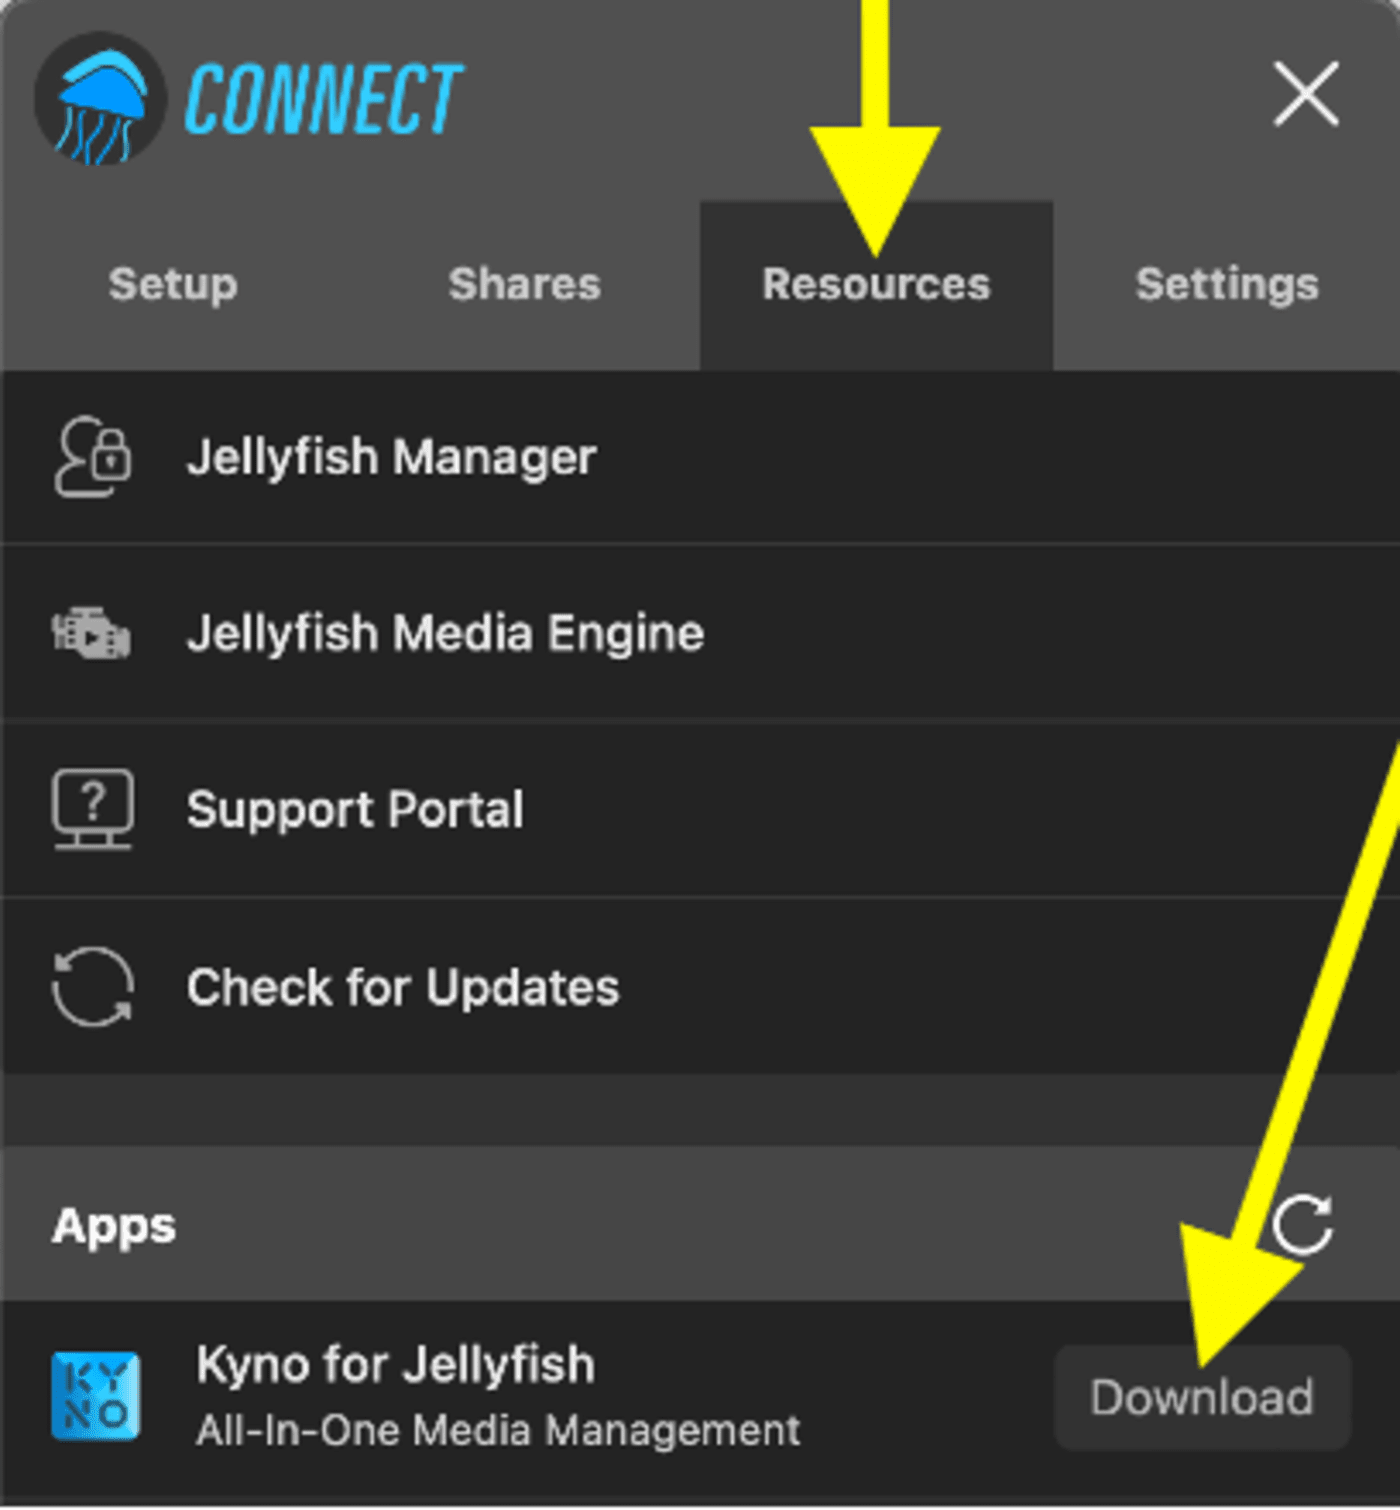
4. Next, you’ll need to download the app. In OWC Jellyfish Connect, click on the Resources tab, and find the Download button next to Kyno for OWC Jellyfish.
5. This will automatically download the Kyno for OWC Jellyfish app. You can find it in your Downloads folder. After the installation finishes, you are now ready to begin implementing Kyno’s many useful functions into your team’s workflow!
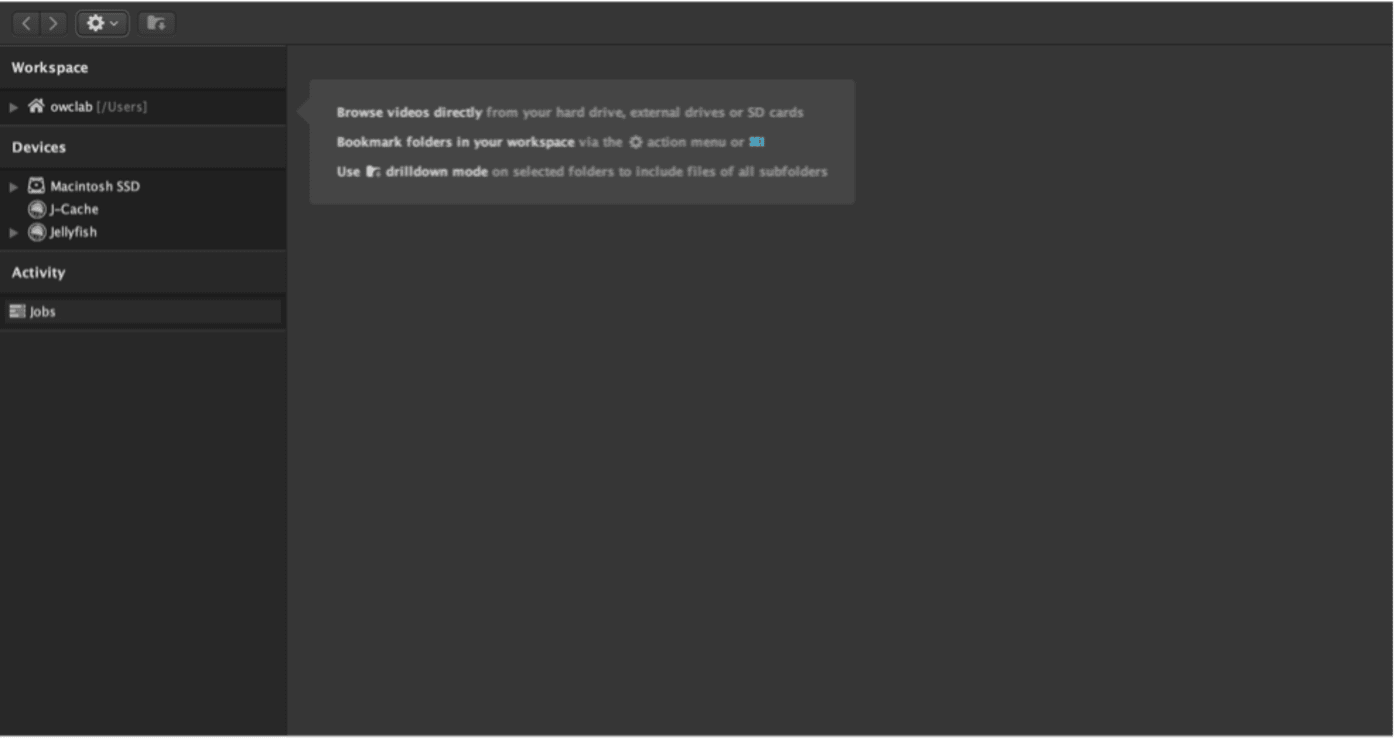
6. Once you have entered the license info in Manager for OWC Jellyfish, mount a OWC Jellyfish on your workstation, and then launch Kyno.
Media Engine
- Up next, we will set up Media Engine. It is a convenient tool for running transcoding jobs inside the OWC Jellyfish itself.

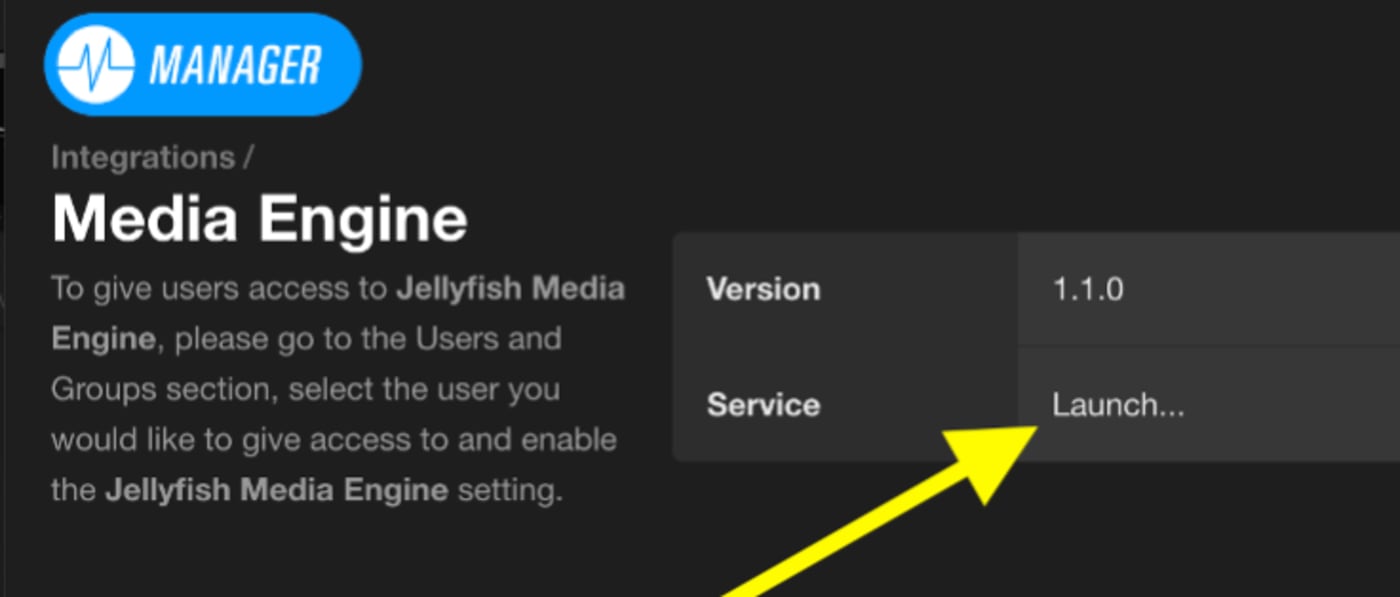
1. In order to enable Media Engine, Kyno for OWC Jellyfish must be activated on at least one workstation. After that, any user who’s been granted Media Engine access can click “Launch” to begin or navigate to jellyfish/media/.
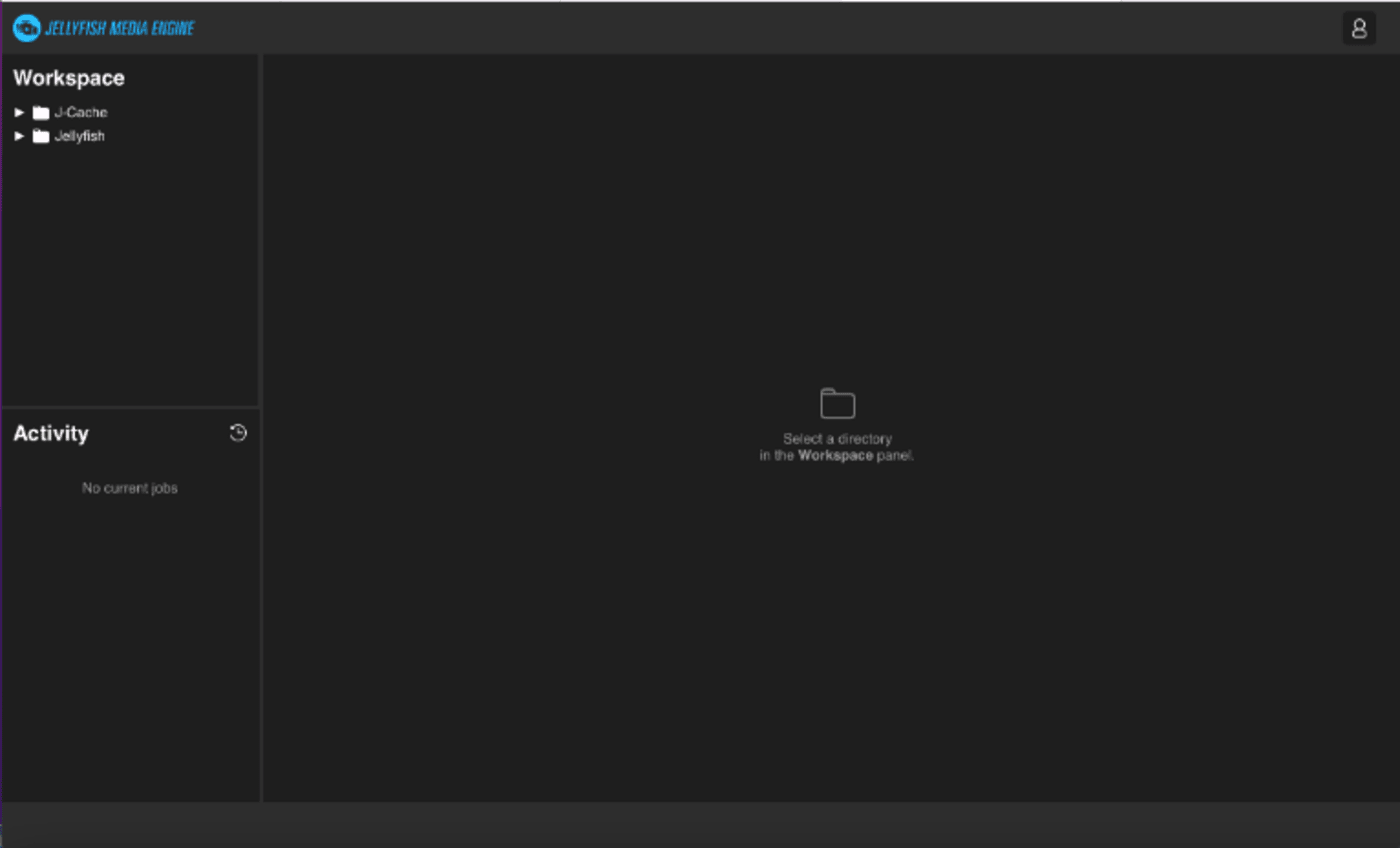
2. Media Engine will only show shares and folders for which a user has been granted permissions. From here, your team can utilize this simple tool to maximize efficiency in your workflow.

Transferring Media to Your OWC Jellyfish
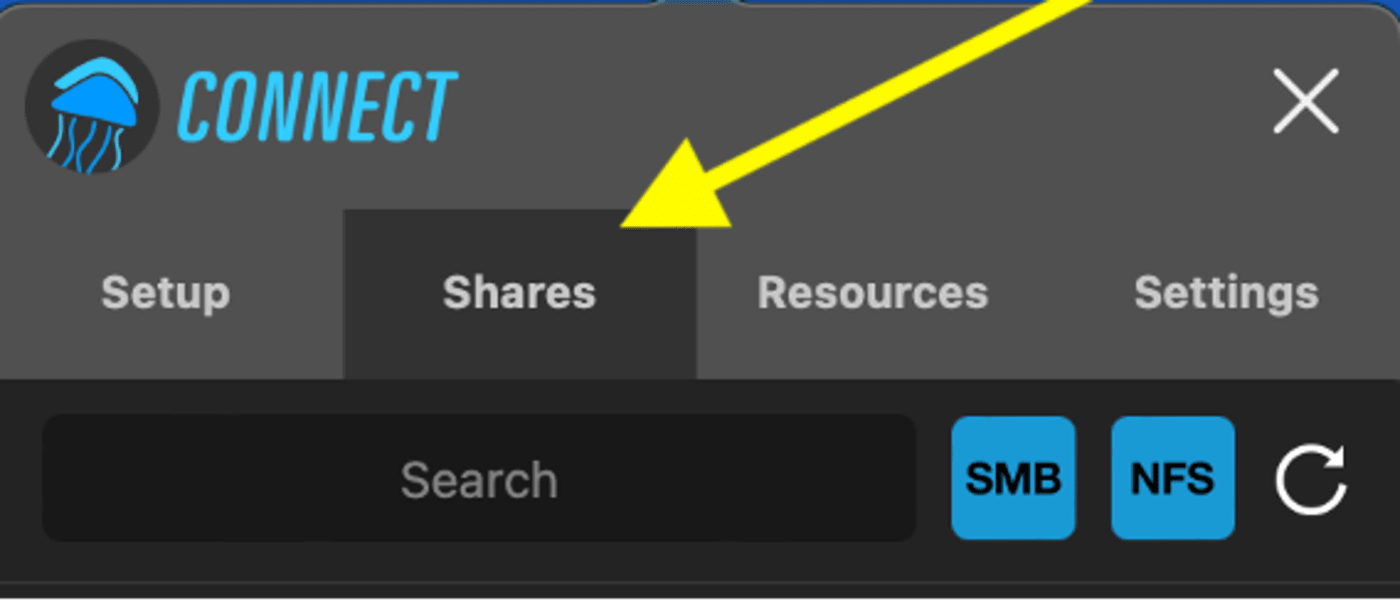
- In order to transfer media to your OWC Jellyfish, you need to mount your shares. In OWC Jellyfish Connect,
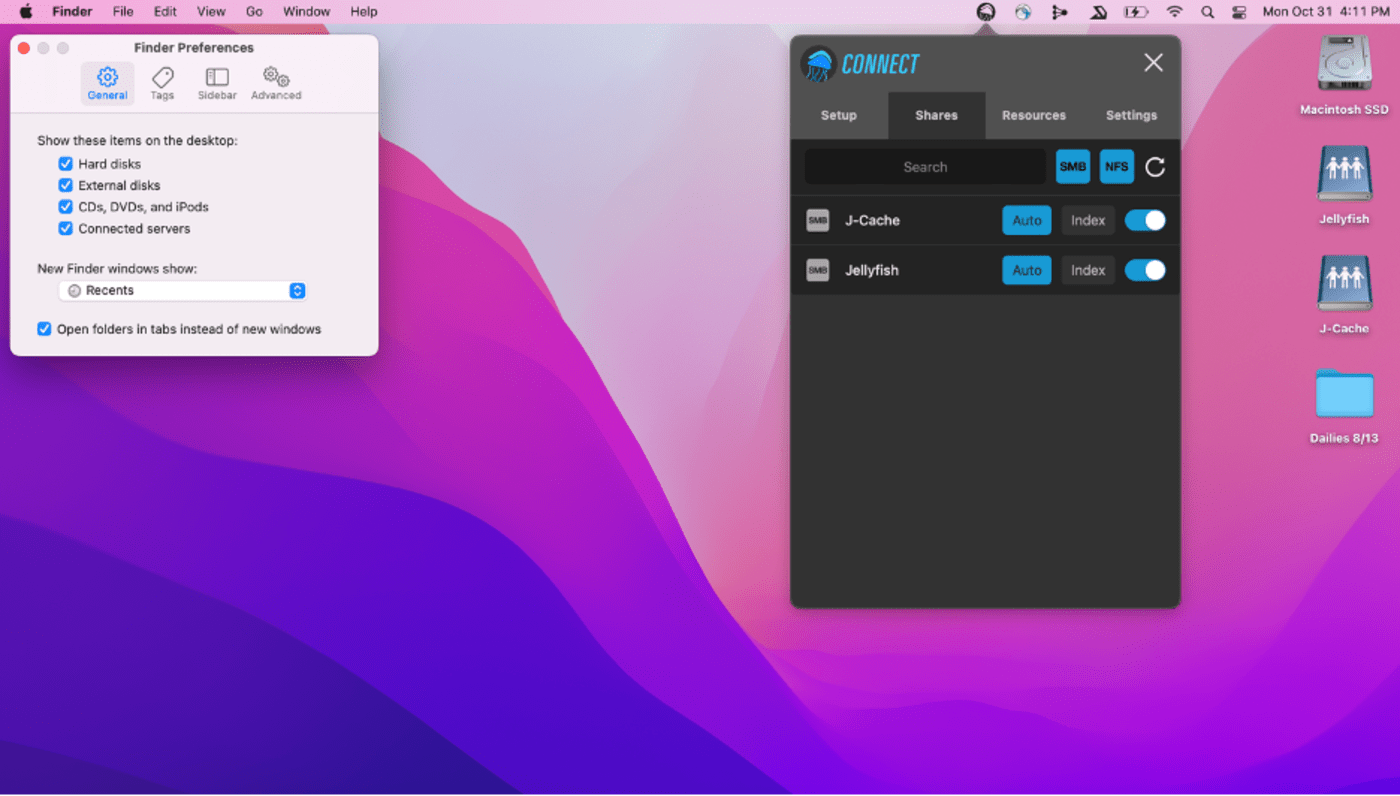
1. Click on the Shares tab.
2. From there, find the OWC Jellyfish share and click on the toggle button on the right side of it.
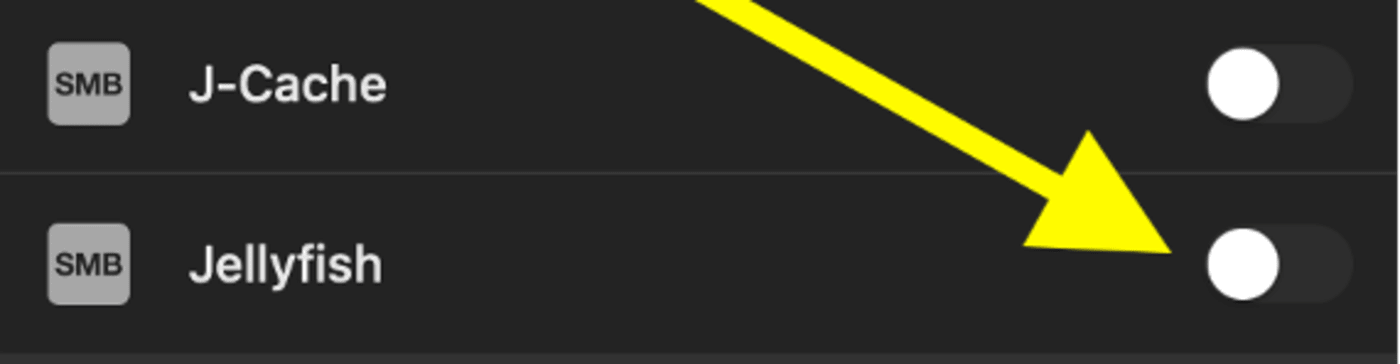
3. You will be prompted to enter your OWC Jellyfish username and password. After entering your credentials, click Connect.

4. The toggle button will now be blue, and you will see a notification that the OWC Jellyfish share has been mounted successfully. Now you are ready to drag and drop your media so your team can get to work!

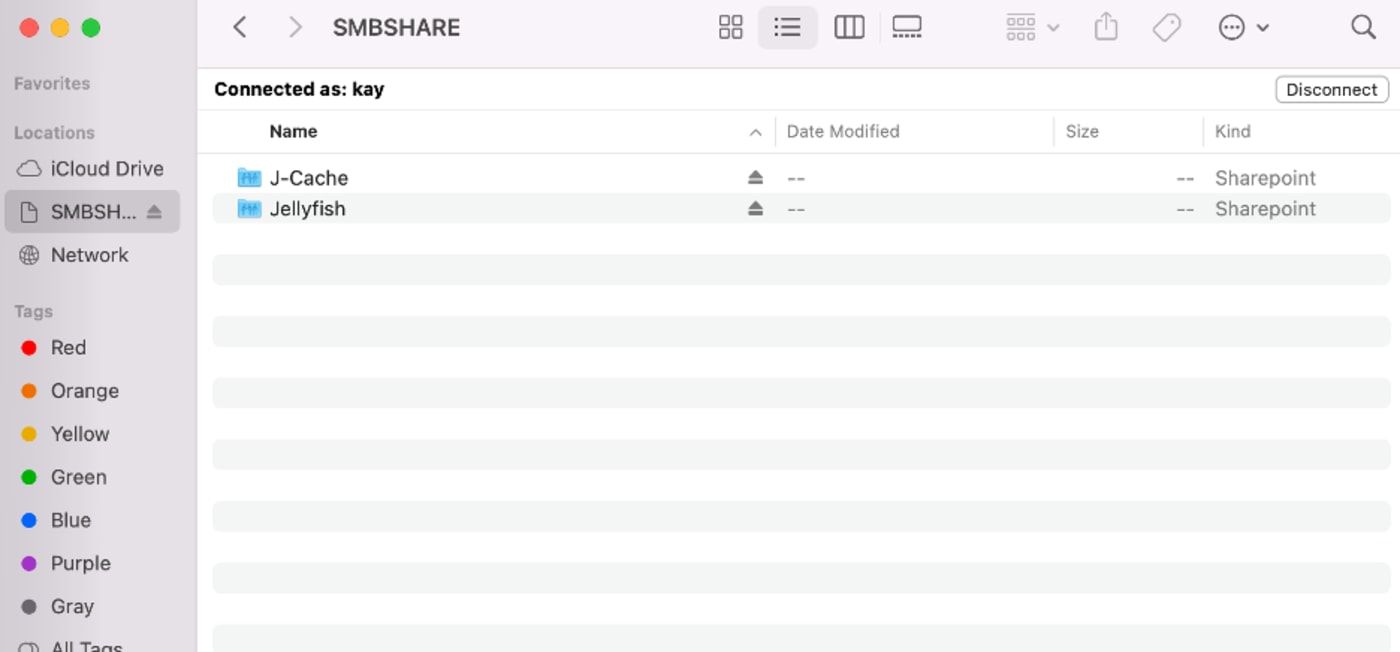
5. Depending on your Finder preferences, the share may appear either on your Desktop or in a Finder window.
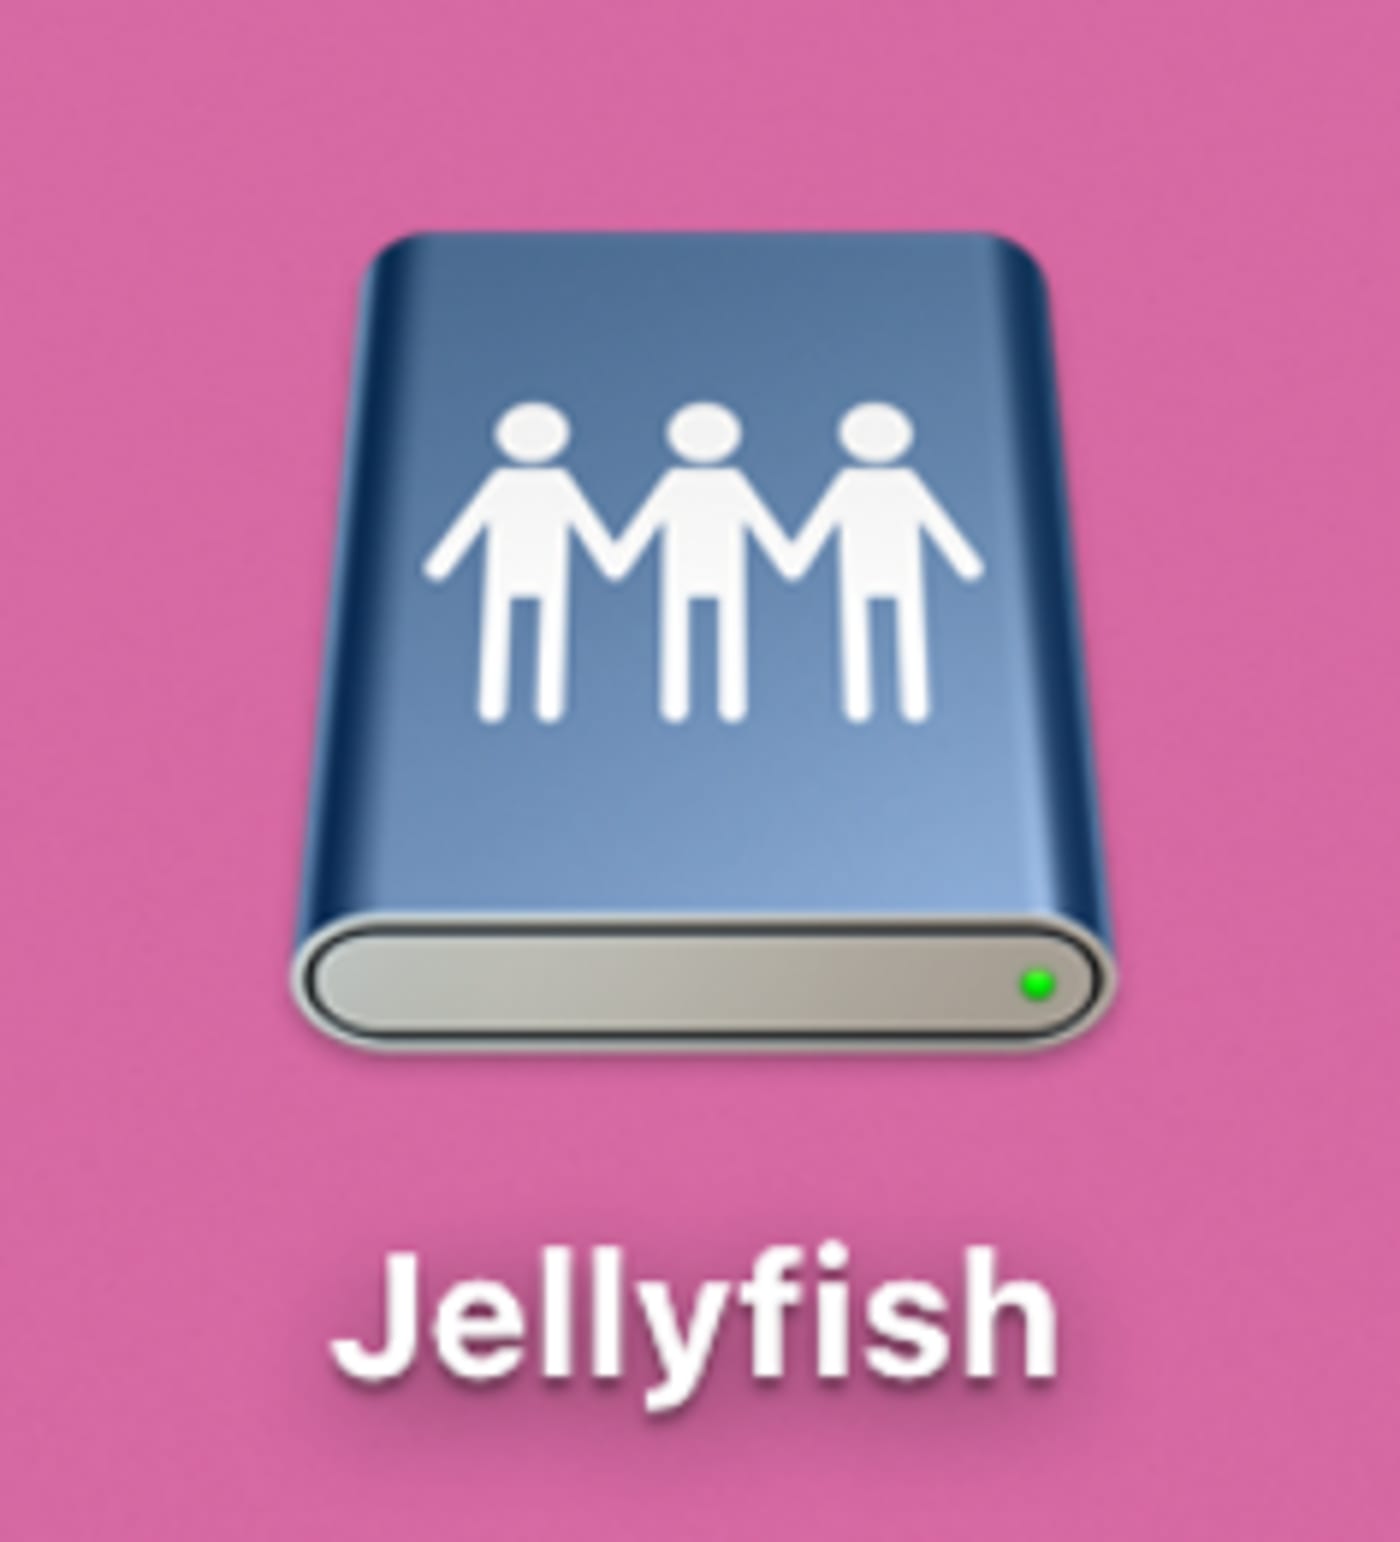
6. Double click the icon and it will be viewable to you just like any folder on your computer. From here, you can drag and drop media, create folders, delete files, and organize in any way you see fit.
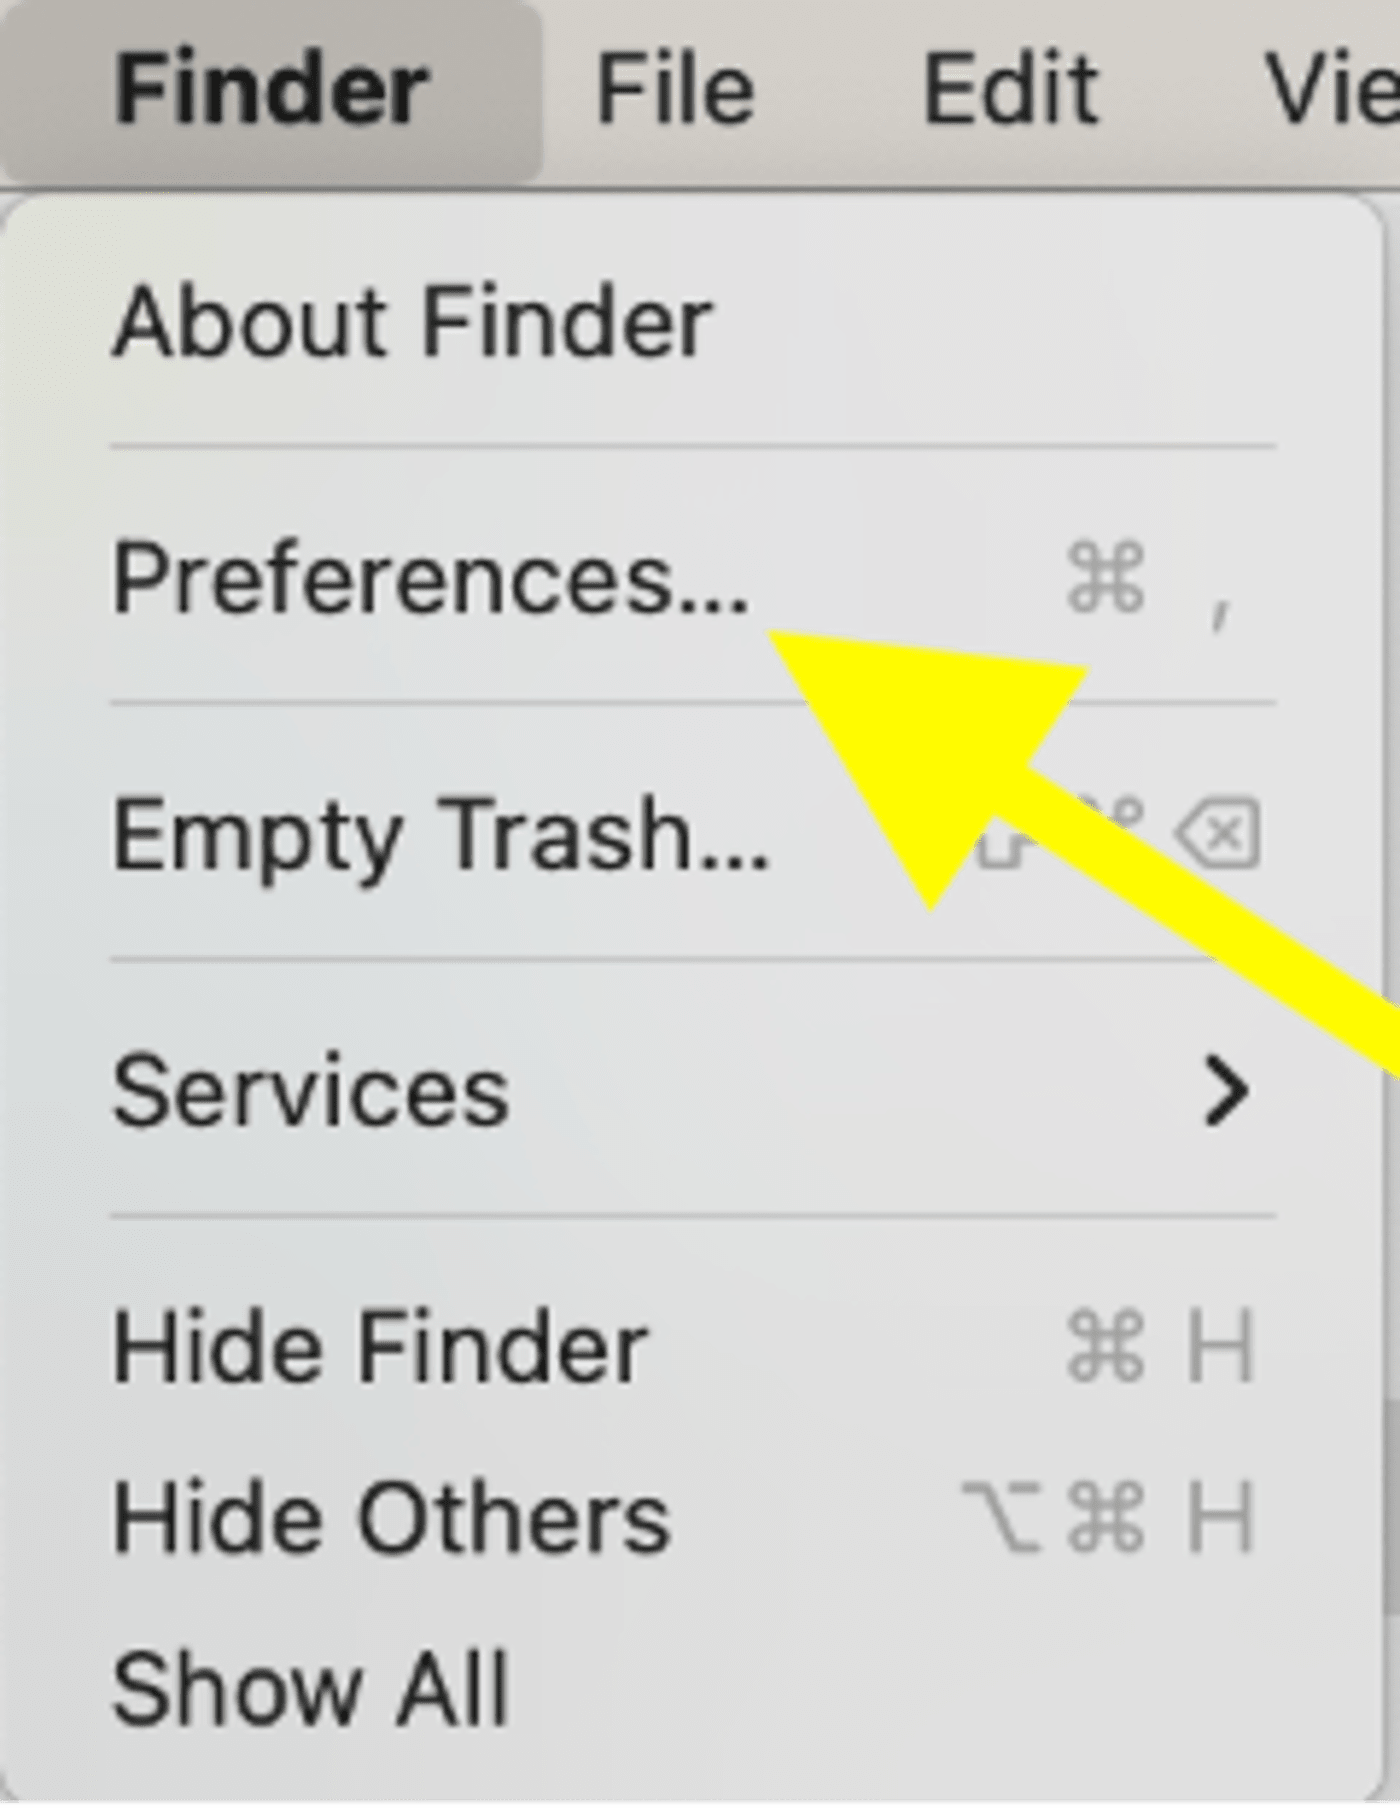
7. If by chance this icon does not appear on your Desktop, you may need to adjust your preferences in Finder. Open Finder, and click on the Finder menu in the top left toolbar on your screen. Select “Preferences” and be sure “Connected servers” is selected. Click the red “X” in the corner to exit and save your changes.

Additional Resources
- Want to know more? Check out our online resources at https://www.lumaforge.com/tutorials and https://jellyfish.support/.