

How to Schedule Your Backup Cloud Integration
This article covers how to activate and schedule your cloud backups. In the example below, we show AWS, but Jellyfish Manager offers plug-ins for a variety of cloud services. Which service works best for you will vary, but the steps for setup are largely the same.
Step 1
Ensure your Jellyfish is internet connected. For guidance on how to do this, please see this article: https://www.owc.com/support/jellyfish/connect-your-jellyfish-to-a-switch
Step 2
Sign into your cloud service’s web portal. From there, you will setup your buckets.
Buckets are where your targeted Jellyfish data will backup. You need admin access to your cloud account to create buckets. To learn how to create buckets in AWS, please reference the article linked below. For other services, please refer to that service’s support site.
https://docs.aws.amazon.com/AmazonS3/latest/userguide/create-bucket-overview.html
Now that you've created buckets, you can schedule a backup in Jellyfish Manager.
Step 3
Log into Jellyfish Manager
Step 4
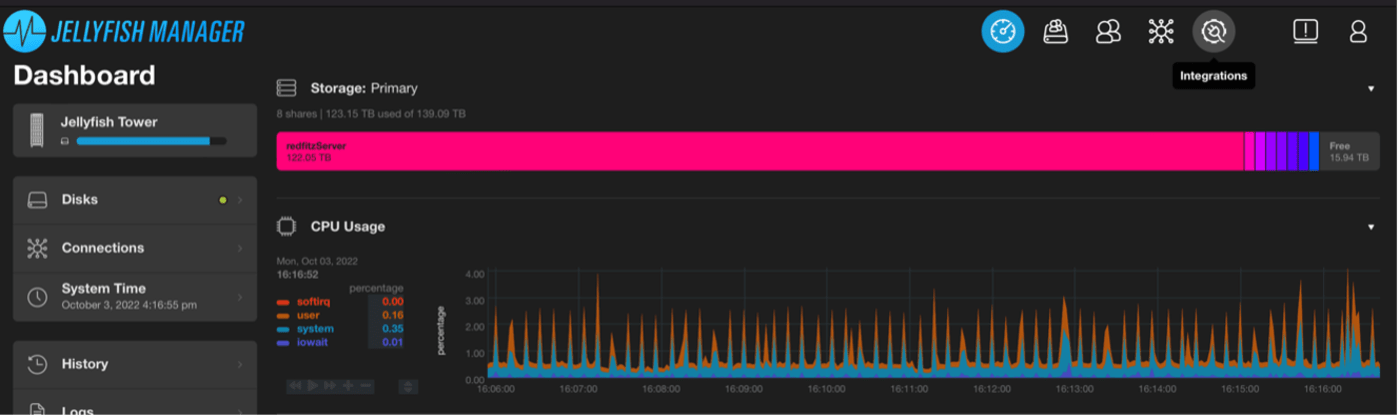
Click on the Integrations tab
Step 5
Click on 'Cloud Services' and login to your cloud account with your cloud access keys. In our
example, we are using AWS.
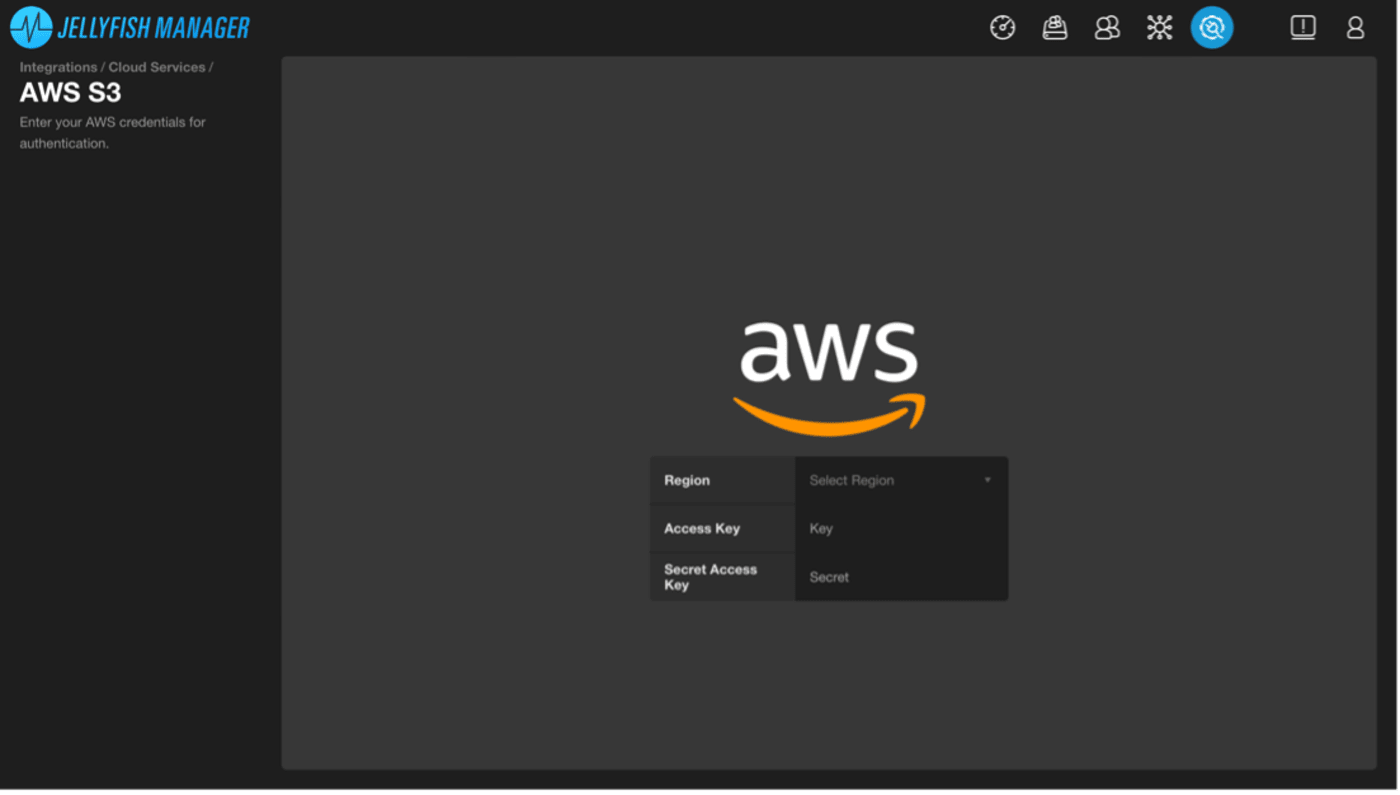
If you need steps to access your account keys from AWS, click the link below.
https://docs.aws.amazon.com/powershell/latest/userguide/pstools-appendix-sign-up.html
NOTE: The region you select will be the region that your cloud buckets are hosted, not your Jellyfish. If you don't know what region your buckets are hosted, reach out to your admin person on your team. You can also change your region at any time.
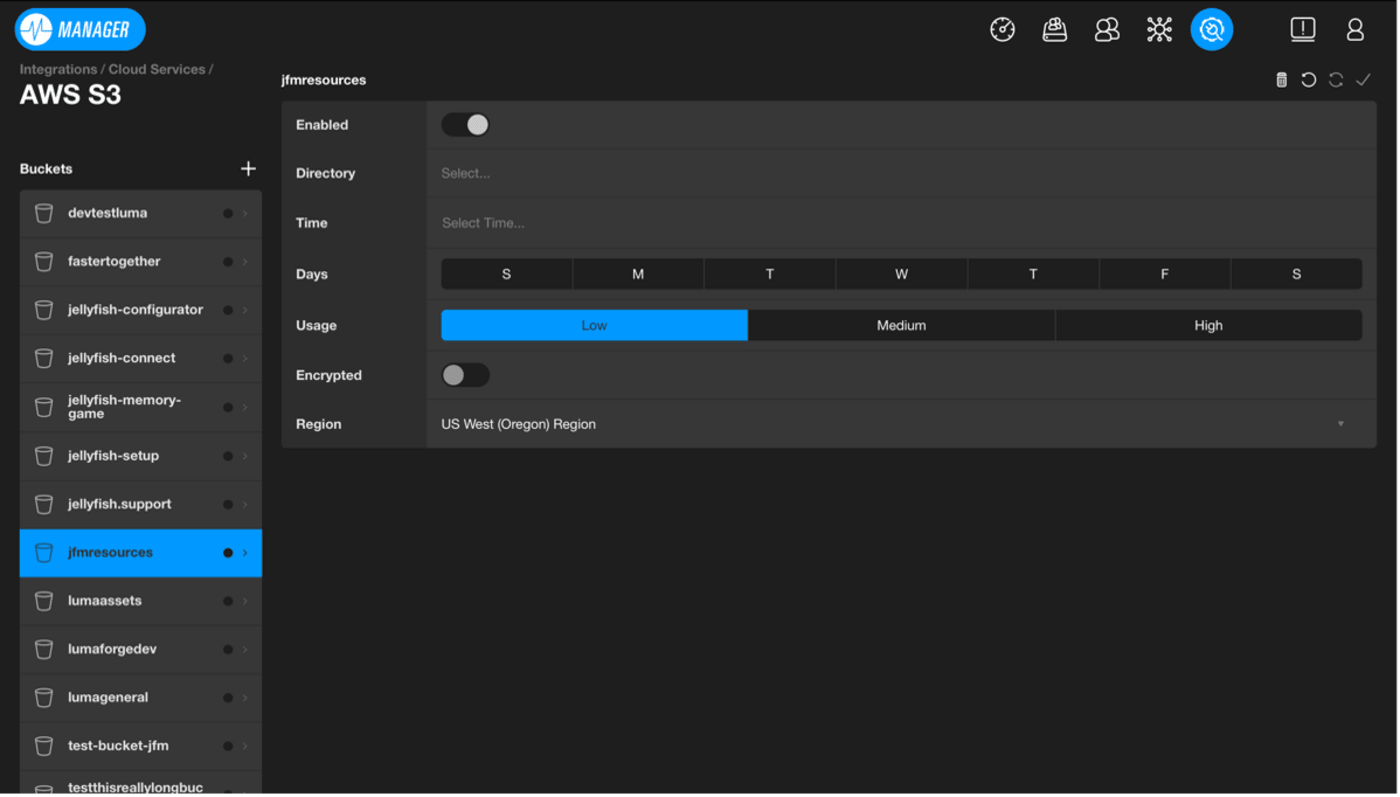
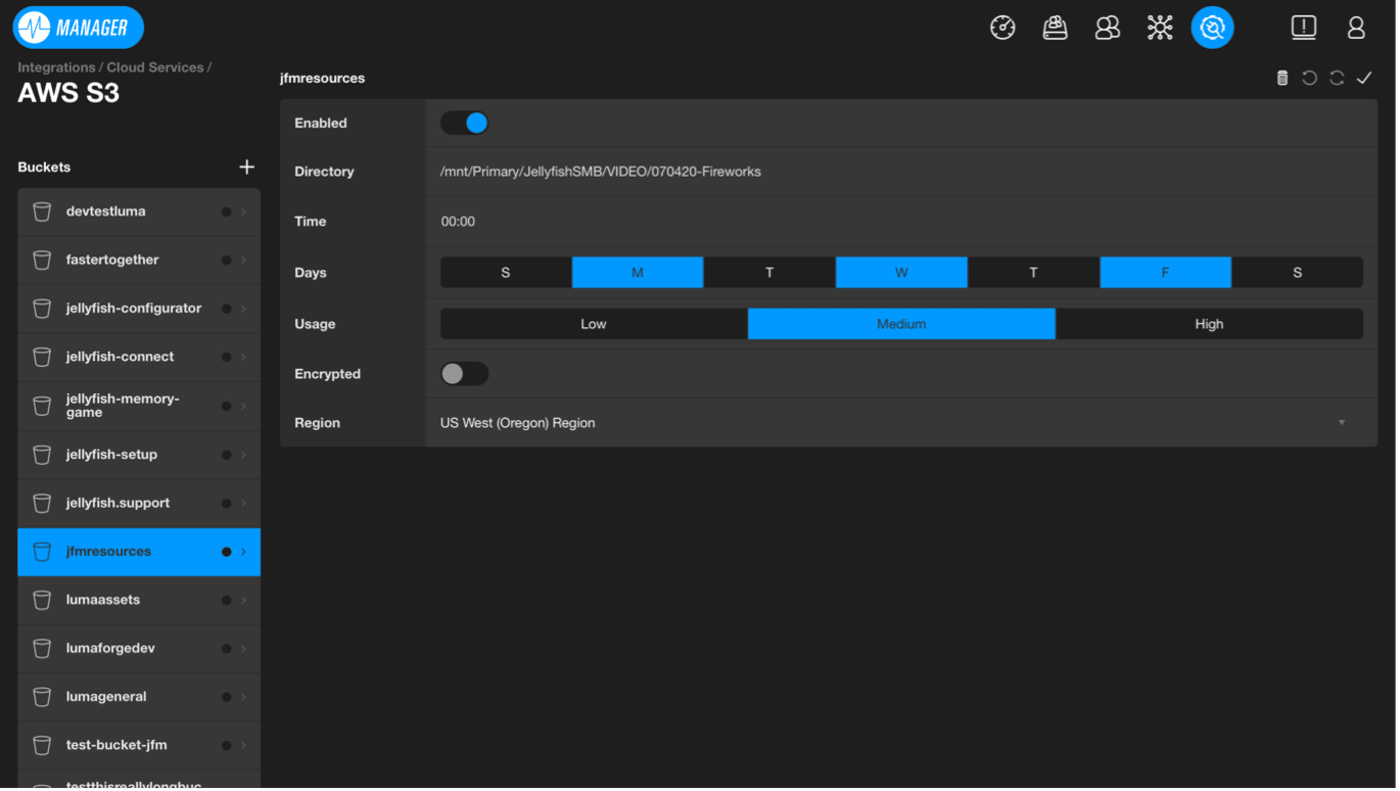
Step 6
Select a bucket you would like to back up your Jellyfish data into. Buckets are located on the left side of the screen. Once selected, toggle on the "Enabled" button.
Step 7
Select a Directory to backup. You can backup your pool, shares or specific sub-directories

Step 8
Now you can schedule your backups. You can pick specific days you want to perform backups, and what time you want them to begin. Note: A backup must complete before the next one begins.
You can select how many system resources get dedicated to the backup process. Typically, we advise you to stay on low or medium end if you schedule your backups during the day. Click the checkmark to save. Your backups are now scheduled!
Extras and Best Practices:
- It is best to schedule your backups when your team is done for the day. For example, backing up your data 3 times a week at midnight, with the usage set to medium or high (as long as no one is working on the Jellyfish) could minimize any performance impacts your team might experience.
- The more often you backup, the more quickly it will go because it is only backing up new/changed files.
- If you need to pause your backup, you can pause/stop the backup at any point in time, but you won’t be able to cancel the backup if it’s already begun.
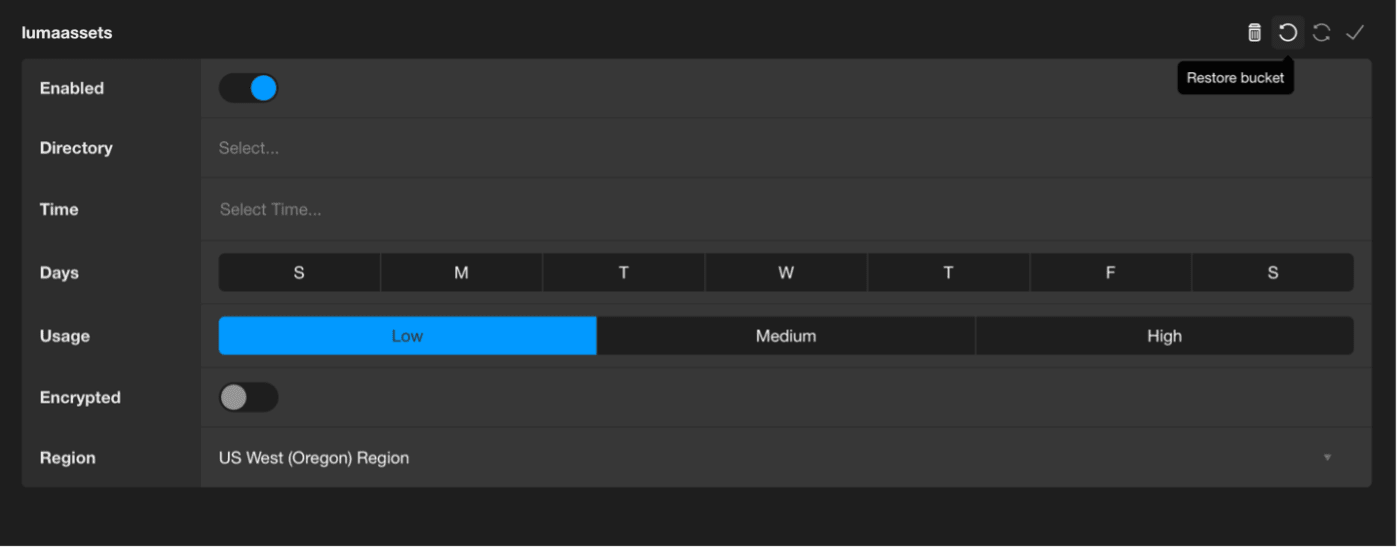
- If you delete a bucket from Jellyfish Manager, it will delete the corresponding data from the remote server. There is an option to restore the data from your backup at the top menu bar next to the checkmark.
- You can encrypt from Jellyfish Manager. It will prompt you to create an encryption password. Do not lose this password: if you do, you will not be able to access any of that data. Encrypted data will take longer to backup.
- Bucket Versioning in AWS: If enabled, you will keep previous files that have since been changed.
- Restore data: Clicking the circular arrow to the right of the trash will restore data from a previous backup. It will ask you to select what version you would like restored and then what destination you want it restored to.
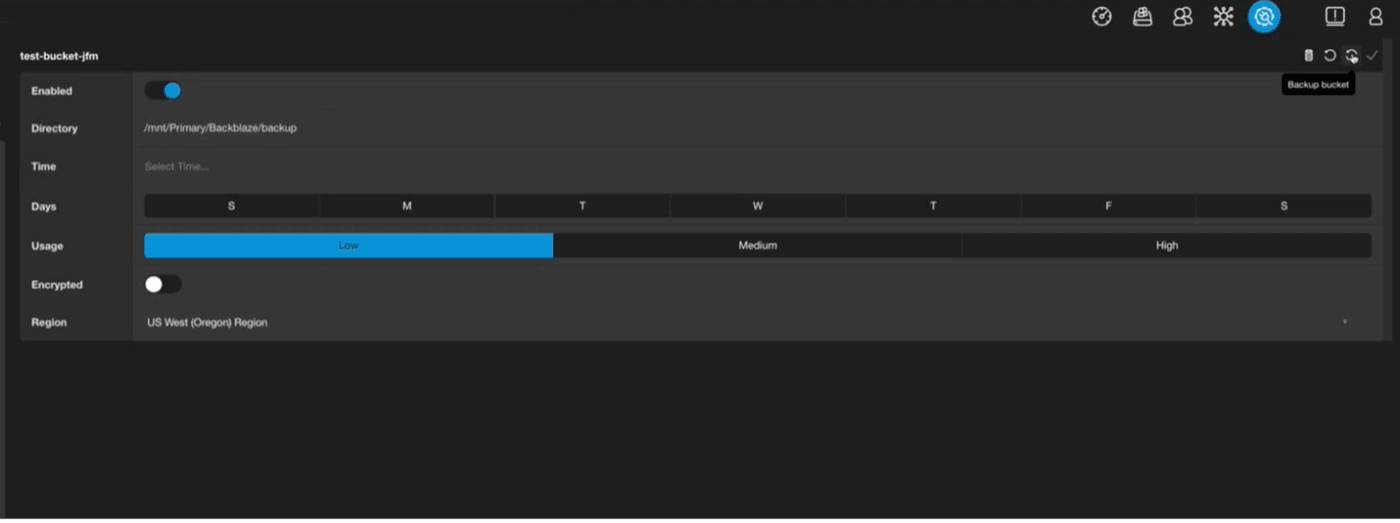
- Manual Backup: Follow the same steps from above up until step 7, then select the button "Backup Bucket" to the left of the checkmark to start your backup.
Published Date: October 10th, 2023